Independent training, updated for Resolve 21
Cut. Grade. Deliver.
DaVinci Resolve Tutorials, Fixes and Workflow Guides
Find the setting, follow the workflow and understand the trade-off. Practical guides to editing, color, audio and export, with Free and Studio differences explained.

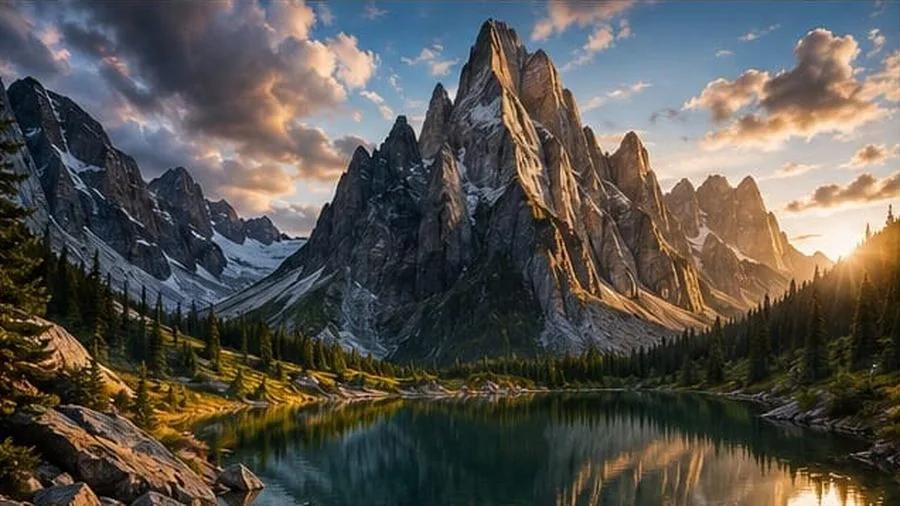
Drag the handle, or focus it and use the arrow keys to compare.
Actually free
Start with the free editor for cutting, color and audio. Some effects, AI tools and export options need Studio.
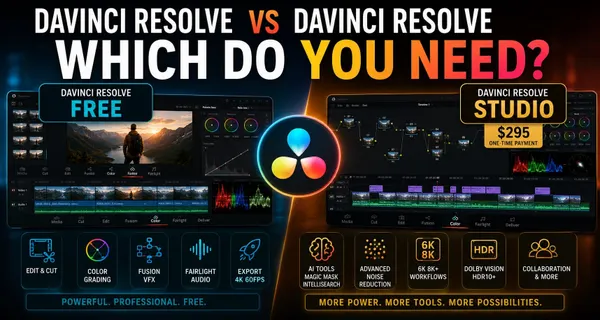
Studio: US$295 list price
Check your regional desktop price and taxes before buying. Cloud rental, hardware bundles and the iPad purchase are separate options.
Resolve 21.1 is available
Read the release notes and check your platform before updating. Back up your project library and important projects first.
Mac: Apple Silicon baseline
Resolve 21.1 lists Apple Silicon and macOS 15 or later. On an Intel Mac, check Resolve 20 requirements against your exact Mac and macOS version.
Start with your task
All free toolsHardware & compatibilityPC checkerBitrate calculatorExport preflight
Latest Guides
New and recently published Resolve workflows, comparisons and fixes.
 DaVinci Resolve Film Look Creator: A Practical Workflow and Its Limits
Build a film-inspired grade with Film Look Creator in Resolve Studio. Set the color pipeline, control the three blends, add texture deliberately and know what a LUT can carry.
DaVinci Resolve Film Look Creator: A Practical Workflow and Its Limits
Build a film-inspired grade with Film Look Creator in Resolve Studio. Set the color pipeline, control the three blends, add texture deliberately and know what a LUT can carry.
 DaVinci Resolve Super Scale: Upscale 1080p to 4K Without False Promises
Upscale 1080p footage to a 4K timeline with Super Scale in DaVinci Resolve Studio. Learn where to find it, what it can improve, what it cannot restore and how to keep the render manageable.
DaVinci Resolve Super Scale: Upscale 1080p to 4K Without False Promises
Upscale 1080p footage to a 4K timeline with Super Scale in DaVinci Resolve Studio. Learn where to find it, what it can improve, what it cannot restore and how to keep the render manageable.
 How to Reduce Room Echo in DaVinci Resolve
Reduce echoey dialogue in DaVinci Resolve with a practical Fairlight chain. Learn when to use Voice Isolation, EQ, dynamics and automation, and why room reverb cannot always be removed cleanly.
How to Reduce Room Echo in DaVinci Resolve
Reduce echoey dialogue in DaVinci Resolve with a practical Fairlight chain. Learn when to use Voice Isolation, EQ, dynamics and automation, and why room reverb cannot always be removed cleanly.
 How to Fix Audio Clicks and Pops in DaVinci Resolve
Separate edit clicks from playback crackling, then fix each cause in DaVinci Resolve with clean clip boundaries, short fades, zero-crossing edits and Fairlight diagnostics.
How to Fix Audio Clicks and Pops in DaVinci Resolve
Separate edit clicks from playback crackling, then fix each cause in DaVinci Resolve with clean clip boundaries, short fades, zero-crossing edits and Fairlight diagnostics.
 How to Import an Image Sequence in DaVinci Resolve
Import PNG, JPEG or EXR frames as one clip in DaVinci Resolve. Fix separate-image imports, numbering gaps, wrong frame rates and sequences that will not assemble.
How to Import an Image Sequence in DaVinci Resolve
Import PNG, JPEG or EXR frames as one clip in DaVinci Resolve. Fix separate-image imports, numbering gaps, wrong frame rates and sequences that will not assemble.
 ACES vs DaVinci Resolve Color Management: Which Color Workflow Fits Your Project?
Compare ACES and Resolve Color Management without a fake winner. See how input transforms, working space, output transforms, handoff and LUT compatibility change the decision.
ACES vs DaVinci Resolve Color Management: Which Color Workflow Fits Your Project?
Compare ACES and Resolve Color Management without a fake winner. See how input transforms, working space, output transforms, handoff and LUT compatibility change the decision.
Learn DaVinci Resolve
The beginner path, from install to your first finished edit.
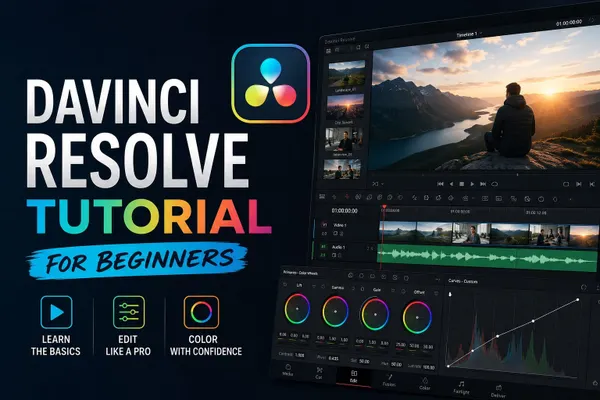 Start here
DaVinci Resolve Tutorial for Beginners
Build a film-inspired grade with Film Look Creator in Resolve Studio. Set the color pipeline, control the three blends, add texture deliberately and know what a LUT can carry.
DaVinci Resolve Super Scale: Upscale 1080p to 4K Without False Promises5 min readUpscale 1080p footage to a 4K timeline with Super Scale in DaVinci Resolve Studio. Learn where to find it, what it can improve, what it cannot restore and how to keep the render manageable.
How to Reduce Room Echo in DaVinci Resolve5 min readReduce echoey dialogue in DaVinci Resolve with a practical Fairlight chain. Learn when to use Voice Isolation, EQ, dynamics and automation, and why room reverb cannot always be removed cleanly.
How to Fix Audio Clicks and Pops in DaVinci Resolve5 min readSeparate edit clicks from playback crackling, then fix each cause in DaVinci Resolve with clean clip boundaries, short fades, zero-crossing edits and Fairlight diagnostics.
Fix a Resolve Problem
When the edit stops, start with the diagnosis, not the reinstall.
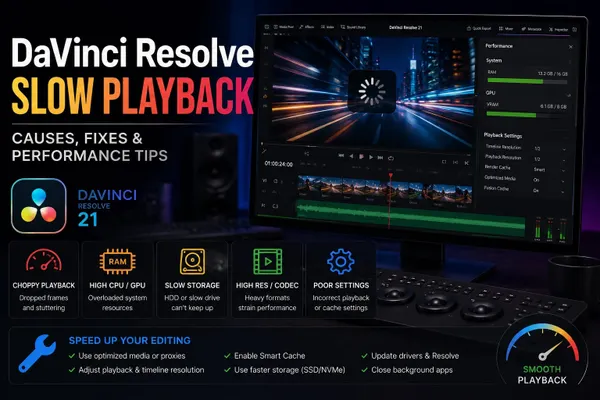 Featured fix
DaVinci Resolve Slow Playback
Fix missing DaVinci Resolve audio waveforms by checking timeline display, track height, channel mapping, and waveform regeneration before resetting anything.
How to Fade Audio In and Out in DaVinci Resolve9 min readChoose the right DaVinci Resolve audio fade: fast clip handles, precise volume keyframes, clip-to-clip crossfades, or consistent Fairlight batch fades.
DaVinci Resolve Text Not Showing: Viewer and Export Fixes6 min readSeparate title, subtitle and Fusion failures, then follow the missing text from the timeline to the Viewer and final render.
DaVinci Resolve Cloud Collaboration: Media Sync and Handoff10 min readA practical DaVinci Resolve Cloud collaboration plan for shared project libraries, local media copies, proxies, relinking, timeline updates, and final handoff.
Master the Workflow
Audio, titles, color and a clean export: every edit runs through these.
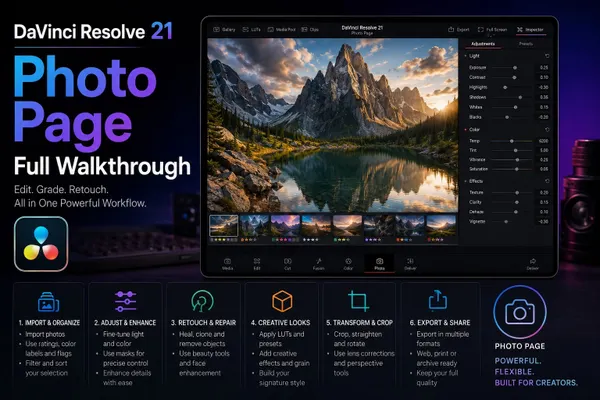 Workflow guide
DaVinci Resolve 21 Photo Page: Full Walkthrough
Separate title, subtitle and Fusion failures, then follow the missing text from the timeline to the Viewer and final render.
DaVinci Resolve Smart Bins and Power Bins Guide8 min readUse Smart Bins for automatic metadata filters and Power Bins for reusable assets across projects. Includes Resolve 21 setup, rules and fixes.
DaVinci Resolve Supported Codecs and Formats Guide9 min readCheck DaVinci Resolve codec and format support by container, video and audio stream, profile, OS, Free or Studio edition, hardware, and decode versus encode. Includes a practical macOS, Windows and Linux reference.
How to Sync Audio and Video in DaVinci Resolve 219 min readSync camera video with externally recorded audio by waveform, timecode, markers or a manual clap. This Resolve 21 guide separates Media Pool Auto Sync from timeline Auto Align, explains Retain Embedded Audio, and diagnoses failed matches and long-recording drift.
Compare and Choose
Picking an editor, a license or an upgrade? The honest breakdowns.
One task. A clear next step.
Start with the job in front of you: a first edit, a missing clip, a difficult grade or an export. Follow the relevant guide, check its version and edition notes, then try the steps on a copy of your project. About the club
Practical Resolve training
DaVinci Resolve Club is built for editors who want a clear answer fast: where to click, which setting matters, and what to check before exporting. The guides cover the full Resolve workflow: importing media, organizing bins, editing on the Cut and Edit pages, creating proxy media, color correction and grading nodes, Fusion effects, Fairlight cleanup and Deliver page render settings.
Start with the beginner tutorial path if you are opening Resolve for the first time. Use the workflow guides when playback is slow, proxies are confusing or media goes offline. Use the color grading section for scopes, color management, LUTs, node order and matching shots.
Covered topics
- Beginner tutorial and first edit workflow
- Media page, import, bins, relinking and proxies
- Edit page timeline tools and shortcuts
- Color correction, grading, scopes, nodes and LUTs
- Fusion compositing, titles and tracking
- Fairlight cleanup, EQ and loudness checks
- Deliver page exports for YouTube, Shorts and clients
Questions editors ask
What is the best way to learn DaVinci Resolve as a beginner?
Start with the full edit path: install Resolve, import footage, make a simple timeline, adjust audio, add basic color correction and export. Then learn proxies, shortcuts, color nodes and Fairlight as separate skills.
Why is DaVinci Resolve playback slow?
Heavy codecs, high-resolution footage and effects can make playback struggle. Check the affected clips, available hardware and storage, then consider proxy media, optimized media or render cache. Test a short range before changing project-wide settings.
Which export settings should I use for YouTube, Shorts and Reels?
Use the Deliver page to match the platform: correct resolution, frame rate, codec, bitrate, audio format and color tagging. For vertical platforms, confirm timeline resolution before rendering.
Should I use DaVinci Resolve Free or Studio?
The free version covers most beginner editing, basic grading, audio work and standard exports. Studio matters for advanced noise reduction, some AI features and heavier professional workflows.
How do I start color grading?
Correction before the look: set exposure and contrast, fix white balance, use scopes, keep a clean node order, then add creative grading or LUTs.