Build a dependable grade
Set the pipeline, then shape the image
Start by working out what the footage is and where it's going. Pick your color-management path before you balance shots or add a look. The first four guides cover the foundations; open the groups below when you need to reuse a grade, work with stills or isolate part of a shot.
Choose the task
Learn the tools in a useful order
Follow the beginner walkthrough, or go straight to the part of the grade that needs work.
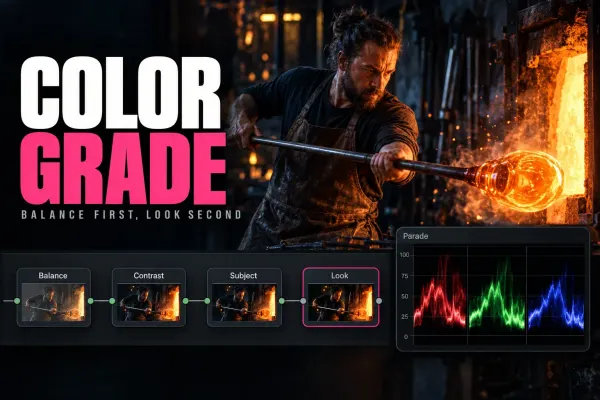
How to Color Grade in DaVinci Resolve: Beginner Tutorial
Set up the color pipeline, balance the image and match the sequence before you build a look. Work through a small node tree and check selective corrections in motion.
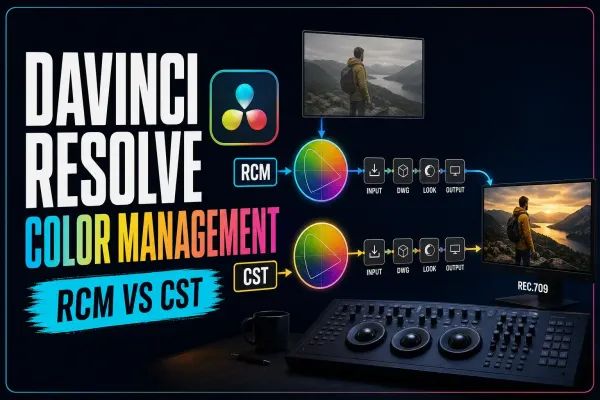
DaVinci Resolve Color Management: RCM vs CST & LUT Order
Compare project-wide Resolve Color Management with Color Space Transform nodes. Follow the input, working and output spaces, then track down double transforms and misplaced LUTs.
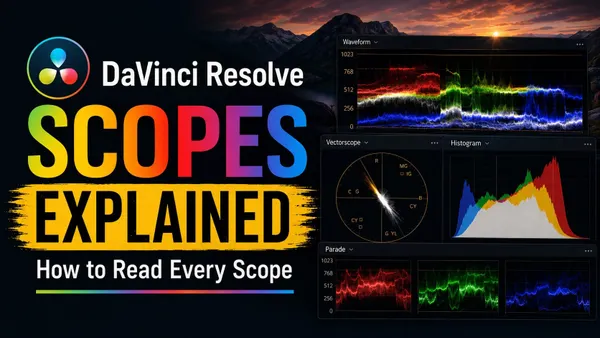
DaVinci Resolve Scopes Explained: How to Read Every Scope
Pick the scope that answers your question: exposure, channel balance, saturation or gamut. Read the image alongside the measurements, since no single target fits every shot.
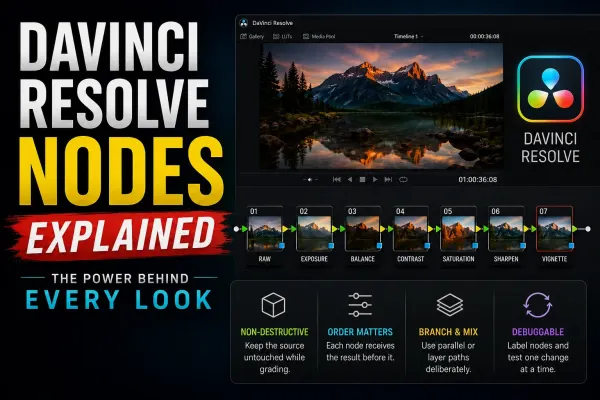
DaVinci Resolve Nodes Explained
Follow image and key connections through serial nodes and mixers. Keep the tree readable so you can find the operation that changed the result.
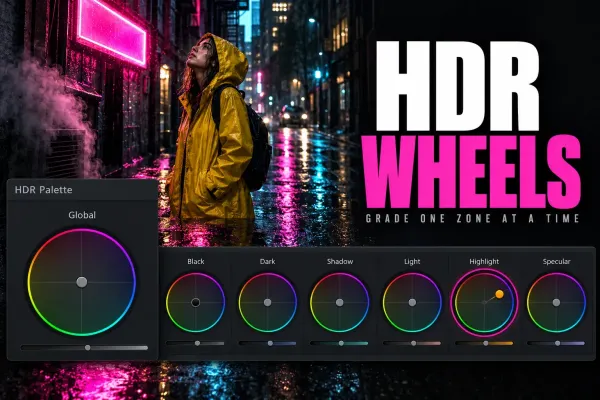
DaVinci Resolve HDR Color Wheels: How to Use HDR Zones Without Guesswork
Switch to narrower tonal zones when the Primary Wheels reach too far. Adjust the zone boundaries and watch the transitions as you grade.
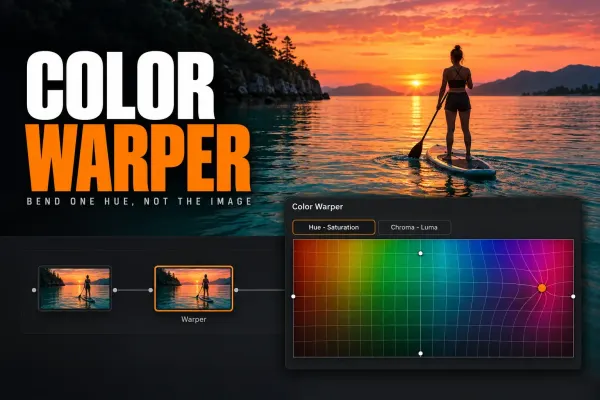
DaVinci Resolve Color Warper: Change Hue and Chroma Without Breaking the Image
Push a hue or chroma range on the grid, then check nearby colors, skin and neutral areas before you keep the change.

Sony S-Log3 in DaVinci Resolve: Input, Exposure and Color
Match the recorded Sony gamut and S-Log3, normalize once with RCM or CST, then balance before you add a look.
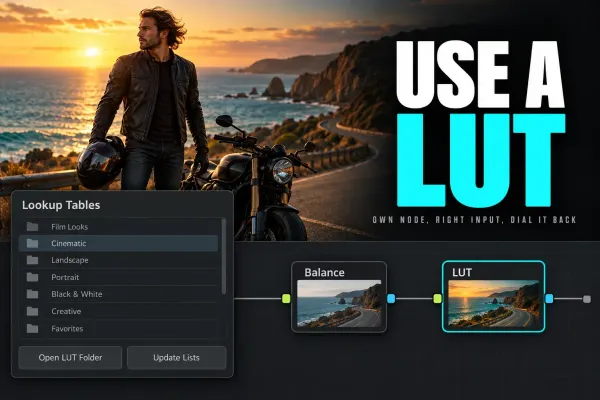
How to Use LUTs in DaVinci Resolve
Install and apply a LUT, check the input and output it expects, and place it on purpose. Then fix missing LUTs, heavy contrast and unwanted double transforms.
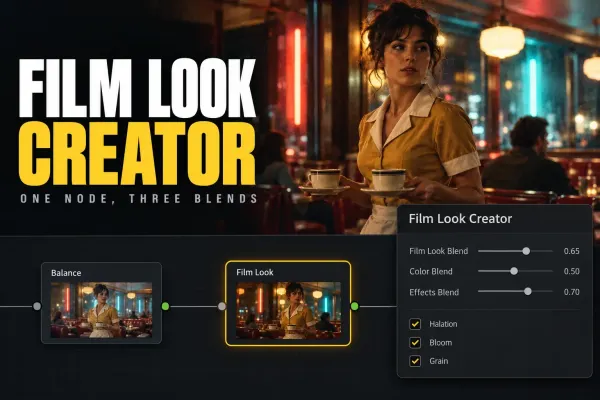
DaVinci Resolve Film Look Creator: A Practical Workflow and Its Limits
Build a film-inspired grade in Studio: set the color pipeline, balance the blends and add texture with care.
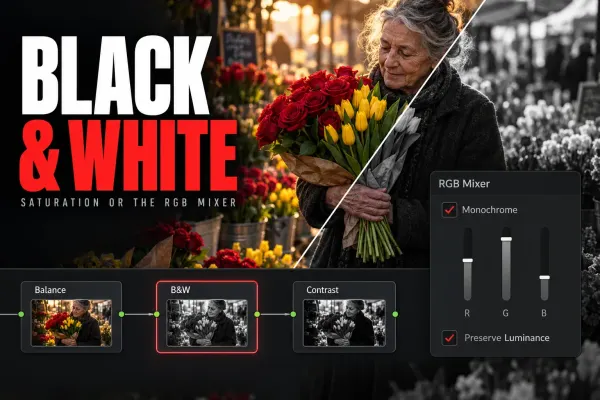
How to Make a Video Black and White in DaVinci Resolve
Turn a clip, a whole timeline or part of the frame black and white, choose the gray mix, then add contrast.

DCTL Not Showing in DaVinci Resolve: Missing Files and Blank Controls
Find out why a DCTL is missing, why its controls are blank or why an existing project reports a missing file.
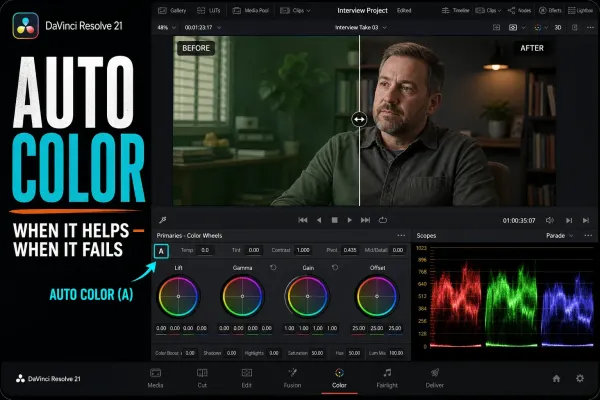
DaVinci Resolve Auto Color: How It Works, When It Fails
Compare automatic balancing with the original frame and the scopes. Decide when a white-balance reference, Shot Match or Color Match suits the problem better.
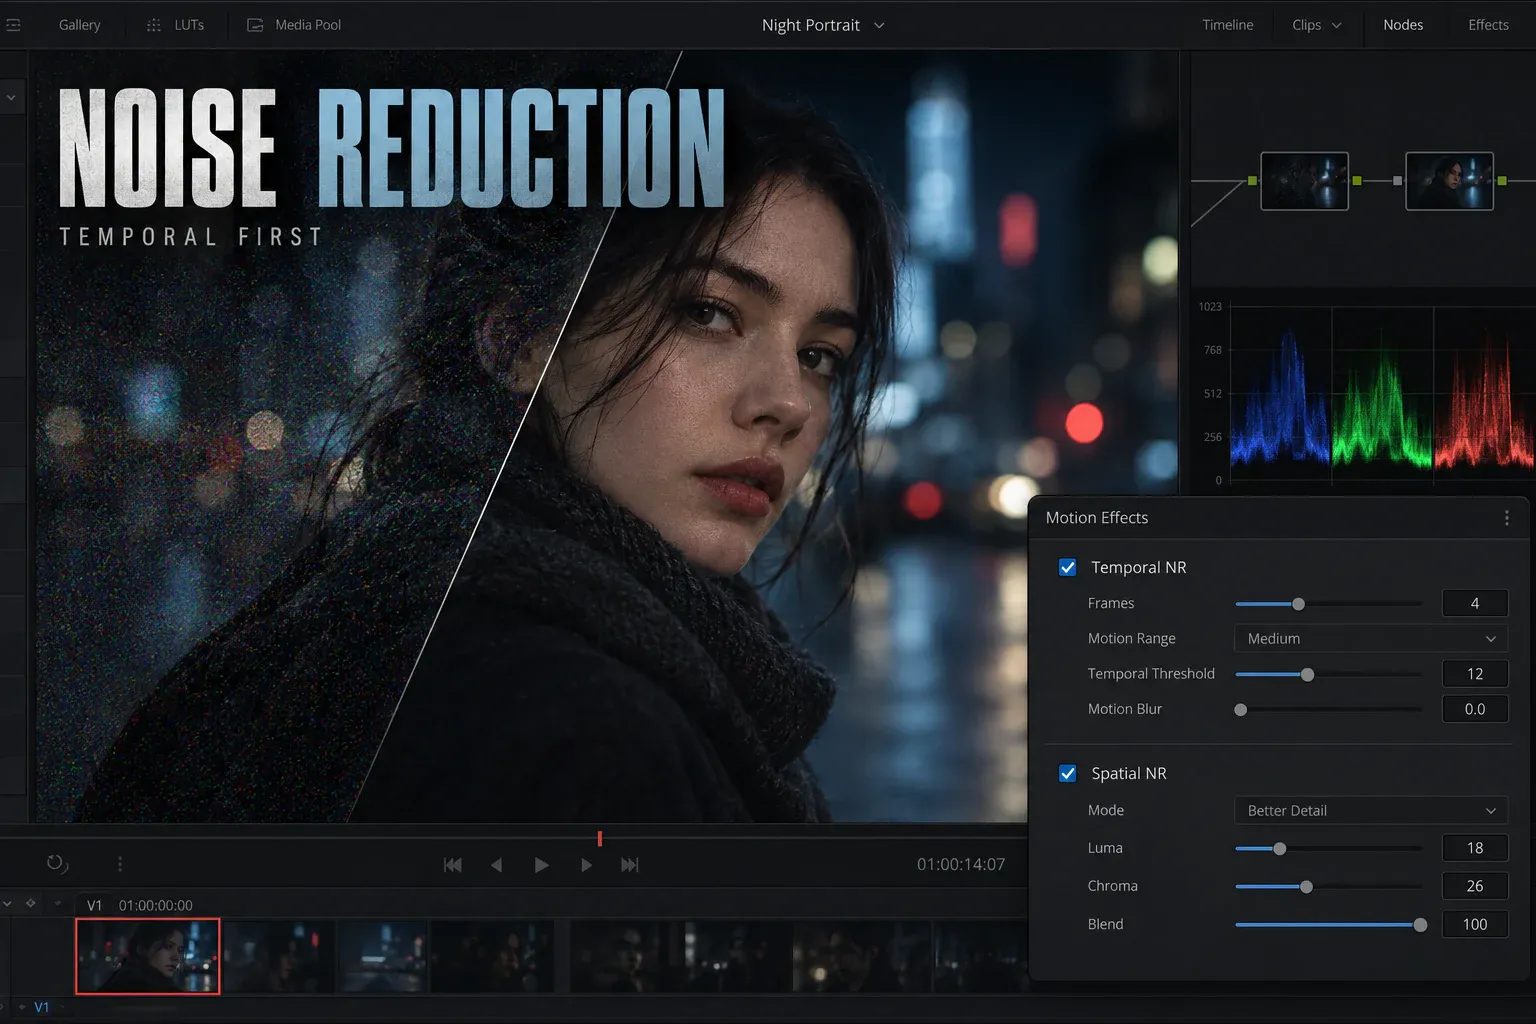
Video Noise Reduction in DaVinci Resolve: Temporal vs Spatial NR
Choose Temporal or Spatial NR based on the artifact you see, keep motion natural, and judge the cleanup on moving footage, because a paused frame can hide smearing.
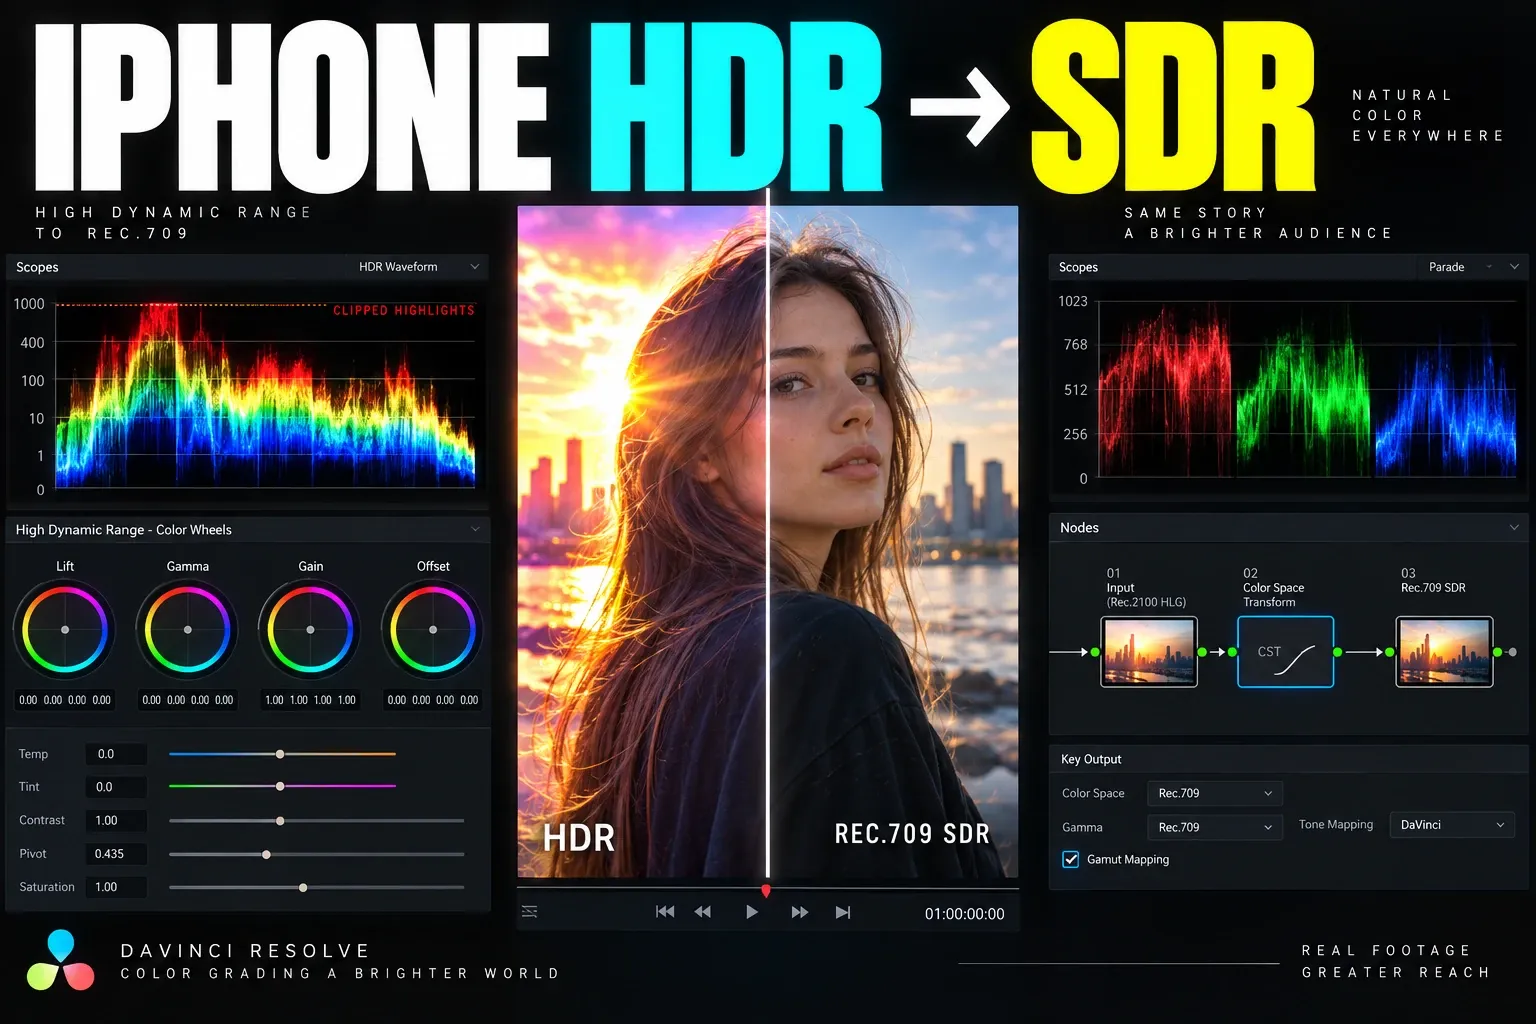
iPhone HDR to SDR in DaVinci Resolve
Work out whether the source is HDR, HLG, Apple Log or SDR, apply one controlled transform, then check tone and gamut mapping on the real delivery path.
Match shots, reuse grades and work with stills4 guides
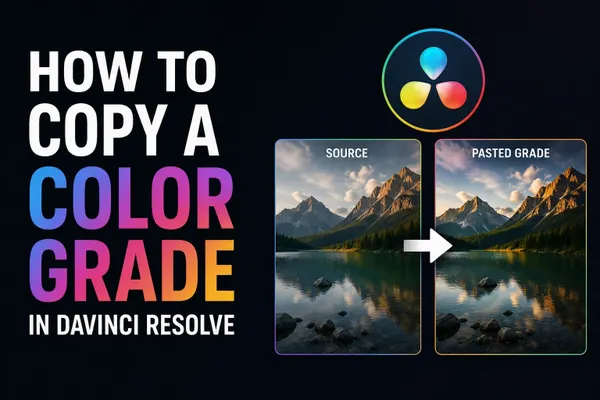
How to Copy a Color Grade in DaVinci Resolve
Decide whether to replace a whole grade, append saved nodes or share a correction. Check what the destination clip already has before you paste.
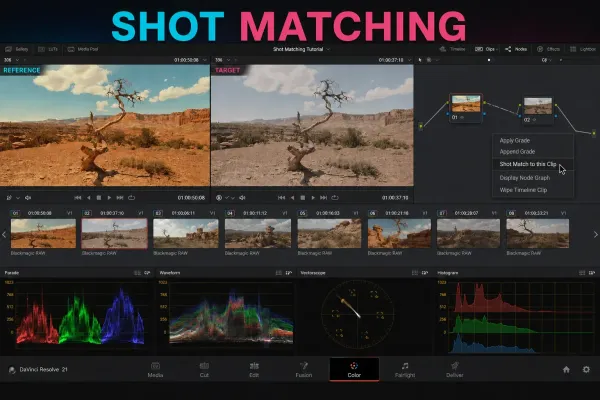
DaVinci Resolve Shot Matching: Match Clips Correctly
Pick a useful reference and bring clips to comparable image states. Judge the match with split screen and scopes, since copied settings won't always match shots.
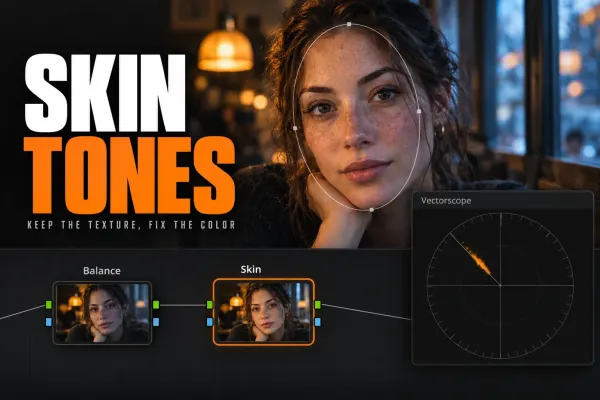
Skin Tone Correction in DaVinci Resolve: A Clean Workflow
Correct skin across a moving clip without shifting the background: balance the shot first, check the qualifier, track a soft window and keep the isolation active.
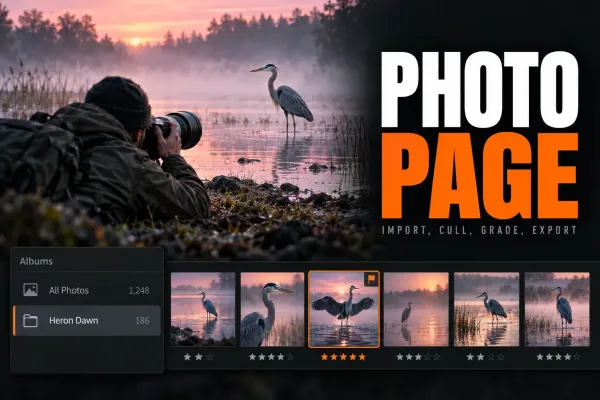
DaVinci Resolve 21 Photo Page: Full Walkthrough
Organize stills in albums, compare grade versions and move between Photo and Color tools. Check the Studio and tethered-capture requirements that apply to your workflow.
Isolate a subject or repair part of the frame3 guides
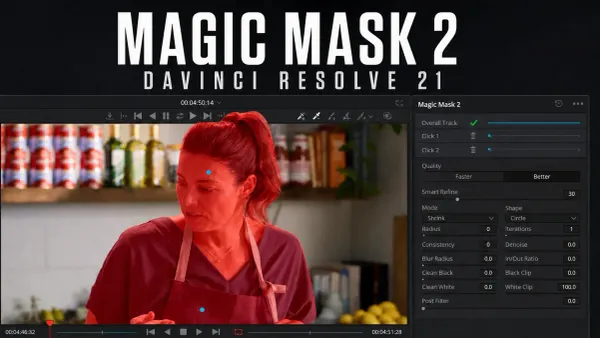
DaVinci Resolve Magic Mask: Resolve 21 Guide
Use Studio’s Magic Mask to isolate a subject. Track through the shot, repair missed frames and check difficult edges before grading inside or outside the selection.
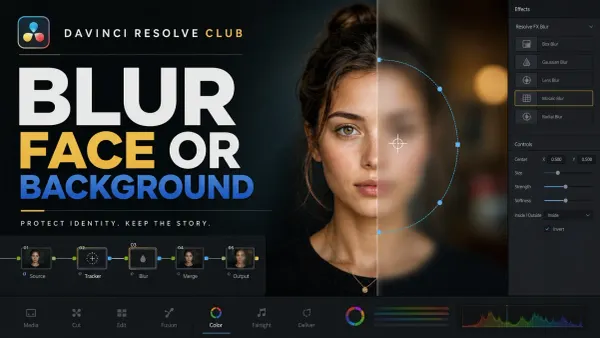
How to Blur a Face or Background in Resolve
Track a face blur or separate a subject from the background. Check drift, occlusion and whether anyone is still recognizable across the whole output, moving frames included.
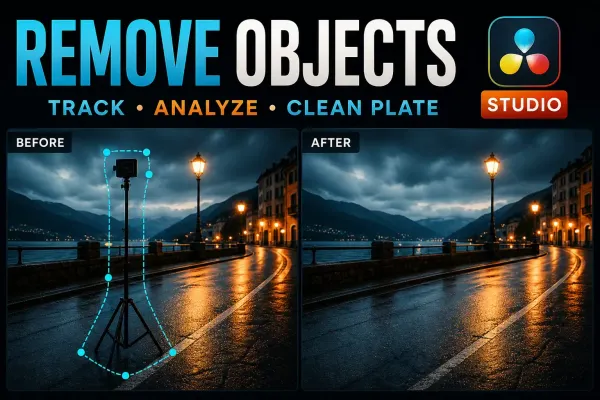
Remove Objects in DaVinci Resolve: Object Removal Guide
Look at how much clean background you have before you reach for Studio’s Object Removal. Compare Resolve's automatic fill, a patch and a manual clean plate, then check for flicker and visible seams.
Before you start
Get the foundations straight
Should I decide color management before grading?
Yes. Identify the source footage, working color space and intended output before you build the grade. That gives technical conversions a clear place and helps you avoid applying the same conversion twice.
Do I need Studio to start color grading?
No. Resolve Free includes the core tools you need to learn color correction. Advanced features such as Magic Mask and Object Removal need Studio, so check the feature requirements before you follow one of those workflows.
Blackmagic’s Color page overview explains the tools, and its Studio feature list helps you sort out edition-specific effects. For structured practice, the official Colorist Guide comes with lesson files. When I checked on October 5, 2026, the listed book still covered Resolve 20, so check newer controls against the version you've installed.
