Plan the delivery
What needs to leave the timeline?
A YouTube upload, a client master, an audio mix and a transparent overlay each need different checks. Start with the file the recipient needs, then pick a guide. A familiar preset is only a starting point, so check the job before you call it ready.
Choose the task
Export the right file
Start with the full walkthrough or pick a specific delivery. Two guides near the end cover a failed render and a picture that changes after export.
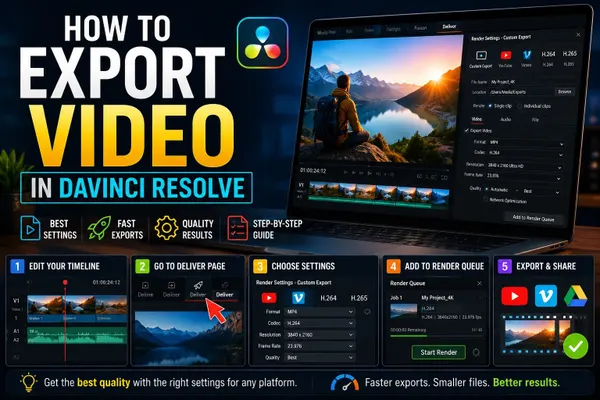
How to Export Video in DaVinci Resolve 21
Use Quick Export or work through the Deliver page. Set the output, range and file location, then check the queued job and the finished video.
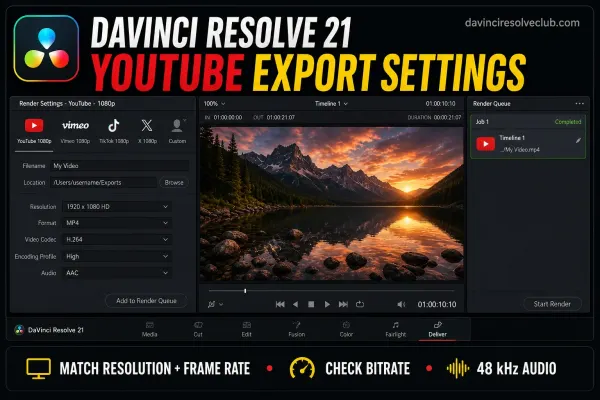
DaVinci Resolve YouTube Export Settings
Follow the SDR bitrate guidance for your resolution and frame rate. Check audio, color tags and upload processing without carrying SDR settings over to an HDR delivery.

HDR Delivery from DaVinci Resolve: PQ, HLG and SDR Versions
Pick PQ or HLG for the destination, verify the HDR file and review a separate SDR output.
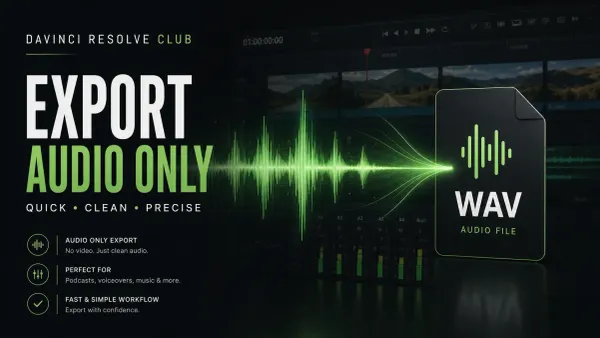
How to Export Audio Only in DaVinci Resolve
Export one finished mix or plan separate stems. Check the output bus, channel layout and range, then decide which audio format the recipient needs.
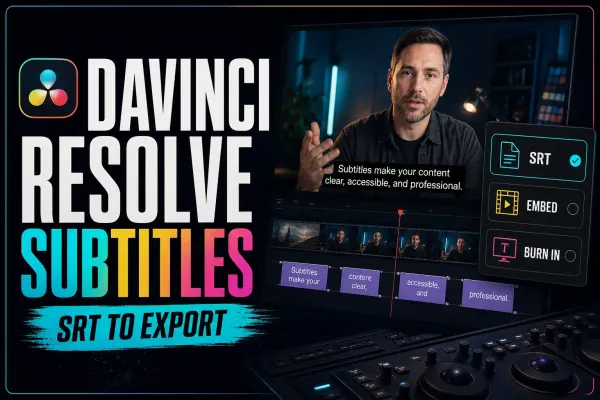
DaVinci Resolve Subtitles: Create, Style, Import & Export
Create or import captions, adjust the timing and pick the delivery: a separate SRT, supported embedded captions or text burned into the picture.
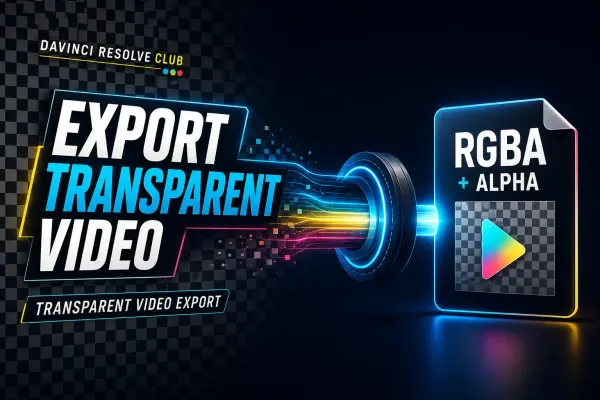
Export Transparent Video in DaVinci Resolve (Alpha)
Confirm the transparency is real, pick an alpha-capable output and check the result over another background. Then track down missing alpha, black playback and edge artifacts.
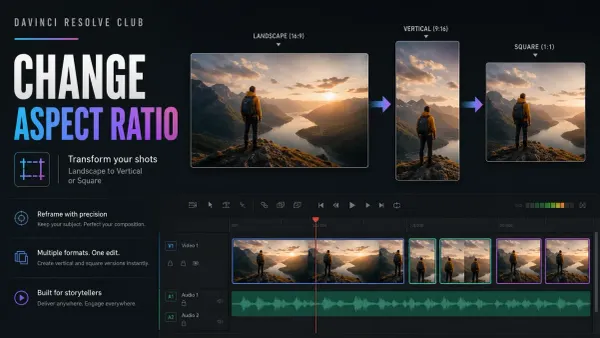
Change Resolution and Aspect Ratio in DaVinci Resolve
Keep timeline size, output size and clip reframing apart. Build a vertical, square or widescreen version without losing cropped subjects, titles or captions.
DaVinci Resolve Super Scale: Upscale 1080p to 4K Without False Promises
Upscale 1080p footage for a 4K timeline with Super Scale in Studio, and know what it can't bring back.
DaVinci Resolve Render Failed
Match the actual error or stalled job to the right diagnostic. Narrow down the failing section, then check the media, Fusion, GPU or storage problem behind it.

DaVinci Resolve Export Looks Washed Out: Fix Color & Gamma
Compare the reimported file with the timeline, then check the player or the upload. Sort out color management, data levels and tags before you touch the grade.
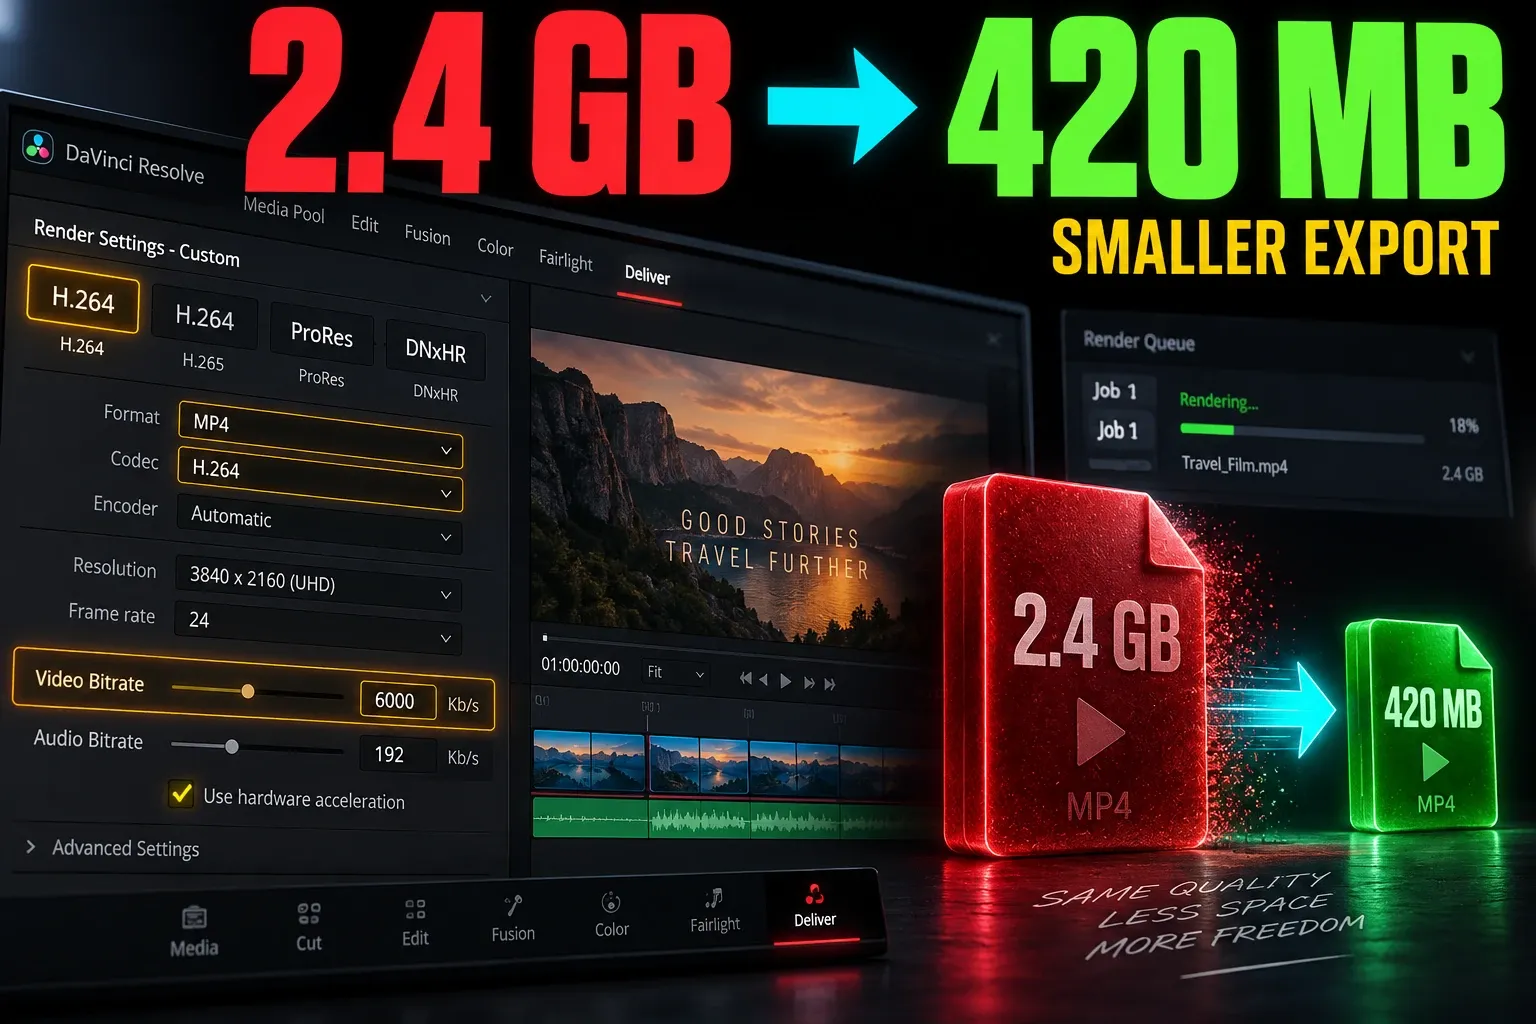
How to Reduce Export File Size in DaVinci Resolve
Work out the bitrate from the duration and size you need, then balance codec, resolution, frame rate and audio without guessing from a preset.

Instagram Reels Export Settings in DaVinci Resolve
Build a 1080×1920 Reel timeline, reframe every shot and export a clean H.264/AAC file. No single bitrate or frame rate is an Instagram rule.
Before you render
Check the job, then the file
Is MP4 the best format for every export?
No. An upload, a client master and a VFX handoff can each need a different format, codec, audio setup and transparency. Follow the destination's guidance or the written delivery specification, and don't treat one preset as universal.
Can the preflight checker inspect my Resolve project?
No. It compares the settings you enter and records the checks you confirm. It can't inspect the project, the media or the rendered file. Review the queued job yourself, then play and check the actual output once it's rendered.
Run the manual export preflight checker to review your settings before you start. Blackmagic’s delivery overview explains Quick Export and the Render Queue, and YouTube’s encoding recommendations list SDR and HDR uploads separately.
