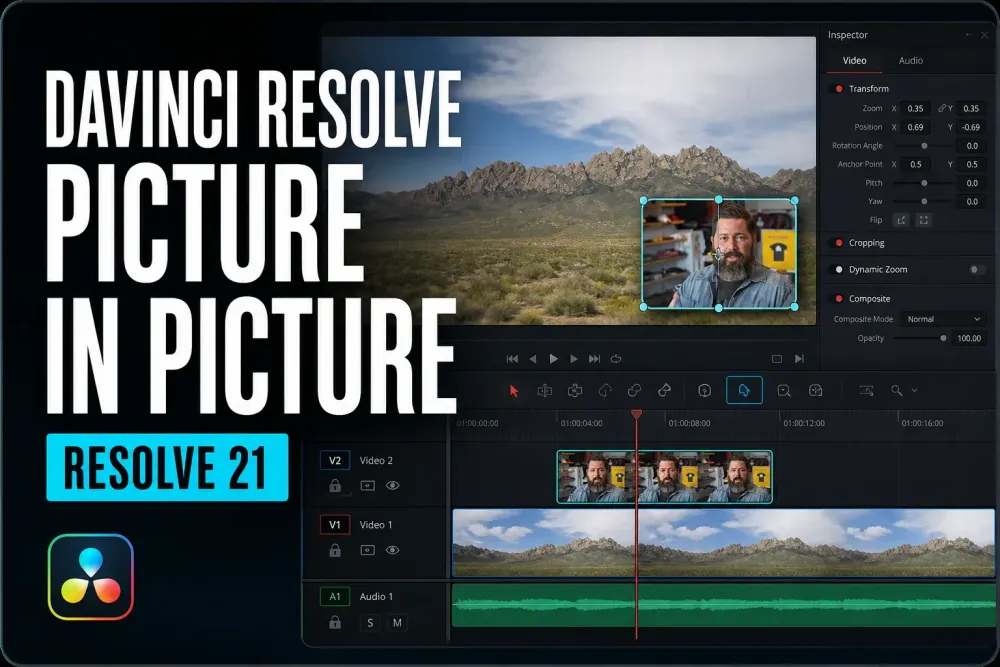
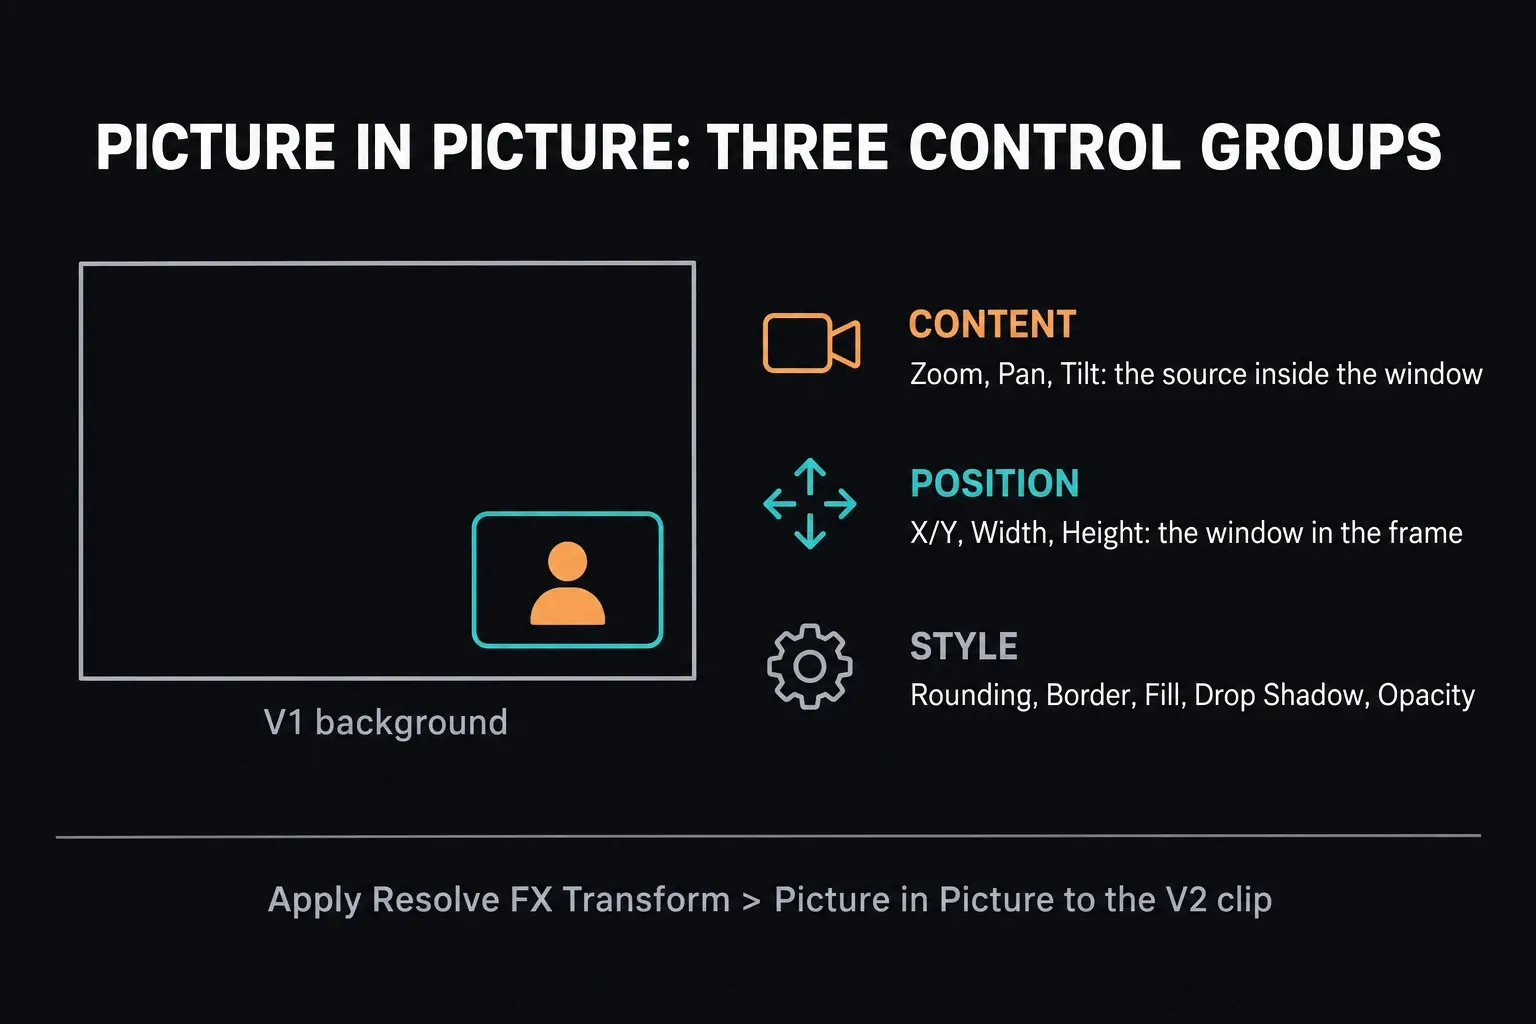
Quick answer: put the full-screen clip on V1 and the video you want as the smaller window right above it on V2. In DaVinci Resolve 21, select the V2 clip, open Effects, find Resolve FX Transform > Picture in Picture and apply it. Then think in three groups: Content reframes what you see inside the inset, Position sizes and places the window, and Style handles rounding, border and shadow.
Can't find Picture in Picture? Check the version before you start rebuilding anything. Blackmagic introduced the dedicated effect in the Resolve 21 New Features Guide, so Resolve 20 and earlier don't have it. You can still build the same basic layout there by scaling and positioning the V2 clip with Inspector Transform controls.
The control names and the two-track setup come from the Resolve FX Transform chapter of the DaVinci Resolve 21 Reference Manual for 21.1. This page sticks to one inset window; the Resolve learning hub covers the editing steps around it.
Choose the right Picture in Picture method
| Method | Best use | Tradeoff |
|---|---|---|
| Resolve 21 Picture in Picture FX | One facecam, reaction shot, product close-up or tutorial inset | Requires Resolve 21 |
| Inspector Transform | Basic PiP in Resolve 20 or earlier, or a plain borderless inset | Framing, border and shadow take more manual work |
| Video Collage | Several repeated tiles or a structured grid | More setup than one inset needs |
| Fusion | Custom masks, tracked frames, complex reveals or reusable node templates | Steeper workflow and easier to overbuild |
For a single smaller window, start with the native Resolve 21 effect. Reach for a grid or Fusion when you need several coordinated frames or a custom mask. And if you're really switching between camera angles, that's a different job: the multicam editing guide covers cutting between synchronized angles one at a time.
Create picture in picture in Resolve 21
- Open the Cut or Edit page and put the background video on V1.
- Put the clip that should become the smaller window on V2, right above the matching section of V1.
- Trim or sync the two clips before you style the window. If you slide V2 afterwards, the inset's timing slides with it.
- Select the V2 clip. Open Effects, search for Picture in Picture and apply the Resolve FX Transform effect to that upper clip.
- Go to Inspector > Effects > Open FX and expand Picture in Picture. Content, Position and Style each control a different part of the inset.
- If you'd rather drag and resize the inset on screen, choose Open FX Overlay from the mode menu at the lower left of the Viewer.
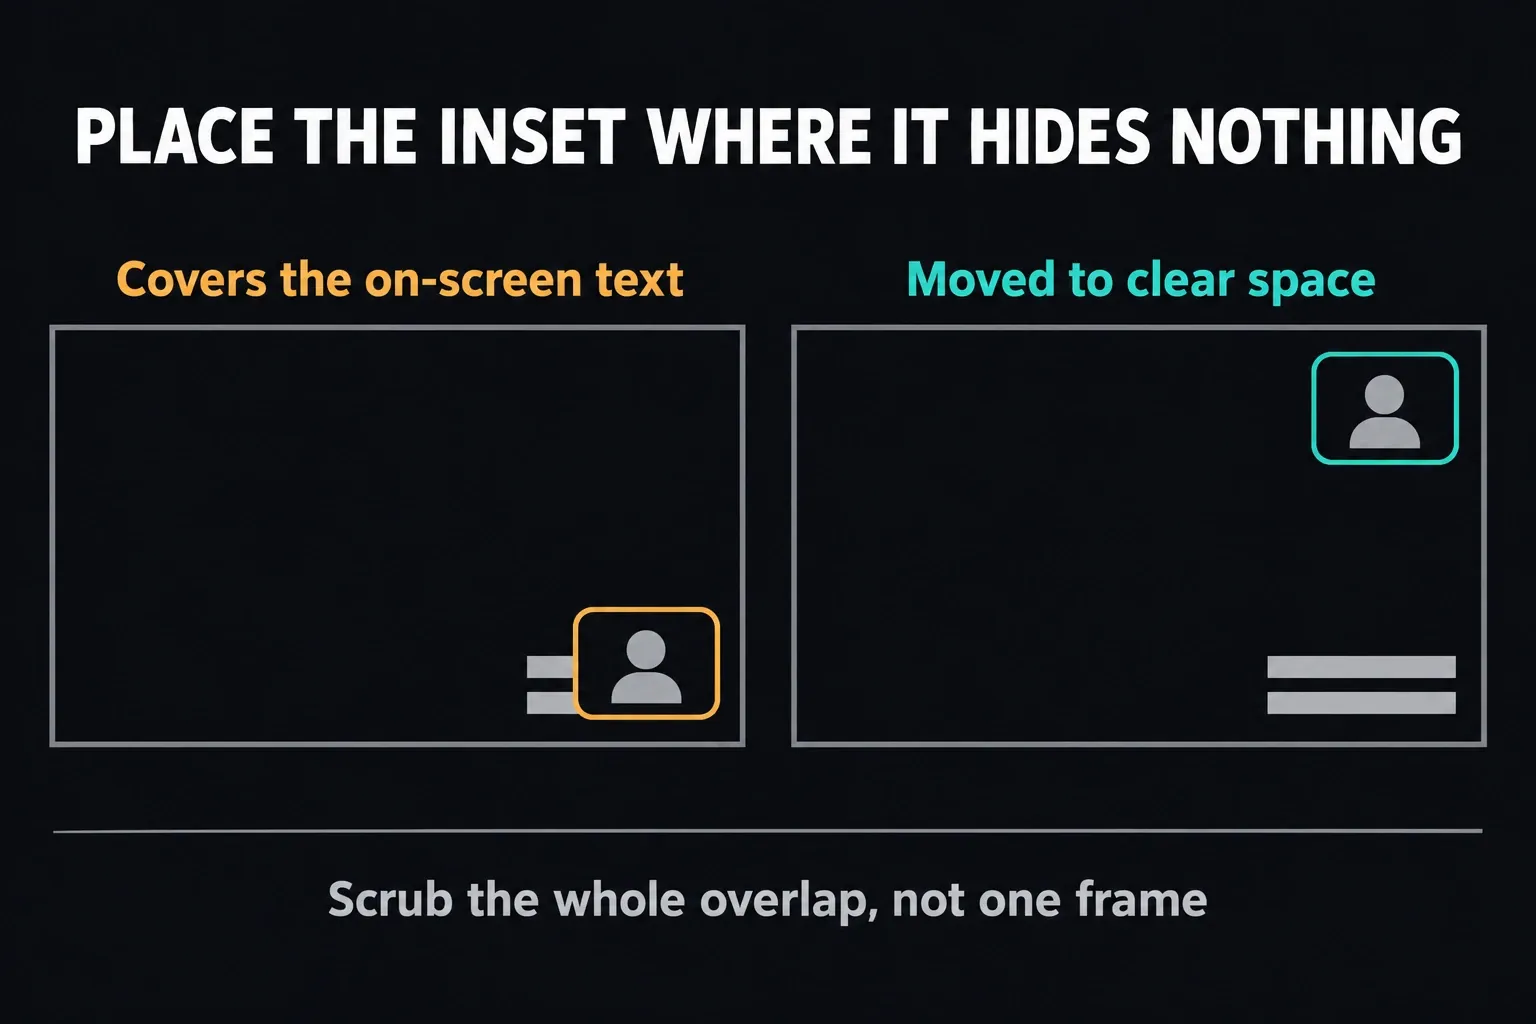
- Play the whole overlap, not one representative frame. The speaker may lean out of the crop or cover text later in the shot.
With ordinary opaque clips, the upper track covers the lower one wherever they overlap. So if V2 fills the Viewer before you apply the effect, nothing is broken. If V1 vanishes from the timeline itself rather than just from the picture, you've probably dropped both clips on the same track.
The Resolve Inspector guide is the wider reference for the Video, Audio and Effects tabs. For this job, stay on the selected clip's Picture in Picture effect so the clip-level Transform and the effect's own controls don't get mixed up.
Content versus Position: the control that prevents bad crops
The distinction that saves the most time is the source inside the frame versus the frame itself. Content changes what you see through the window. Position changes where the window sits and how big it is.
- Content Zoom enlarges or shrinks the source inside the PiP frame.
- Content Pan slides that source left or right.
- Content Tilt slides it up or down.
- Position X/Y moves the whole window around the finished frame.
- Width and Height change the window's outer size.
Face too small, but the inset already takes up the right amount of screen? Raise Content Zoom and leave Width and Height alone. Framing fine, but the inset sits on a subtitle or an interface button? Move Position X/Y. Keep those two jobs apart and you skip the resize-then-recrop loop that older tutorials tend to fall into.
Width and Height also change the window's shape, so judge the result at the delivery aspect ratio. A corner layout that works at 16:9 can block important content after a vertical reframe; the Resolve aspect-ratio guide covers the timeline and output decisions that sit outside this effect.
Make the inset readable without overdesigning it
Open Style only once the content and position are right. Rounding runs from square corners at its minimum to a circular window at its maximum. Rotation and Opacity affect the whole inset. Border, Fill and Drop Shadow each reveal their own controls once you turn them on.
Create a circular picture in picture
Center the face with Content Pan and Tilt, then push Style Rounding to its maximum, 1. Look at the shape in the Viewer at your delivery aspect ratio. If it reads as an oval, adjust Width and Height until the visible window is round. Matching numbers don't guarantee a circle, and stretching the person to fit the frame isn't the fix.
Add a border
Enable Border, then set Border Width, Border Color and Border Opacity. The right width depends on timeline resolution, window size and background contrast, so I won't pretend there's a universal number. Check it at 100 percent Viewer scale and on a phone-sized preview before you make the line heavier.
Add a drop shadow
Enable Drop Shadow and work through Strength, Color, Drop Angle, Drop Distance, Expand and Blur. The shadow's job is to separate similar tones, not to become a second graphic. Check it over the brightest and darkest frames, because a setting that disappears over black can look dirty over white.
Use Fill only when the source needs it
Fill draws a background behind transparent content inside the window, and Fill Matches Border uses the border color for it. An ordinary full-frame video source needs neither, and switching Fill on out of habit can hide transparency you wanted.
Manual Picture in Picture in Resolve 20 or earlier
The manual method is still handy for a plain inset, and it shows you what the composite really is:
- Put the background on V1 and the inset source on V2.
- Select V2 and open Inspector > Video > Transform.
- Keep Zoom X and Y linked and lower Zoom until the inset is the size you want. The right value depends on the source and timeline dimensions.
- Change Position X and Y to push it into a corner.
- Use Cropping only when you need to remove content outside the window you want.
- If the result disappears, check Composite Opacity and track visibility.
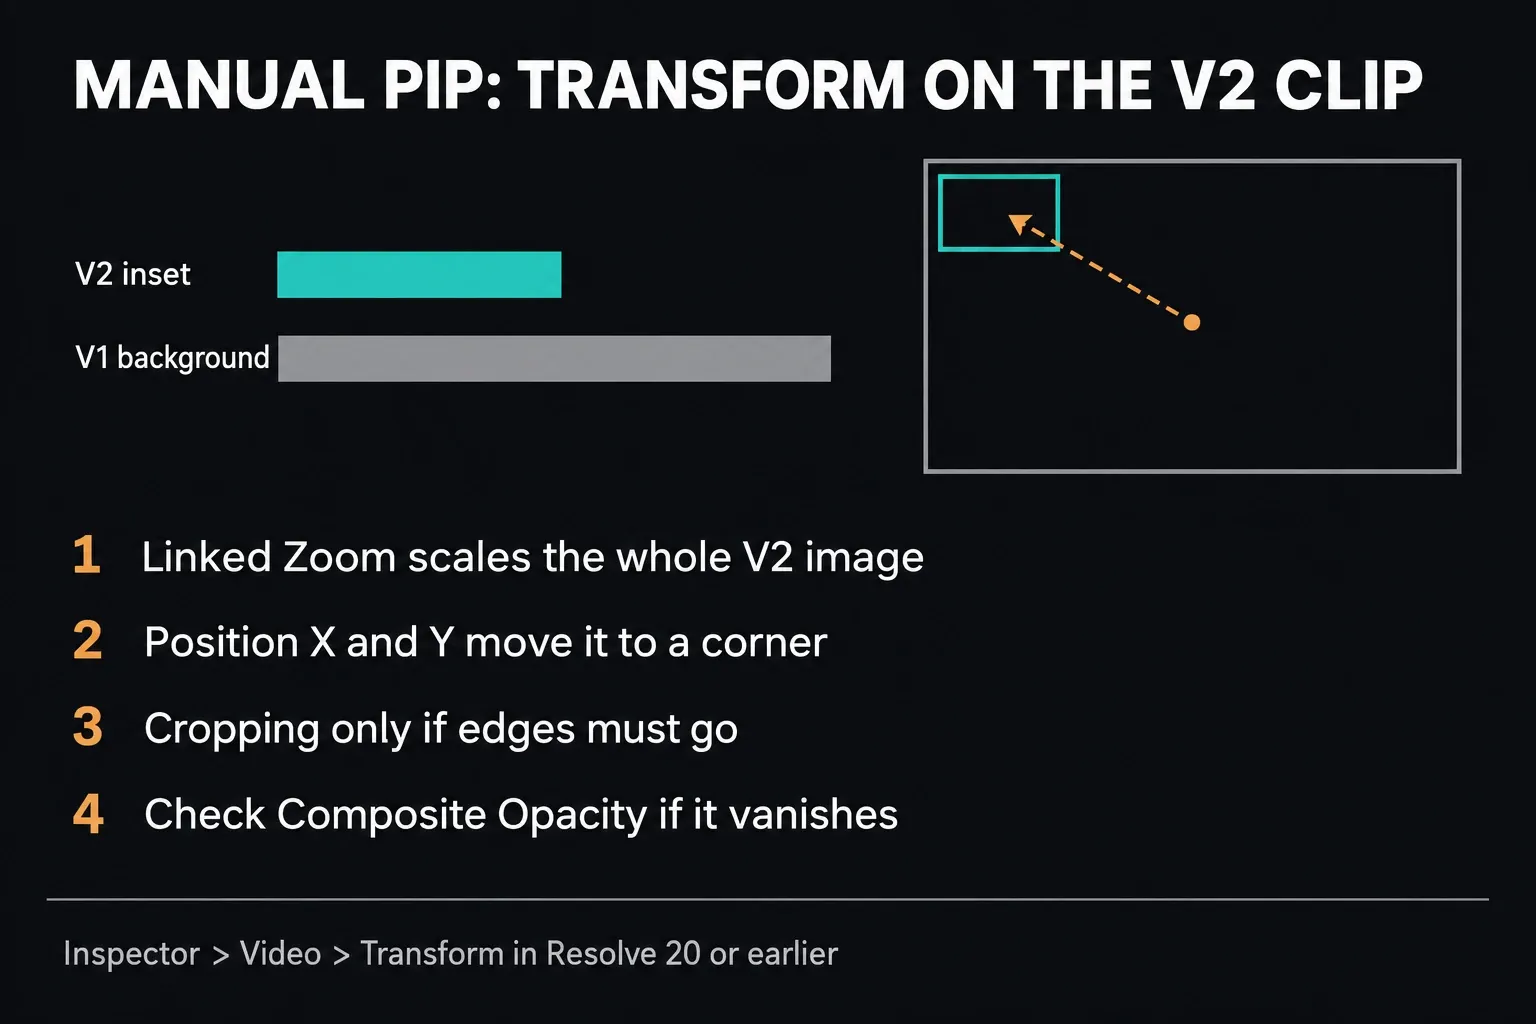
What you don't get here is the Resolve 21 effect's split between Content and Position. Zoom scales the whole V2 image instead of zooming inside a fixed PiP boundary. A more complex fixed frame, a tracked mask or a reusable graphic belongs in the Fusion beginner workflow, but a basic corner inset doesn't need nodes.
Animate the inset in and out
For a simple fade, keyframe the native effect's Style > Opacity. That keeps the animation inside Picture in Picture instead of mixing its window controls with clip-level Transform:
- Select the V2 clip and open Inspector > Effects > Open FX > Picture in Picture.
- On the first frame of the entrance, set Style Opacity to 0 and click its diamond to store a keyframe.
- Move the playhead to the frame where the inset should be fully visible and set the same Opacity to 1. Resolve adds the next keyframe for you.
- For a fade-out, first store another Opacity keyframe at 1 where the exit starts, then move later in the clip and set it to 0. That extra point is what holds the inset visible between the two fades.
- Play the entrance, the hold and the exit. If the timing or easing feels off, select the effect's Opacity curve in the Curve Editor and shape it there.
For a slide, use the keyframe diamonds next to the native effect's Position controls and leave Content Zoom for reframing inside the window. With the older manual method, animate Video > Transform instead. The keyframes and Curve Editor guide shows how to reveal the right curve and shape the move. A short entrance is usually plenty; the frame shouldn't compete with the speaker.
Why Picture in Picture is missing or looks wrong
The effect is not in search
Check two things: the installed version and the Effects category. Look in Resolve FX Transform, not Video Transitions or Titles. The dedicated effect arrived in Resolve 21, so on Resolve 20 or earlier you'll use the manual Transform method. An empty search in the wrong category is no reason to rebuild a project.
The background is not visible
Start with track order and timing: background on V1, inset on V2, both under the playhead. Make sure V1 is enabled, then confirm Picture in Picture is applied to V2 and switched on in the Inspector. A full-size V2 image before you apply the effect is normal.
The Viewer handles move the wrong thing
Select the V2 clip, open its effect in the Inspector and switch the Viewer to Open FX Overlay. The ordinary Transform handles move the whole clip; the Open FX overlay moves the PiP window.
The source moves but the window does not
You're adjusting Content Pan or Tilt. Use Position X/Y to move the outer window, and Width and Height to change its boundary.
The Color-page version has a black background
On the Color page, right-click the node graph, choose Add Alpha Output and connect the Picture in Picture node's blue alpha output to that new output. Blackmagic documents this extra connection so the timeline gets transparency instead of a black background. The effect also has a Use Alpha checkbox for alpha compositing. If you're just learning the effect, applying it on the Cut or Edit page skips this node setup entirely.
The inset covers titles or phone UI
Scrub the whole overlap and look at the actual delivery frame. Move or resize the window, shorten it, or cut back to full screen when the background detail matters more. Where the inset goes is an editorial call each time, not a permanent lower-right preset.
Does Picture in Picture work in Resolve Free?
Yes. Picture in Picture is available in Resolve 21 Free as well as Studio. The manual doesn't mark it Studio-only, and the version history on the free Mac edition's App Store listing names the Resolve FX Picture in Picture effect in the 21.0 notes. If you can't find it, check the installed version and the Resolve FX category before you assume you need a paid license.
PiP doesn't need special export settings; it's simply part of the composed timeline image. Use the normal DaVinci Resolve export workflow, then watch the rendered file to make sure the inset position, border and shadow held up at delivery resolution.
DaVinci Resolve Picture in Picture FAQ
How do I make picture in picture in DaVinci Resolve 21?
Put the background on V1 and the smaller source on V2. Apply Resolve FX Transform > Picture in Picture to the V2 clip, then adjust Content, Position and Style in the Inspector.
Why can I not find Picture in Picture in DaVinci Resolve?
The dedicated effect arrived in Resolve 21, so first check which version you have installed, then search the Resolve FX Transform category. In Resolve 20 or earlier, scale and position the upper clip with the Inspector's Transform controls instead.
How do I make a circular picture in picture?
Center the source with Content Pan and Tilt, set Style Rounding to 1, then adjust Width and Height until the window looks round at your delivery aspect ratio. Matching numbers for Width and Height don't replace checking the visible shape.
Can I add a border and shadow without Fusion?
Yes, in Resolve 21. The native Picture in Picture Style controls include Border and Drop Shadow, each with its own width, color, opacity, distance and blur settings.
How do I zoom inside the PiP without resizing its frame?
Use Content Zoom, Pan and Tilt. They reframe the source inside the window, while Width, Height and Position X/Y change the outer window.
How do I animate picture in picture?
For a native Resolve 21 fade, keyframe Picture in Picture > Style > Opacity from 0 to 1. Use its Position keyframes for a slide and the Curve Editor for timing. With the manual method, animate the clip's Transform controls instead.
Is Picture in Picture available in DaVinci Resolve Free?
Yes. The Resolve 21 manual doesn't mark Picture in Picture as Studio-only, and the free Mac edition's App Store version history lists it in the 21.0 notes. If it's missing, check the installed version and the Resolve FX Transform category.
