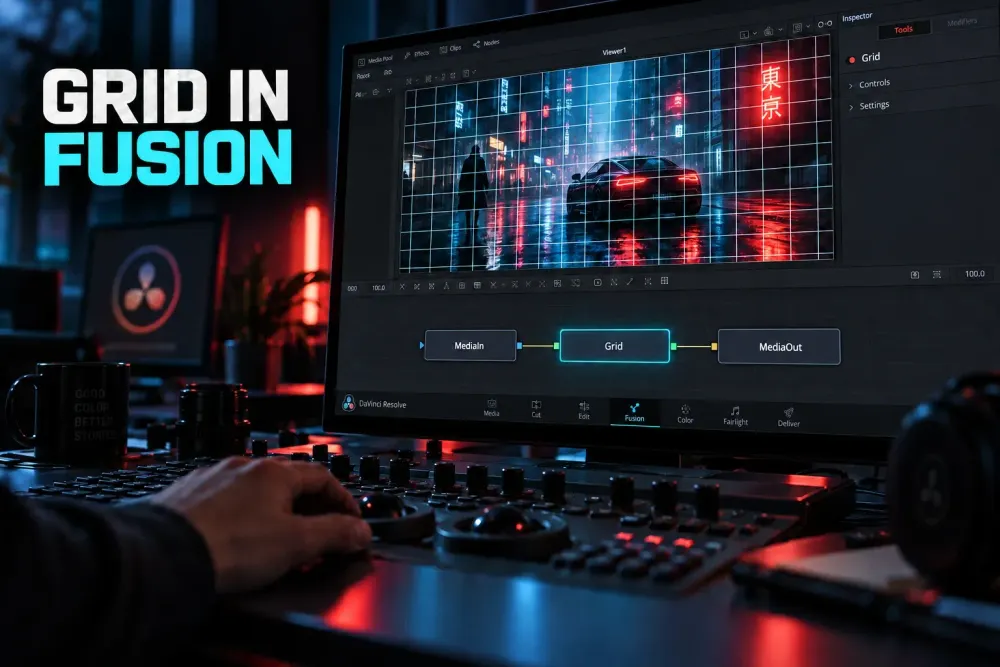
Quick answer: on the Fusion page, select the connection between MediaIn and MediaOut, press Shift+Space, search for Grid, and add the tool. The working flow should read MediaIn → Grid → MediaOut. You can also find it under Effects Library > OpenFX > ResolveFX Generate > Grid.
That creates a visible grid that can become part of the image. If you only need temporary lines for centering text or checking composition, right-click the Viewer and choose Guides > Show Guides instead. Guides help you align a shot but do not render into the export.
Which Grid Do You Mean?
Resolve uses similar language for tools that solve very different problems. Choose by what you want to see in the finished frame.
| Goal | Use | Appears in export? | What it needs |
|---|---|---|---|
| Draw a visible grid over an image | Resolve FX Grid | Yes | An image connected to the Grid source |
| Center or align elements in the Viewer | Viewer Guides | No | Nothing added to the node tree |
| Bend an image through a lattice | Grid Warp | Yes | An image to deform |
| Tidy the node graph | Flow alignment or snapping | No | Selected nodes in the Flow |
| Build a wall of several videos | Transform and Merge nodes | Yes | One source branch for each video |
The two common choices are simple: use Grid when the lines belong in the image, and use Viewer Guides when the lines are only a workspace aid. The Blackmagic Design forum explanation of Grid and Viewer Guides confirms both routes in Fusion.
Add a Grid Node in Fusion
- Select the clip in the Edit timeline, then open the Fusion page.
- Check the basic flow. A normal timeline clip starts with MediaIn connected to MediaOut.
- Select the line between those two nodes, press Shift+Space, type Grid, select the Grid tool, and click Add.
- If Resolve does not insert it into the line automatically, connect the MediaIn output to the Grid source input, then connect the Grid output to MediaOut.
- Select the Grid node and open the Inspector to shape the pattern.
You can reach the same tool through Effects Library > OpenFX > ResolveFX Generate > Grid. The keyboard search is faster once you know the tool name; the library path is useful when you want to confirm that you picked Grid rather than Grid Warp.
If the node graph still feels unfamiliar, start with the Fusion beginner tutorial. It explains how MediaIn, effects, Merge nodes and MediaOut pass an image through the comp.
Change the Grid Size, Position, Color and Strength
Select the Grid node and work from the controls visible in its Inspector. The exact grouping can move between Resolve versions, but the useful decisions stay the same:
- Cell size or density: increase the spacing for a small number of large divisions; reduce it for a denser technical pattern.
- Position: move the grid until a major line crosses the feature you are aligning. For a centered layout, place the pattern so its central vertical and horizontal lines meet at the frame center.
- Line appearance: choose a color that remains readable against the footage. A saturated color usually survives mixed light and dark areas better than white.
- Strength: lower the line intensity when the grid is a subtle design layer. Keep it stronger while placing elements, then judge it again at normal playback size.
Do not tune a dense grid while looking only at a zoomed-in Viewer. A pattern that feels clean at 200% can flicker or become distracting at delivery size. Check the full frame and a short section of playback before keeping it as part of the design.
Use the Grid Over Footage or as a Background
Grid over footage
For an overlay, the source image must feed the Grid tool:
MediaIn → Grid → MediaOut
This is the simplest layout for a technical overlay, map graphic, screen treatment or temporary alignment pass that you plan to remove later. The Grid processes the incoming image and draws its lines over that source.
Grid as a background
If you want a standalone grid behind text or graphics, first create a canvas with a Background node:
Background → Grid → Merge → MediaOut
Connect the title or graphic to the Merge foreground and the gridded Background branch to the Merge background. This keeps the pattern independent from the foreground, so you can adjust or animate each branch without rebuilding the comp.
For a transparent result, decide whether the grid itself should be opaque or carry alpha, then confirm the delivery format supports transparency. The transparent video export guide covers the render-side requirements.
Why the Grid Node Shows Nothing
The most common failure is an empty source input. Grid is not a self-contained image generator in this workflow; it needs an image or canvas to draw on. A Blackmagic forum troubleshooting thread about a blank Grid node identifies a missing connection to the Source input as the key check.
Work through these checks in order:
- Confirm the source: MediaIn or a Background node must feed the Grid source input.
- Confirm the output: the Grid output must continue toward MediaOut. A working side branch will not appear in the timeline viewer.
- View the node directly: select Grid and press 1 or 2 to send it to a Fusion Viewer. If the grid appears there but not in the final output, the problem is downstream.
- Check the displayed branch: make sure the Viewer is showing the node you think it is showing. Fusion can display an intermediate node while MediaOut receives another path.
- Check line visibility: use a contrasting color and stronger line setting temporarily. A thin dark grid can disappear over dark footage even when the node works.
- Check bypass state: confirm the node is enabled and the effect has not been bypassed.
This order separates a connection problem from an appearance problem. Rebuilding the node rarely helps if MediaOut is simply connected to the wrong branch.
Show Viewer Guides Without Rendering a Grid
Right-click inside a Fusion Viewer, open Guides, and choose Show Guides. Use this when you need center lines or composition references while positioning a title, mask or graphic.
Viewer Guides are safer than adding a temporary Grid node when the lines must never reach the final render. They live in the Viewer rather than the image flow, so there is no effect node to remember to disable before export.
If the guides do not appear, check that you opened the context menu inside the Fusion Viewer rather than the node area. The Flow, Inspector and Viewer have different right-click menus.
Grid vs Grid Warp
Grid draws lines. Grid Warp uses a lattice to reshape the image. They may both display a grid-like control, but their outputs are unrelated.
- Choose Grid for a visible pattern, alignment overlay or graphic background.
- Choose Grid Warp when you need to bend, stretch or locally reshape part of the source.
If your image starts distorting when you expected straight overlay lines, remove Grid Warp and add the Resolve FX Grid tool. If you need a controlled deformation, treat the lattice as a set of handles and keep an untouched source branch available for comparison.
A Grid Is Not a Multi-Video Layout
A visible Grid tool does not divide clips into tiles. For a two-by-two or three-by-three video wall, each clip needs its own branch, usually with a Transform for scale and position, then Merge nodes to combine the branches.
The grid can still help as a temporary spacing reference, but remove or bypass it when the layout is finished unless the design calls for visible separator lines. For one inset, the picture-in-picture guide is faster. For several coordinated frames, build the layout in Fusion and label each source branch before the node tree grows.
A Clean Grid Workflow
- Use Viewer Guides for temporary alignment.
- Use Grid only when the lines should be processed with the image or included in the result.
- Feed Grid with MediaIn for an overlay or with Background for a standalone pattern.
- View Grid directly with 1 or 2 before debugging the rest of the comp.
- Use Grid Warp only for deformation.
- Build video walls with Transform and Merge branches, not with the Grid effect.
Fusion is designed around connected image operations rather than a fixed layer stack; Blackmagic's overview of the Fusion workspace shows the node-based approach behind effects, compositing and motion graphics. Once you identify whether the grid belongs in the image or only in the Viewer, the correct setup is usually one node or one menu command.
