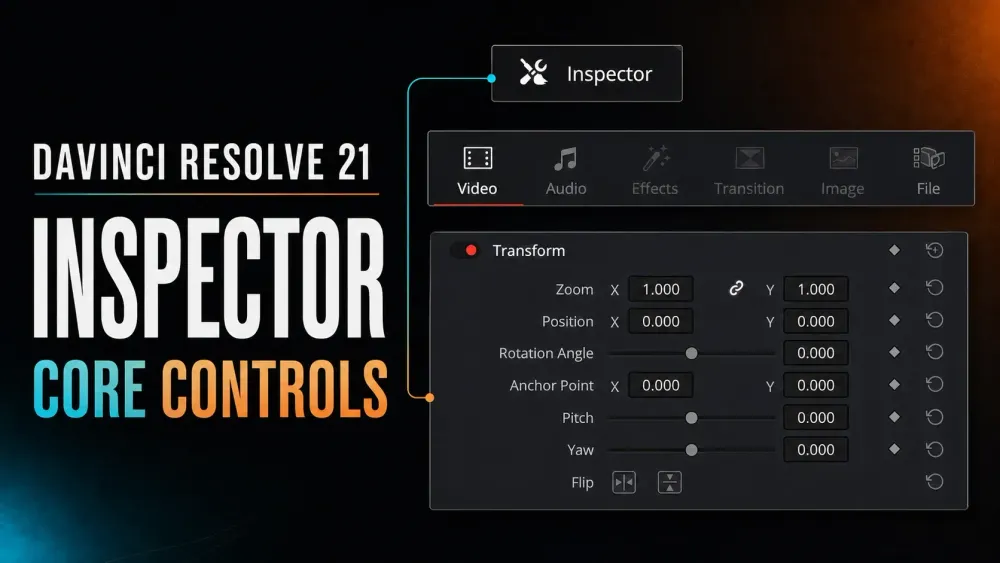
The Inspector is contextual: it shows properties for the selected clip, title, transition, generator, subtitle, or applied effect, not one universal panel for the project.
If it looks blank or a control disappears, first confirm the selected timeline item and tab; then check whether the panel is too narrow or a template, plug-in, or Resolve build is involved.
What the Inspector Controls
| Selected item | Inspector shows | Use it for |
|---|---|---|
| Video clip | Video, Audio, Effects, Image/File when relevant | Framing, clip sound, applied effects, source properties |
| Audio-only clip | Audio and File | Clip volume, pan, pitch, EQ, metadata |
| Title or generator | Custom text/design controls plus settings | Content, font, layout, animation |
| Transition | Transition controls | Duration, alignment, style-specific parameters |
| OpenFX effect | Effects controls | Effect strength, masks, blend, animation |
| Fusion composition | Published controls | Parameters intentionally exposed from Fusion |
The Inspector changes a timeline instance. Project Settings define timeline-wide behavior; the Color page stores node-based corrections; Fairlight handles track and bus processing; Fusion owns its node graph. Keeping those scopes separate is the fastest way to diagnose a clip that looks or sounds different from its Inspector values.
The official Edit page describes Inspector animation, Dynamic Zoom, stabilization, lens correction, titles, transitions, and picture-in-picture workflows. Checked September 5, 2026, the exact panel behavior and control definitions used here come from the final DaVinci Resolve 21 Reference Manual.
Open the Inspector and Select the Right Item
- Go to the Edit or Cut page.
- Click the clip, transition, title, or effect you actually want to change.
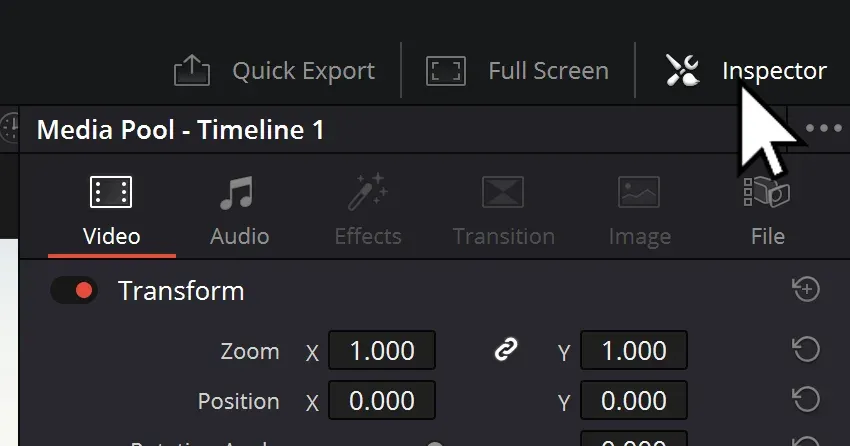
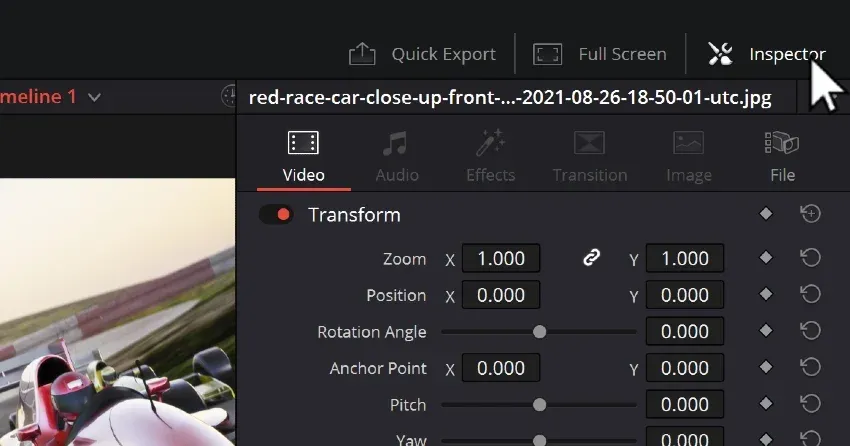
- Click Inspector at the upper right.
- Read the Inspector header and confirm it matches the selected timeline item.
- Open the tab that owns the setting: Video, Audio, Effects, Transition, Image, or File.
A Media Pool source and a timeline instance are different scopes. Changes made to the Media Pool source are carried into future edits of that source; changes made to an instance already in the timeline stay independent and don't rewrite the Media Pool settings.
For animation in a cut, select the timeline instance. With stacked tracks, click the exact upper or lower clip rather than trusting only what is visible in the Viewer.
Video Inspector: Transform
Transform controls where the picture sits inside the timeline frame:
- Zoom X/Y: scales width and height. Keep the chain linked for normal proportional scaling; unlink it only for deliberate distortion.
- Position X/Y: moves the image horizontally or vertically.
- Rotation Angle: rotates the clip around its anchor point.
- Anchor Point X/Y: moves the pivot used by rotation and scale without simply repositioning the visible image.
- Pitch and Yaw: create perspective-like tilts around horizontal and vertical axes.
- Flip: mirrors the image horizontally or vertically.
For a normal reframe, start with Zoom and Position. Move Anchor Point only when the motion needs a different pivot, for example, a graphic swinging from one corner. The aspect-ratio guide shows how these controls work inside a vertical or square timeline.
Cropping
Cropping removes pixels from the left, right, top, or bottom of the visible clip. A negative Softness value feathers inside the crop box; a positive value feathers outside it. With Retain Image Position enabled, the crop stays locked when you resize with Transform. Disable it when the crop should scale and move with the image.
Crop and Zoom solve different problems. Crop hides an edge; Zoom changes the scale of everything. For a split screen, crop each layer and use Position to place it. For a simple reframe, start with Transform alone.
Dynamic Zoom
Dynamic Zoom creates a start-to-end push, pull, or pan without manually setting several Transform keyframes. Turn it on, enable the Dynamic Zoom overlay in the Viewer, and adjust the green start frame and red end frame. Swap them to reverse the move and choose an easing style in the Inspector.
Do not run Dynamic Zoom and manual Zoom/Position keyframes on the same clip unless you intend to combine both. If the framing feels impossible to predict, disable one system and rebuild the move with a single method.
Composite
Composite Mode defines how the selected clip combines with tracks below it. Normal is the standard opaque layer; modes such as Screen, Multiply, or Add produce different mathematical blends. Opacity controls how much of the selected clip contributes to the result.
Composite controls matter only when something exists underneath the clip. If changing the mode appears to do nothing, inspect track order, disabled tracks, and whether the lower layer contains visible pixels at that frame.
Speed Change, Stabilization, and Lens Correction
Speed Change handles a constant clip-speed adjustment, reverse playback, and related timing behavior. For a variable speed ramp, open Retime Controls and the curve editor instead of forcing the whole job through one percentage field. The shortcuts in the Resolve keyboard guide make it faster to open retime controls and inspect the timeline.
Stabilization analyzes camera motion and attempts to smooth or lock the shot. Its mode and controls cover camera lock, zoom, crop ratio, smoothing, and strength. Start with moderate settings, click Stabilize, then watch the edges and subject motion. Stronger isn't automatically better; warping and aggressive crops can look worse than the original shake.
Lens Correction is Studio-only. Analyze examines edges in the frame at the current playhead position and moves the Distortion control automatically; Distortion lets you adjust or back off that warp manually. It isn't a camera-profile lookup, so don't diagnose a missing control as a missing lens profile.
Retime and Scaling
This section controls how Resolve creates frames and how mismatched media fits the timeline:
- Retime Process: chooses how new frames are produced, such as nearest frame, frame blend, or optical flow.
- Motion Estimation: chooses the optical-flow analysis mode when optical flow is active.
- Scaling: can fit, crop, stretch, or use the project setting for this individual clip.
- Resize Filter: chooses the resampling filter used when the image is resized.
These per-clip options can override the project’s general mismatch rule. That's useful for one awkward source, but it also explains why one clip has bars while every other clip fills the frame.
With Optical Flow, compare the result on the actual shot: the most expensive motion-estimation mode isn't automatically the cleanest. Speed Warp is Studio-only, and AI Speed Warp Metal is macOS-only.
Super Scale and Source-Specific Controls
Super Scale is Studio-only source processing, not a per-instance Zoom. It increases the processed source resolution, is processor-intensive, and changing it affects every additional edit that references the selected media. Cache or optimized media can make the workflow practical, but a compressed or out-of-focus source still has limited real detail.
RAW clips and certain image formats can expose additional controls under Image or File. Those panels depend on the source codec, so a phone H.264 clip, a Blackmagic RAW clip, a still image, and a Fusion composition shouldn't be expected to show identical Inspector sections.
Audio, Effects, Transition, Image, and File Tabs
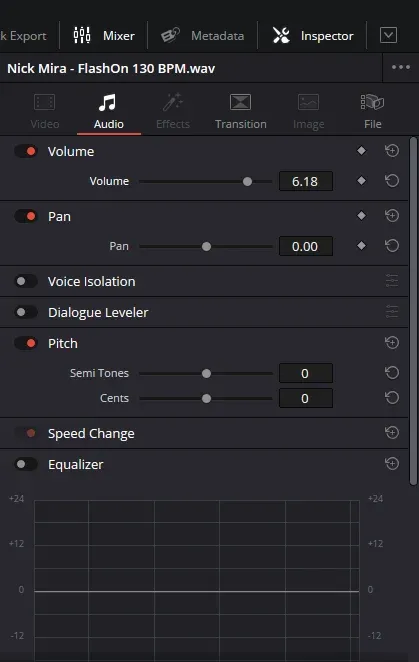
The Audio tab changes the selected clip’s sound: typically clip volume, pan, pitch, and equalizer controls. This is not the Fairlight Mixer. If you want the same compressor or EQ across an entire dialogue track or bus, use Fairlight; the Fairlight audio hub separates clip, track, and bus processing.
The Effects tab is not an effects browser. It shows controls for Fusion, OpenFX, or audio effects already assigned to the selection and is dimmed when none apply.
Parameters, keyframes, blend options, and resets depend on the applied effect. The Transition tab appears when the transition at an edit point is selected. It can contain duration, alignment, easing, border, or style-specific options.
The Image and File tabs expose source-dependent image controls, RAW decoding where applicable, clip metadata, and file properties. Blackmagic’s official Cut page explicitly describes Effects as the place for applied-effect options and File as the place for metadata and RAW controls.
Titles, Generators, and Fusion Controls
Select a Text title and the Inspector changes to text content, font, size, color, alignment, spacing, layout, and animation controls. Text+ and Fusion title templates expose the controls their creator published, so two title templates can look completely different. The Resolve text guide covers the distinction between Text and Text+.
A Fusion composition can expose a compact set of published controls in the Edit Inspector while the full node settings remain on the Fusion page.
Resolve 21 also adds a Multi-Inspector inside Fusion: when several Fusion tools are selected, it can combine properties common to those tools. Blackmagic spells out that feature in the final Resolve 21 Reference Manual. It isn't the same thing as the normal Edit-page Inspector.
Animate Inspector Controls with Keyframes
- Move the playhead to the first frame where the animation should be defined.
- Click the gray diamond beside the property. At a stored keyframe on the playhead it's orange; the left and right arrows jump to earlier or later keyframes.
- Move to a later frame.
- Change the value; Resolve adds another keyframe.
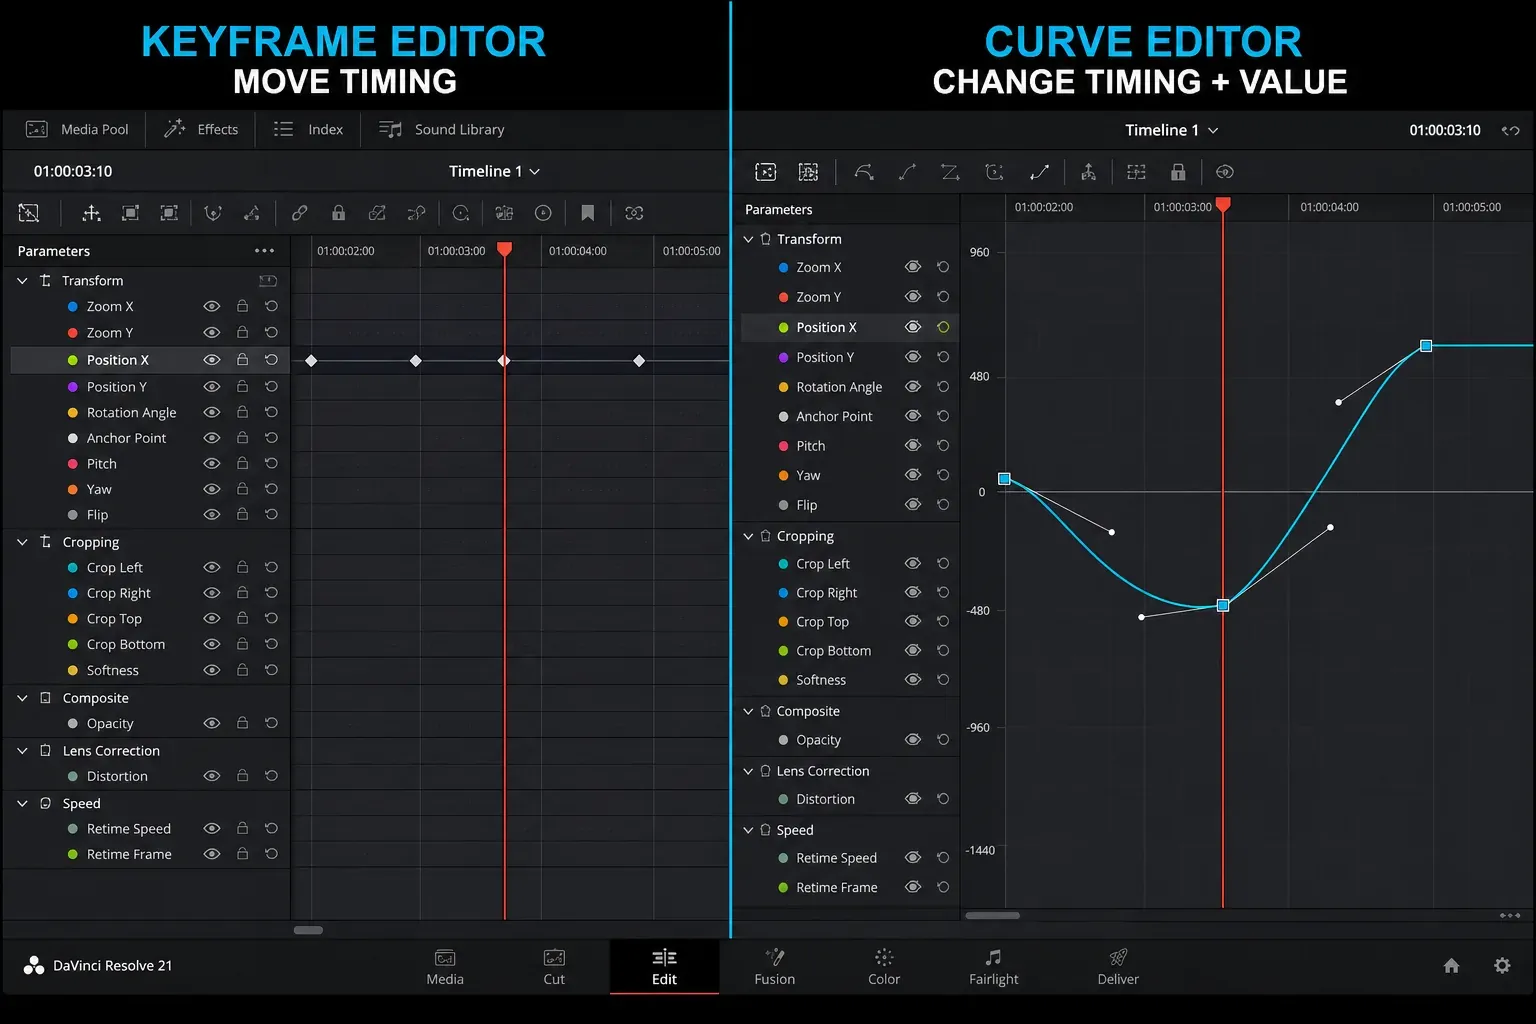
- Open the clip’s keyframe or curve editor to move points and adjust easing.
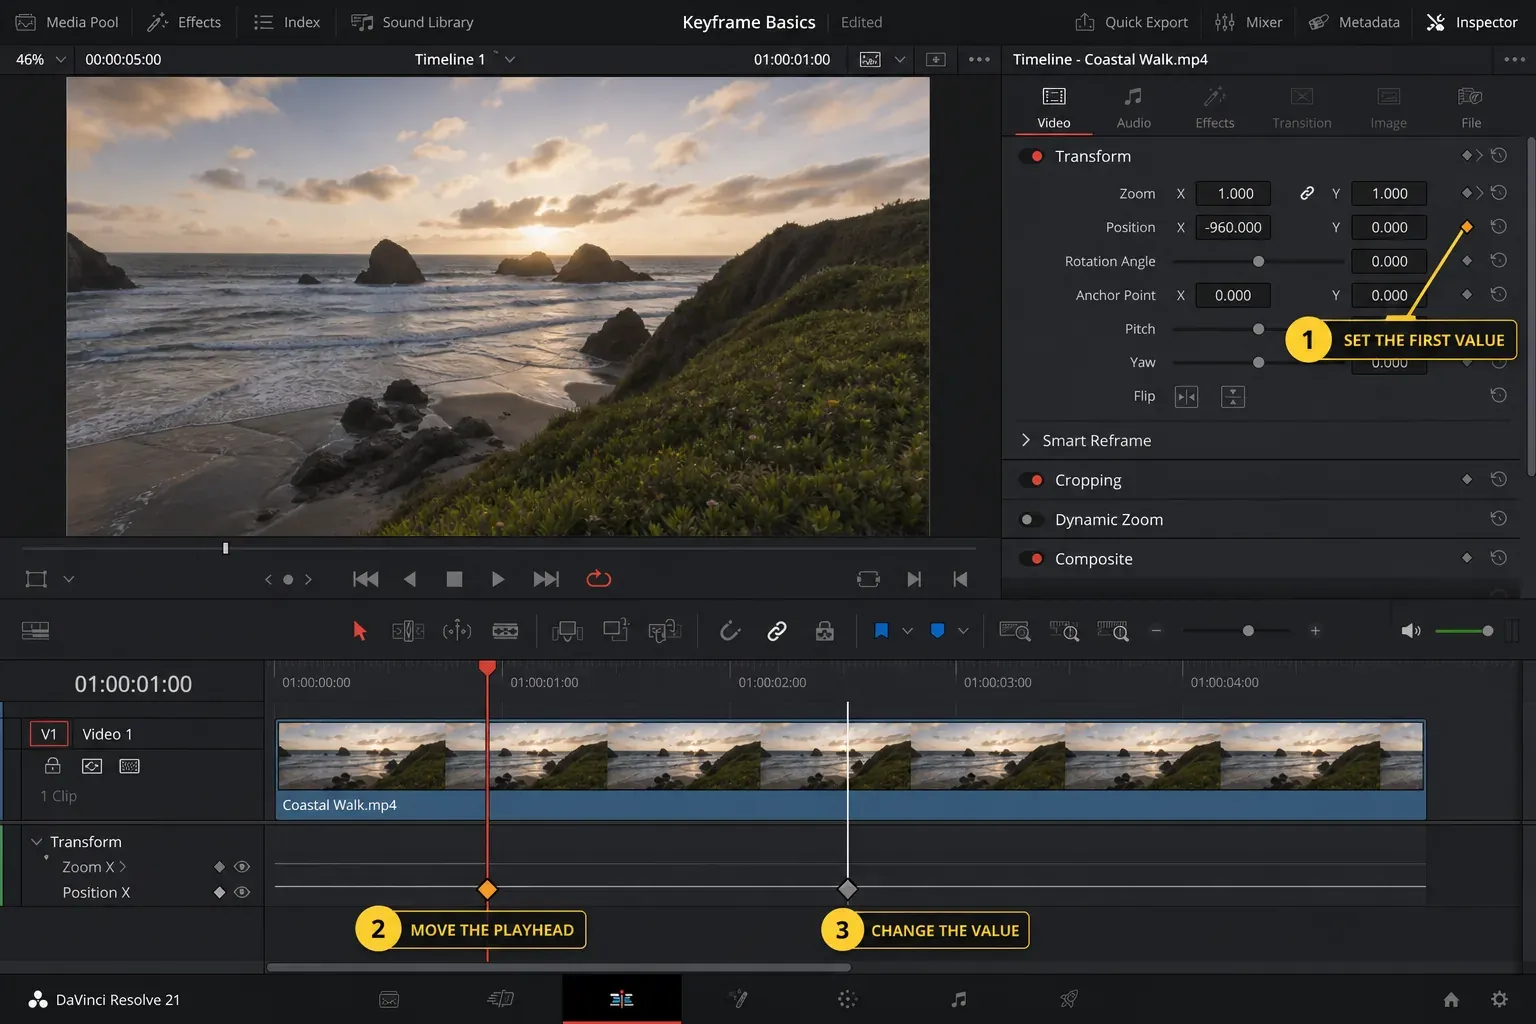
A gray diamond means there's no keyframe for that parameter at the playhead; orange means the playhead is on a keyframe. Keyframes can still exist elsewhere in the clip, so use the previous/next arrows or open the timeline Keyframe and Curve Editor before retyping a value that changes as you scrub.
Copy, Paste, and Reset Without Collateral Damage
Use Copy, then Paste Attributes when you want to transfer only Transform, Crop, Composite, audio, or selected effects. Read every checkbox before applying it. A careless paste can copy speed, stabilization, or audio changes along with the framing you wanted.
Each Inspector section has a reset arrow. Reset the smallest scope that is wrong: one property if available, then a group, and only then the entire clip. If the result still doesn't return to normal, another system is involved, Color sizing, a Fusion node, an adjustment clip, a higher video layer, or project scaling.
An adjustment clip deliberately affects everything visible below it, so inspect upper tracks before blaming the selected source clip.
Resolve Free vs Studio
Core Inspector tabs, Transform, Crop, Dynamic Zoom, Composite, clip audio, standard keyframes, common stabilization, and per-clip scaling are available in Resolve Free. Confirmed Studio-only examples in this panel include Lens Correction, Super Scale, Speed Warp, and individual Studio effects or AI tools.
The safe rule is contextual: the Inspector itself isn't a paid feature, but some tools displayed inside it are. If a control adds a Studio watermark or is unavailable, check the current feature list for that specific effect instead of assuming the whole panel is locked.
Fix Inspector Problems
The Inspector is blank
Click Inspector at the upper right, then select a compatible timeline item. If a Media Pool source is selected, click its edited instance in the timeline. On a narrow or full-screen laptop layout, widen the Inspector or leave full screen so controls at the right edge aren't merely cropped out.
A tab or control is missing
Select the object that owns it. Effects requires an already-applied effect, Transition requires a selected transition, and RAW controls require compatible media.
If the correct item and tab are selected but a template or plug-in panel is still blank, record the Resolve build, edition, item type, and package version; treat it as a version/template-specific defect rather than inventing a universal reset fix.
The image jumps later in the clip
A keyframe may exist away from the current playhead. Use the previous/next arrows, then open the Keyframe or Curve Editor and inspect every animated property.
Reset does not restore the image
Bypass upper video tracks, adjustment clips, Color sizing, Fusion, and project/timeline scaling one layer at a time. The Inspector can reset only the controls it owns.
Changes affect the wrong clip
Verify the timeline outline and Inspector header before adjusting values. This is especially important with linked audio/video and stacked tracks.
A clip is soft after scaling
Check Zoom, per-clip Scaling, timeline resolution, output resolution, and source dimensions. Stacked resizing can magnify a low-resolution source more than the Inspector value suggests.
Inspector Check Before Export
Scrub from the first frame of the clip to the last while watching the Viewer and gray/orange keyframe states. Expand Transform, Crop, Composite, Speed, Stabilization, Retime and Scaling, and Effects, then compare the clip with effects bypassed. For audio, confirm whether the decision belongs to the clip or should live on its Fairlight track.
The Inspector stays readable when each system has one job. If Transform, Color sizing, Fusion, and output scaling all correct the same frame, simplify the chain before adding another adjustment. For a clean node-versus-Inspector division, use the beginner Color-page workflow.
The Inspector is an early stop in the DaVinci Resolve tutorial roadmap, before adjustment clips, reframing, tracking, and delivery.
DaVinci Resolve Inspector FAQ
Why is my Inspector empty?
No compatible timeline item is selected, the panel is closed, or you selected a source instead of its timeline instance. Select the clip, title, transition, or effect again.
How do I reset one Inspector setting?
Click the circular reset arrow beside that property or section. Reset the smallest scope first so unrelated work remains intact.
What does the diamond icon do?
It enables animation and stores a keyframe at the current playhead position. Move to another frame and change the value to create motion over time.
Why does the Inspector look different for every clip?
It's contextual. Video, audio, titles, transitions, generators, RAW media, Fusion compositions, and effects expose different properties.
Can I copy Inspector settings to another clip?
Yes. Use Paste Attributes and select only the categories you need. Review the target clip afterward for unwanted speed, audio, crop, or effect changes.
Is the Inspector available in Resolve Free?
Yes. The core Inspector is included in Resolve Free. Individual Studio-only effects, AI tools, or advanced processing modes remain restricted.
