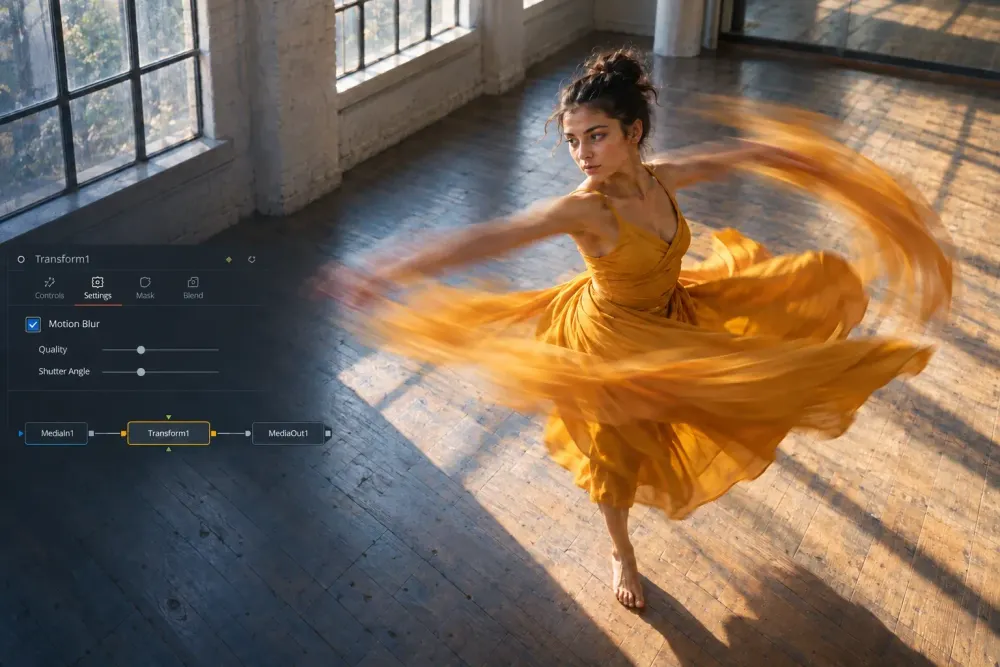
Quick answer: choose the method from what creates the movement. If a Transform, Text+, Warp or another supported Fusion tool creates the animation, enable Motion Blur in that tool’s Settings tab. If movement already exists inside recorded footage, the free native route is Optical Flow generating vectors for Vector Motion Blur. DaVinci Resolve Studio also provides motion-estimated blur through the Color page Motion Effects palette and Resolve FX Motion Blur. If you retime a clip with TimeSpeed in Fusion, generate fresh motion vectors after TimeSpeed before applying Vector Motion Blur.
The wrong approach is to add an ordinary Blur or Directional Blur and expect it to understand the shot. Those tools can soften or smear an image, but they do not estimate a different velocity and direction for every moving object. Convincing motion blur depends on motion information, and Resolve gets that information in different ways depending on the job.
Choose the Motion Blur Method First
Use this short decision path before building nodes:
- You animated position, size, angle, text or a warp inside Fusion: use the Motion Blur checkbox in the Settings tab of the tool that creates the movement.
- A car, hand, camera pan or other subject already moves in recorded footage: use Optical Flow to generate vectors for Vector Motion Blur in the free edition, or use a Studio motion-estimation method.
- A Fusion TimeSpeed or TimeStretcher node changed the timing: put a new Optical Flow node after the retiming node, then feed the new vectors to Vector Motion Blur.
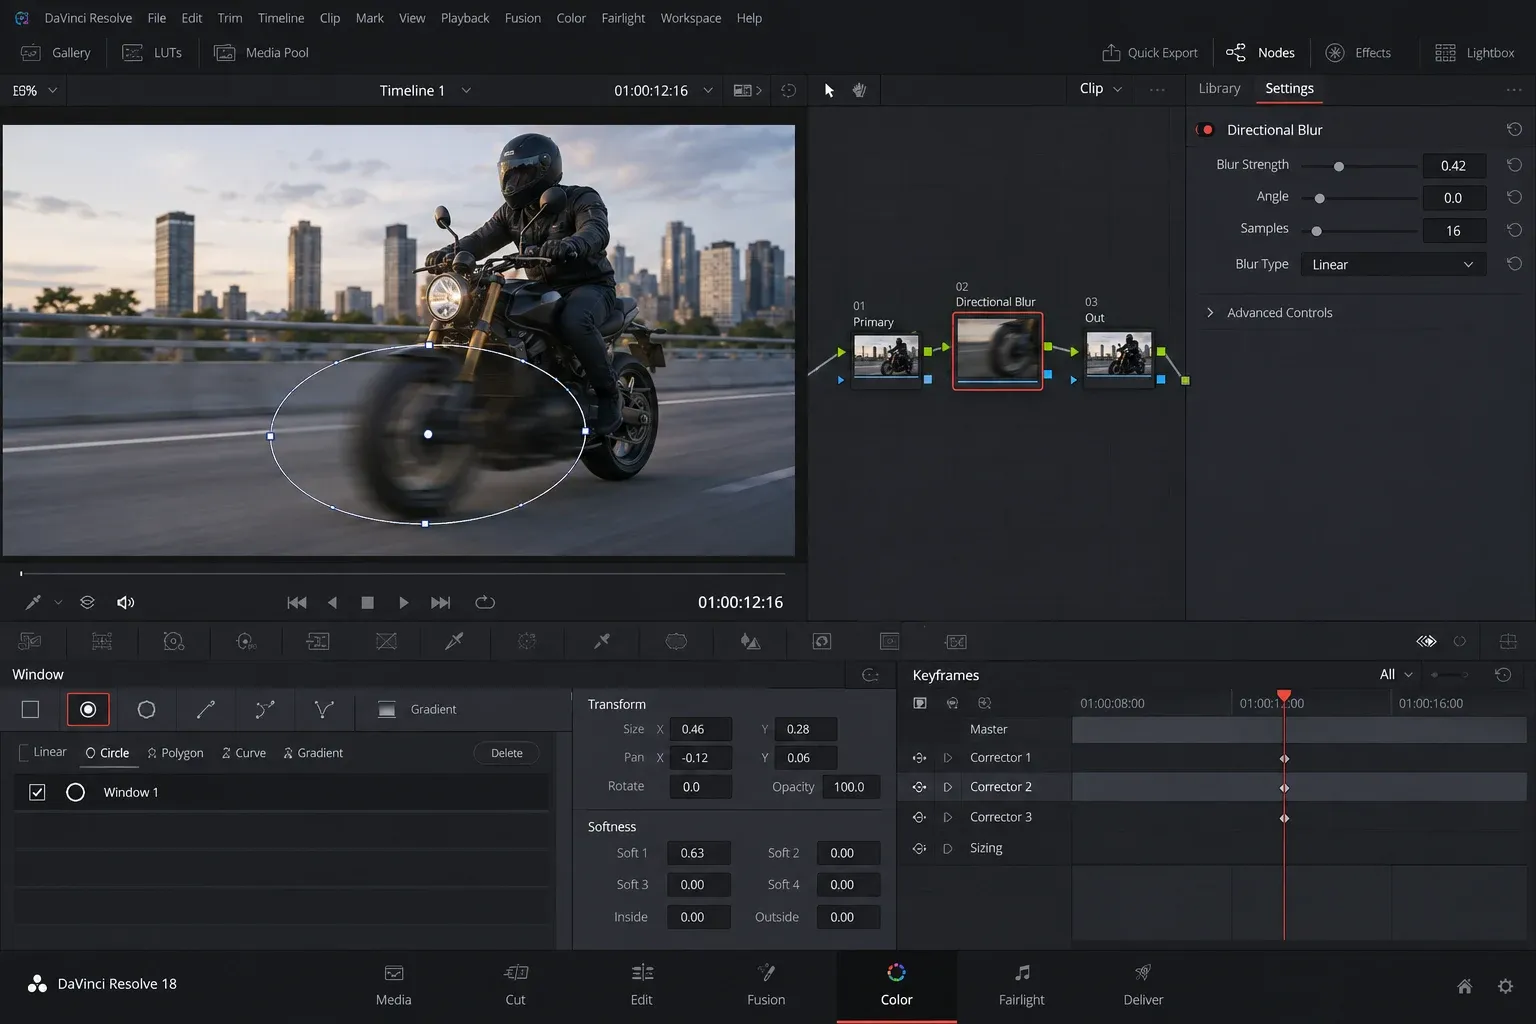
- You only need a graphic streak or a deliberately uniform smear: Directional Blur may be the correct visual choice, but it is a stylized blur rather than motion analysis.
- You only need to hide or soften a face or background: follow the separate face and background blur workflow. That is a masking task, not the same problem as recreating camera-like motion blur.
This distinction prevents most wasted work. A keyframed title already has clean parameter motion that Fusion can sample. A cyclist moving through a recorded frame does not. Resolve must analyze neighboring frames before it can estimate that movement.
Why Blur and Directional Blur Are Different
A normal Blur spreads image detail around each pixel. It does not know whether the pixel belongs to a parked car, a moving wheel or the background. Increase the blur and the whole selected region becomes softer.
Directional Blur adds a chosen angle and length. It is useful for speed streaks, graphic transitions and shots where one broad direction is acceptable. It still does not calculate separate motion for a rider, spinning wheel, passing light and camera movement.
Motion-aware blur needs one of two inputs:
- Predicted parameter motion from a Fusion tool that is creating the animation.
- Motion vectors that describe how image areas move between frames.
That is why two workflows that look similar in the Viewer can need different tools underneath. If you are still building the composition itself, the Fusion beginner guide explains MediaIn, MediaOut, Merge nodes and Viewer routing before you add motion processing.
Add Motion Blur to Animation Created in Fusion
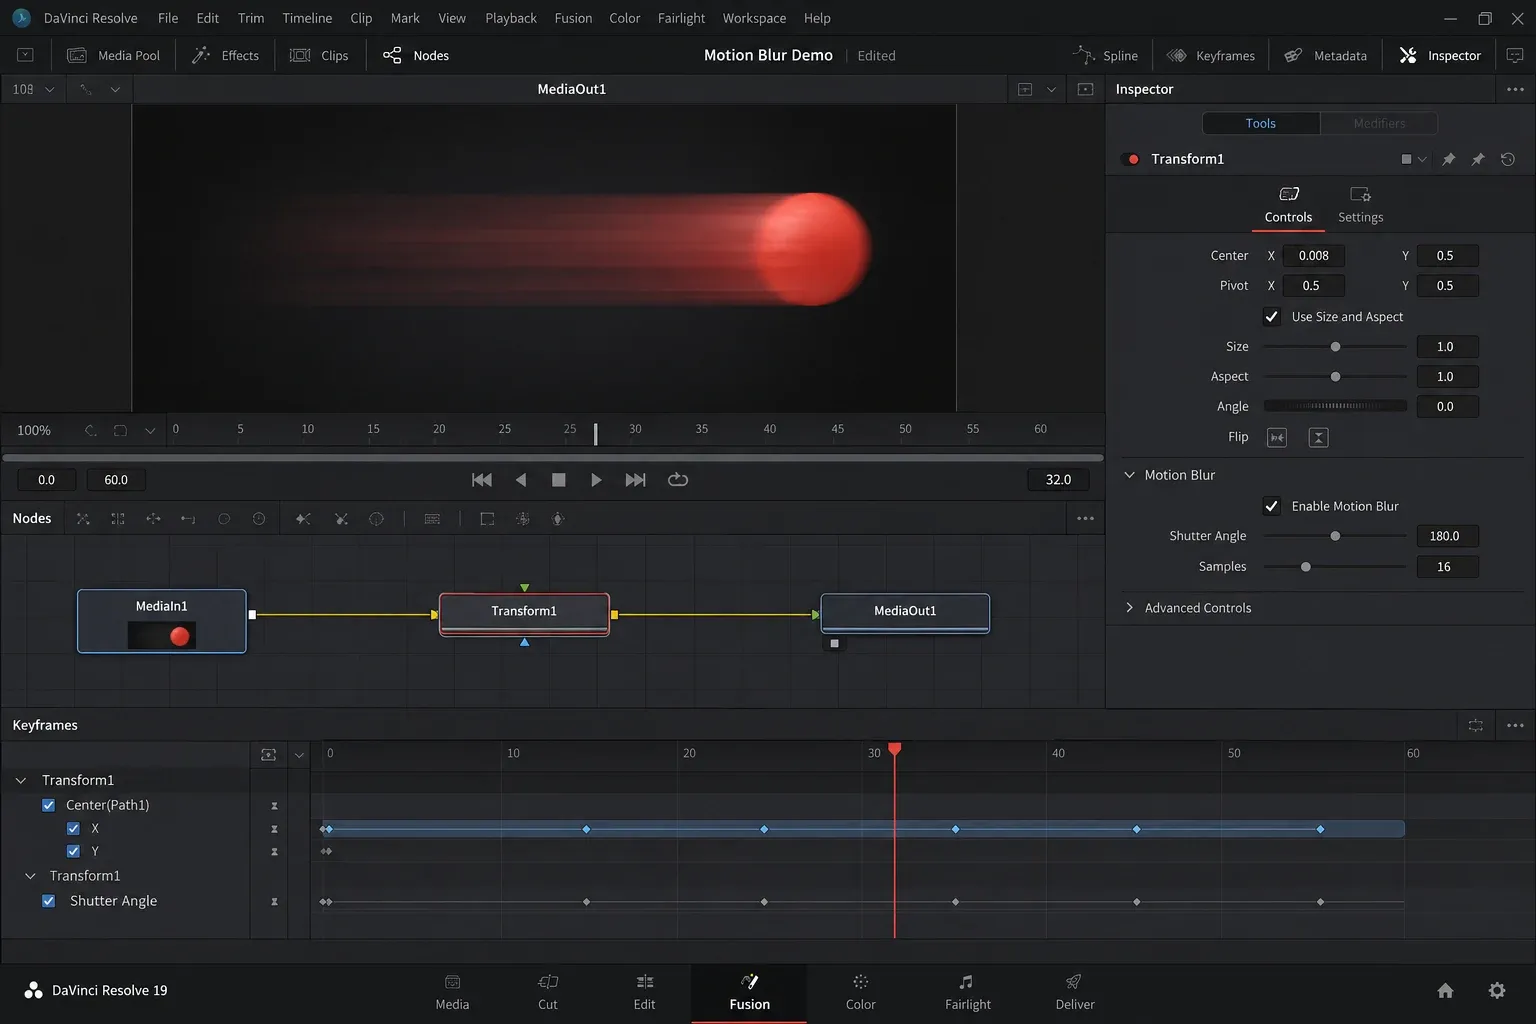
When a Fusion node creates movement, start with that node rather than adding Optical Flow.
Typical examples include:
- a Transform node moving or scaling an image;
- Text+ animated across the frame;
- a supported Warp node changing geometry;
- another tool whose Settings tab includes a Motion Blur section.
Select the node that creates the movement, open Inspector → Settings, and enable Motion Blur. The Resolve 21 manual explains that supported motion-producing nodes use their predicted motion to render blur through a virtual shutter and expose Quality, Shutter Angle, Center Bias and Sample Spread controls when Motion Blur is enabled in the node’s Settings tab. See the Fusion Motion Blur description in Blackmagic’s current reference manual.
Do not assume every node has this control. If the Motion Blur section is absent, identify which upstream tool actually changes position or shape. A Merge may combine layers while a Transform below it creates the movement. The Transform is the node that has useful motion data.
For a simple animated element:
- Build and keyframe the movement.
- Select the motion-producing node.
- Open the Settings tab.
- Enable Motion Blur.
- Adjust Shutter Angle before raising Quality.
- Inspect the fastest section of the move at full frame boundaries.
Motion blur cannot repair poor animation timing. If the object accelerates abruptly or stops on an awkward frame, shape the move first with the keyframes and Curve Editor workflow, then judge the blur.
The Viewer Motion Blur button does not enable blur
Fusion’s Viewer toolbar includes a global Motion Blur button. It is a preview control. Blackmagic documents that turning it off temporarily disables motion blur throughout the composition, but individual nodes must already have Motion Blur enabled for the button to affect anything.
If a node is configured correctly and the Viewer suddenly looks sharp, check the global Viewer button. If no node has Motion Blur enabled, toggling the global button will not create it.
Add Motion Blur to Recorded Footage in the Free Edition
When movement already exists in the pixels, use Optical Flow to calculate motion vectors and Vector Motion Blur to turn those vectors into blur.
The basic Fusion structure has one image branch and one vector branch:
MediaIn ─────────────────────────→ Vector Motion Blur (orange Image input)
   └→ Optical Flow ──────────────→ Vector Motion Blur (green Vectors input)
                                    └→ MediaOut
Vector Motion Blur needs the image plus motion-vector data. The Optical Flow node creates the Vector and BackVector channels by analyzing neighboring frames. The Vector Motion Blur node then uses that movement data to blur different parts of the image according to their estimated direction and distance.
Build the free workflow like this:
- Put the clip on the timeline and isolate it from cuts that do not belong to the shot.
- Open the clip on the Fusion page.
- Branch MediaIn into an Optical Flow node.
- Add Vector Motion Blur before MediaOut.
- Connect the unblurred image branch to Vector Motion Blur’s orange Image input.
- Connect the Optical Flow output to Vector Motion Blur’s green Vectors input.
- Connect Vector Motion Blur to MediaOut.
- Start with a restrained blur amount and inspect motion boundaries, crossings and newly revealed background.
Blackmagic’s manual states that Optical Flow analyzes motion between neighboring frames for retiming and motion blur, while Vector Motion Blur accepts a 2D image, vector data and optional masks. The same Resolve 21 reference manual describes Optical Flow as a non-real-time process whose cost depends on the computer, clip resolution and duration.
Keep the analyzed range tight. Do not include the next shot in the same Fusion clip if the effect should stop at the cut. A hard edit gives Optical Flow two unrelated images and no truthful motion path between them.
Use masks when one region fails
Vector analysis may work well on the main subject and fail on a reflection, edge or crossing object. You do not always need to abandon the entire effect.
Use an effect mask to limit Vector Motion Blur to the region that benefits, or split the shot into separate branches and process only the useful area. Keep the mask soft enough to avoid a visible seam, then check it across the full movement rather than on one still frame.
A mask cannot repair incorrect vectors inside the selected region. It only keeps the effect away from areas where the result is worse.
Studio Motion Blur Methods
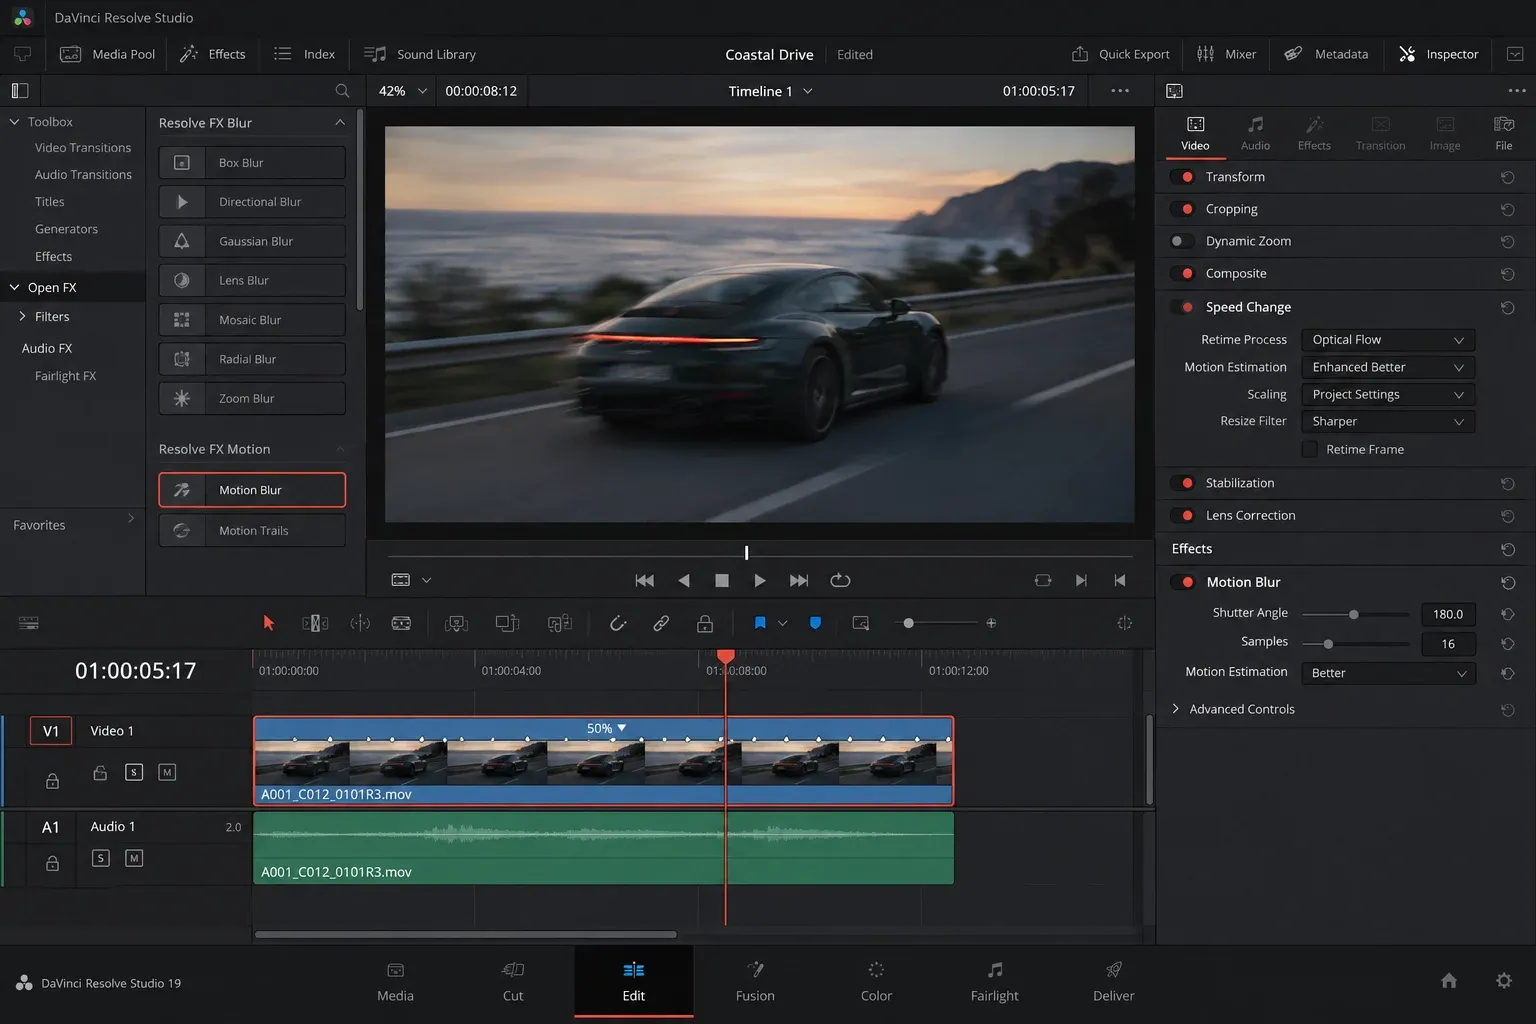
DaVinci Resolve Studio provides faster routes when the goal is to add artificial blur to footage that was captured with a fast shutter or now looks too sharp and strobing.
Color page Motion Effects
The Motion Effects palette on the Color page is Studio-only. Blackmagic describes its artificial motion blur as an optical-flow-calculated effect. This route is useful when the shot is already being finished on the Color page and you want motion estimation in the grading pipeline without building a Fusion vector chain.
Treat it as shot processing. Isolate cuts, watch foreground and background crossings, and inspect the final graded image for edge tearing or duplicated detail.
Resolve FX Motion Blur
Resolve FX Motion Blur is also Studio-only. Blackmagic states that it uses optical-flow motion estimation and selectively applies blur based on the speed and direction of moving elements. Its controls include motion-estimation quality, motion range, blur amount, blur direction and granularity.
This is the most direct native effect route across Resolve pages where the FX is available. It is convenient, but it still depends on motion estimation. Increasing the quality control can improve mapping at a higher processing cost; it cannot invent correct information where an object was hidden in one frame and revealed in the next.
A paid third-party plugin may offer a different look or workflow, but it is not required for the core task. Resolve already includes parameter-based Fusion blur, a free vector workflow and Studio optical-flow effects.
Put Optical Flow After TimeSpeed for Retimed Fusion Motion
Retime order matters because motion vectors describe a specific relationship between frames. Once TimeSpeed or TimeStretcher creates new frames, vectors calculated for the original timing no longer describe the output correctly.
For a retimed Fusion clip, put the vector analysis after TimeSpeed and branch the retimed image into both required inputs:
MediaIn → TimeSpeed ─────────────────→ Vector Motion Blur (orange Image input)
                    └→ Optical Flow ─→ Vector Motion Blur (green Vectors input)
                                        └→ MediaOut
If TimeSpeed itself needs Flow interpolation, it can consume upstream Vector and BackVector channels. Blackmagic documents that TimeSpeed and TimeStretcher then destroy those incoming channels because they are invalid after interpolation. A downstream Vector Motion Blur therefore needs a fresh Optical Flow analysis of the retimed result.
The practical sequence is:
- Finish the speed decision first.
- Confirm the retimed clip has the intended duration and frame cadence.
- Generate new motion vectors after the retiming node.
- Add Vector Motion Blur from those new vectors.
- Judge the blur on the final timing, especially around ramps and speed changes.
For Edit page retiming choices, clip duration and speed-ramp setup, use the change clip speed guide before building the Fusion branch. Do not tune blur while the timing is still moving underneath it.
Set Shutter Angle, Quality and Bias Without Hiding the Shot
The controls vary by method, but the same order of decisions helps.
Shutter Angle or blur amount
This controls how far motion spreads through time. Larger values create longer blur and usually cost more to render. Begin low enough that you can still see whether the motion path is correct, then add only what the shot needs.
A sharp action clip may need enough blur to reduce strobing. A title animation may need only a slight soft trail. A long streak can be a design choice, but it stops reading as natural camera blur quickly.
Quality
Quality usually changes how many samples or how accurately motion is estimated. Raise it after the direction and amount are already sensible. If the vectors are wrong at an occlusion, more samples can produce a smoother wrong answer.
Center Bias or blur direction
These controls change where the trail sits relative to the current frame. Keep the blur visually connected to the object. An aggressive bias can make the subject appear to lead or lag its own position, which may be useful for a graphic trail but distracting in recorded footage.
Sample Spread and granularity
These shape the distribution and detail of the blur. Use them for refinement after the main movement reads correctly. They are not substitutes for a clean motion estimate.
Recognize Optical Flow Artifacts Early
Optical Flow works by estimating how image detail moves between neighboring frames. The difficult cases are predictable:
- two objects cross and exchange visible edges;
- a moving object reveals background that was hidden in the previous frame;
- hair, foliage, fences or fine patterns change too quickly;
- smoke, glass, reflections or low-contrast surfaces do not provide stable features;
- an object enters or leaves the frame;
- flashing lights or exposure changes alter pixel values without representing physical movement;
- a cut appears inside the analyzed range.
Common failure symptoms include rubbery edges, doubled contours, transparent-looking fragments and blur moving in the wrong direction.
When that happens, change the problem rather than only raising quality:
- shorten the clip to the actual shot boundaries;
- reduce the blur amount;
- mask out the failing region;
- separate foreground and background processing;
- repair or cover a small edge with a simpler composite;
- use a controlled Directional Blur when a stylized single direction is acceptable;
- leave a difficult region sharper if the attempted blur draws more attention than the original strobing.
Check the first and last usable frames as carefully as the middle. Motion analysis has less neighboring information near boundaries, and artifacts often appear exactly where the clip starts or ends.
Keep the Composition Responsive
Optical Flow and motion blur are expensive because Resolve must analyze frames and render multiple temporal samples. Slow interaction does not automatically mean the node tree is broken.
While building the shot:
- temporarily disable the Fusion Viewer’s global Motion Blur button;
- use Viewer Proxy or a lower preview quality when judging layout rather than blur detail;
- keep the Fusion range limited to the needed shot;
- avoid stacking multiple vector analyses without a clear reason;
- turn the effect back on for full-resolution edge and cadence checks.
When the composition is stable, cache the expensive result. The Render Cache guide explains Smart and User cache choices and the red/blue status bars. If the whole timeline remains slow after caching one effect, follow the broader slow playback diagnosis instead of endlessly reducing motion-blur quality.
Final Motion Blur Check
Review the shot at normal speed, then frame by frame around the fastest movement and difficult overlaps.
Confirm that:
- the chosen method matches the source of movement;
- the blur direction follows the object rather than a generic screen angle;
- stationary areas remain acceptably stable;
- foreground crossings do not tear or duplicate;
- the effect stops cleanly at shot boundaries;
- retimed footage uses vectors calculated after the timing change;
- Viewer draft controls are restored before the final judgment;
- cached playback and the final render show the same intended result.
The key decision happens before any slider moves. Use a motion-producing node’s own Settings when Fusion creates the animation. Use motion vectors when the movement already exists in the image. Recalculate those vectors after retiming. Once that structure is correct, blur amount and quality become finishing decisions rather than guesses.
