Home Tutorials
DaVinci Resolve topic library
Tutorials
Step-by-step DaVinci Resolve tutorials covering editing, color, Fusion, and audio.
What this library covers
Choose the task, then open one focused guide
Choose by the result you need, not by the name of a Resolve page or tool. Each card takes one job from the first setting to a result you can check.
Start with the resultPick the card that matches what you need to finish, fix or understand.
Use one guide at a timeEach article owns one task, so you do not have to decode a giant index.
Move to the next real stepRelated tasks stay visible without repeating every link on the page.
Choose the task
Guides in this library
One card opens one focused guide. Covers stay visible, and the same article is not repeated in a second link list.
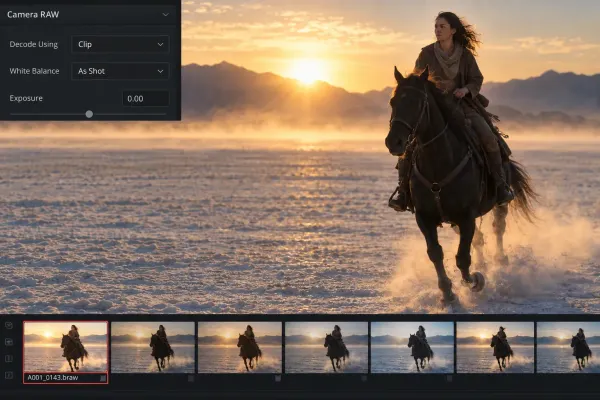 Blackmagic RAW in DaVinci Resolve: Camera RAW and Color Management
Set BRAW decode, Camera RAW and color management as one coherent chain. Choose RCM or manual YRGB, avoid double transforms and fix unavailable controls.
Blackmagic RAW in DaVinci Resolve: Camera RAW and Color Management
Set BRAW decode, Camera RAW and color management as one coherent chain. Choose RCM or manual YRGB, avoid double transforms and fix unavailable controls.
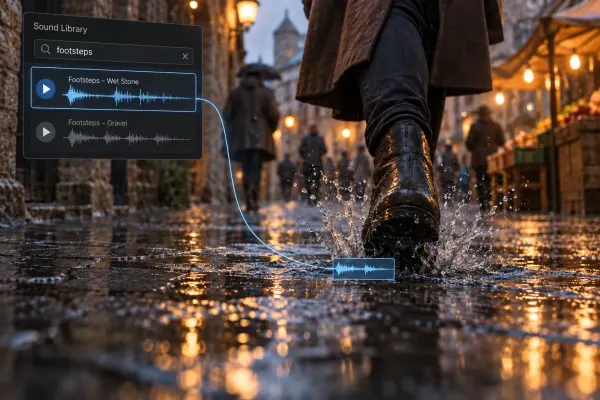 Fairlight Sound Library: Add, Search and Fix Missing Sounds
Add Blackmagic or custom sound libraries, search the Fairlight catalog, preview and audition effects, and fix missing results after updates or moves.
Fairlight Sound Library: Add, Search and Fix Missing Sounds
Add Blackmagic or custom sound libraries, search the Fairlight catalog, preview and audition effects, and fix missing results after updates or moves.
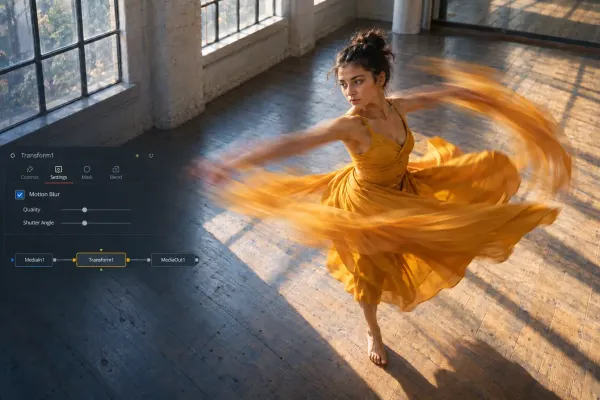 Motion Blur in DaVinci Resolve: Free, Fusion and Studio Methods
Choose the correct motion blur method for Fusion animation, recorded movement or retimed footage, with free and Studio workflows and artifact fixes.
Motion Blur in DaVinci Resolve: Free, Fusion and Studio Methods
Choose the correct motion blur method for Fusion animation, recorded movement or retimed footage, with free and Studio workflows and artifact fixes.
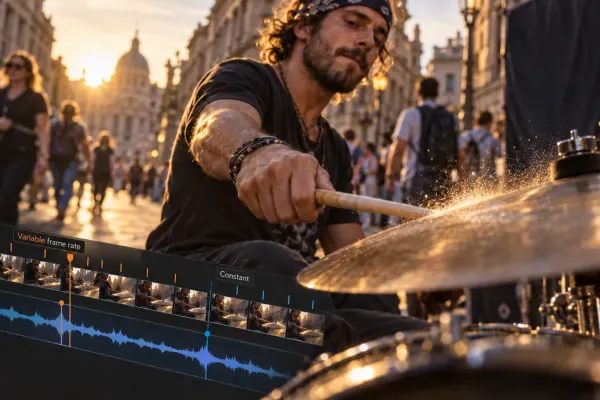 Variable Frame Rate in DaVinci Resolve: Diagnose and Convert to CFR
Confirm variable frame rate before blaming it, convert one safe CFR sample, and verify duration, audio channels, sync and cadence before relinking.
Variable Frame Rate in DaVinci Resolve: Diagnose and Convert to CFR
Confirm variable frame rate before blaming it, convert one safe CFR sample, and verify duration, audio channels, sync and cadence before relinking.
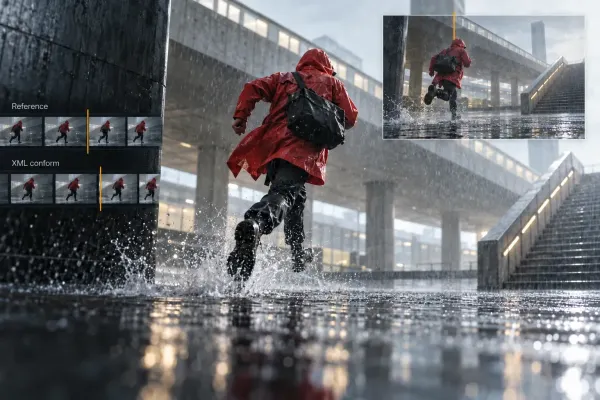 Premiere Pro to DaVinci Resolve: XML Transfer and Conform
Prepare a locked Premiere sequence, transfer XML and original media, relink safely in Resolve and verify the conform shot by shot before grading.
Premiere Pro to DaVinci Resolve: XML Transfer and Conform
Prepare a locked Premiere sequence, transfer XML and original media, relink safely in Resolve and verify the conform shot by shot before grading.
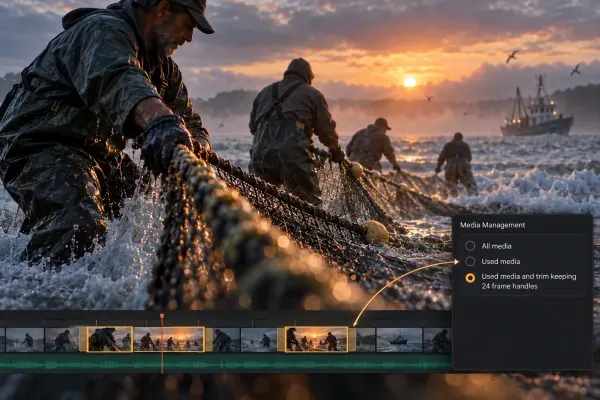 DaVinci Resolve Media Management: Consolidate, Trim and Archive
Collect the media a Resolve project actually needs, choose Copy or Transcode, set defensible handles and prove the package works without the source drive.
DaVinci Resolve Media Management: Consolidate, Trim and Archive
Collect the media a Resolve project actually needs, choose Copy or Transcode, set defensible handles and prove the package works without the source drive.
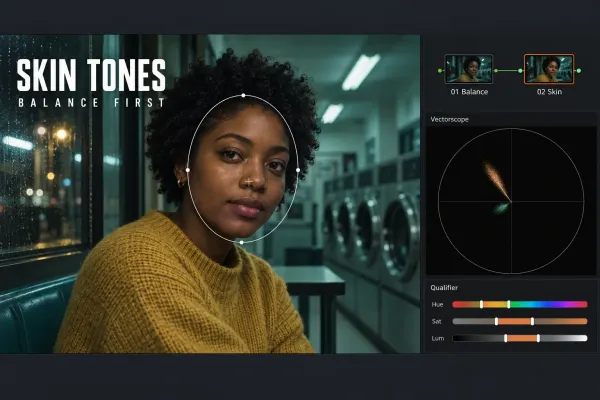 Skin Tone Correction in DaVinci Resolve: A Clean Workflow
Correct skin through a moving clip without shifting the background: balance the shot first, inspect the qualifier, track a soft window and keep the isolation active.
Skin Tone Correction in DaVinci Resolve: A Clean Workflow
Correct skin through a moving clip without shifting the background: balance the shot first, inspect the qualifier, track a soft window and keep the isolation active.
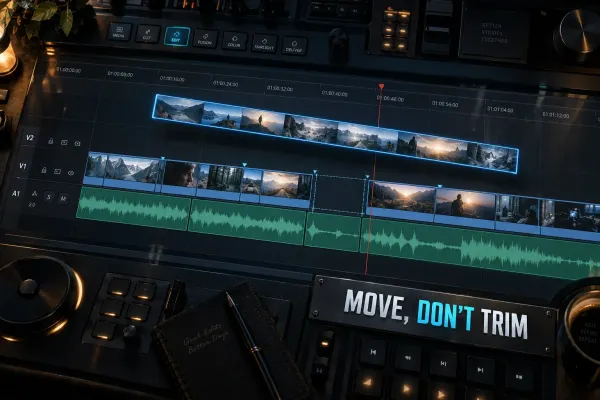 How to Move a Clip Without Shortening It in DaVinci Resolve
Move a whole clip without changing its duration, reorder occupied edits with Swap, insert new footage, or extend a shot with Ripple Trim.
How to Move a Clip Without Shortening It in DaVinci Resolve
Move a whole clip without changing its duration, reorder occupied edits with Swap, insert new footage, or extend a shot with Ripple Trim.
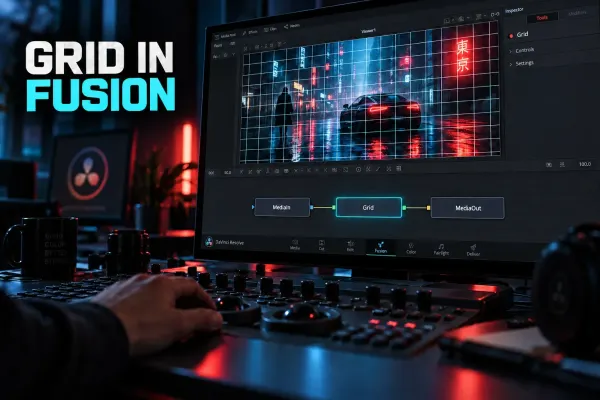 How to Enable and Use the Grid in Fusion
Add a visible grid in Fusion, use temporary Viewer Guides, fix a blank Grid node, and understand when Grid Warp or a video-wall workflow is the right tool.
How to Enable and Use the Grid in Fusion
Add a visible grid in Fusion, use temporary Viewer Guides, fix a blank Grid node, and understand when Grid Warp or a video-wall workflow is the right tool.
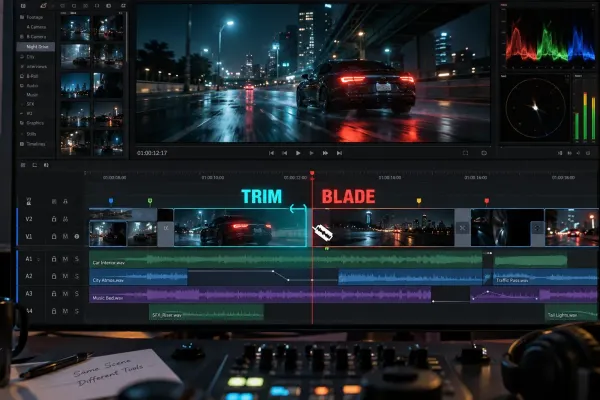 Trim vs Blade in DaVinci Resolve: Which Edit Tool to Use
Blade creates a new cut; Trim changes an existing edit point. Learn when to use Ripple Trim, Roll, Slip and Slide in DaVinci Resolve.
Trim vs Blade in DaVinci Resolve: Which Edit Tool to Use
Blade creates a new cut; Trim changes an existing edit point. Learn when to use Ripple Trim, Roll, Slip and Slide in DaVinci Resolve.
 Instagram Reels Export Settings in DaVinci Resolve
Build a 1080×1920 Reel timeline, reframe every shot, and export a clean H.264/AAC file without treating one bitrate or frame rate as an Instagram law.
Instagram Reels Export Settings in DaVinci Resolve
Build a 1080×1920 Reel timeline, reframe every shot, and export a clean H.264/AAC file without treating one bitrate or frame rate as an Instagram law.
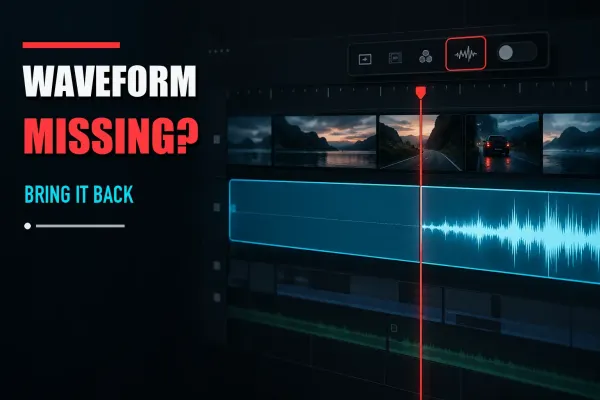 DaVinci Resolve Audio Waveform Not Showing
Fix missing DaVinci Resolve audio waveforms by checking timeline display, track height, channel mapping, and waveform regeneration before resetting anything.
DaVinci Resolve Audio Waveform Not Showing
Fix missing DaVinci Resolve audio waveforms by checking timeline display, track height, channel mapping, and waveform regeneration before resetting anything.