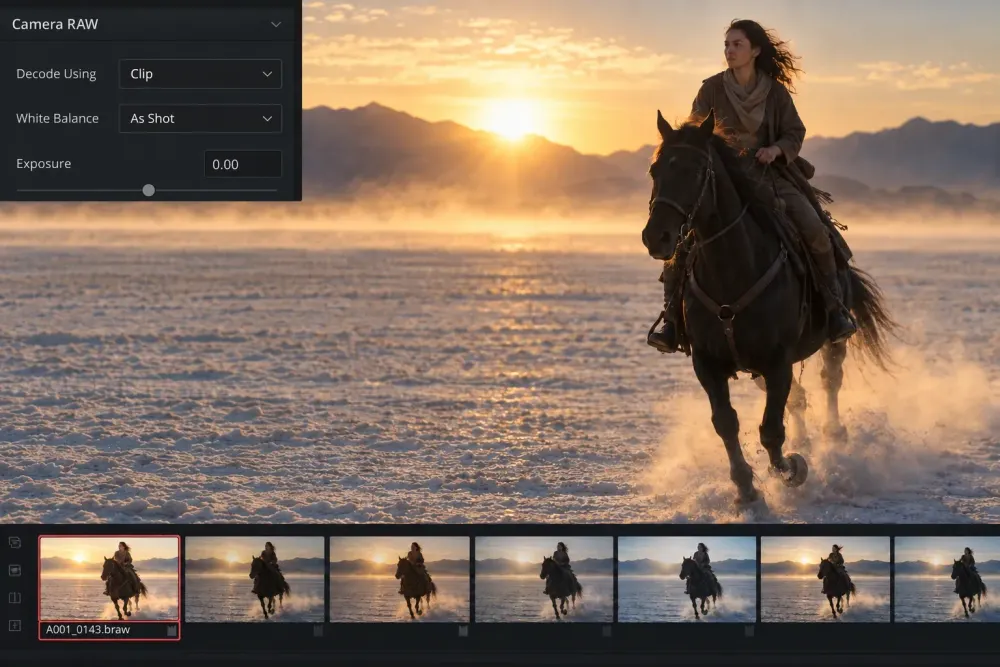
Quick answer: choose who owns the technical transform before changing BRAW settings. In a Resolve Color Management project, let Resolve identify and debayer the Blackmagic RAW clip, grade in the chosen timeline space, and use the project output transform. Do not add another camera-normalizing CST or technical LUT. In a manual DaVinci YRGB project, decode BRAW to a deliberate wide-gamut/log starting point, then normalize it once with a matching CST, technical LUT or custom grade.
Both routes can produce a strong image. Problems begin when parts of them are stacked together: BRAW is decoded toward one color space and gamma, a CST expects another, a LUT expects a third, and RCM applies its own input or output transform around the lot. The result may look clipped, over-saturated, strangely contrasty or impossible to balance even though the sensor data is still present.
The useful question is not “What is the best BRAW setting?” It is “Which stage is responsible for decoding, normalizing and displaying this clip?”
Understand What Camera RAW Changes
Blackmagic RAW is not ordinary video with a fixed white balance and baked display look. Resolve first converts the sensor-derived data into image data that its processing pipeline can use. Blackmagic’s current manual places that Camera RAW decode before every Color page operation, including the Source bar in the node editor. The order is documented in the Camera Raw Settings chapter of the DaVinci Resolve 21 Reference Manual.
The simplified pipeline is:
BRAW sensor data → Camera RAW decode → Color page processing → output transform → render
That order explains why Camera RAW exposure, white balance, color science, color space and gamma are not interchangeable with ordinary node corrections. They define the starting image handed to the grade. A node can still rebalance and reshape that image, but it operates after the decode.
Blackmagic RAW also performs part of the image processing in camera. Blackmagic describes noise management, sensor profiling and edge reconstruction as part of its partial de-mosaic design, followed by a custom non-linear 12-bit encoding. The company’s Blackmagic RAW format overview explains why the files remain adjustable without carrying completely untouched sensor data.
That distinction matters later when you add noise reduction. BRAW’s camera-side processing does not replace Resolve’s temporal or spatial tools for visible noise in a finished shot.
Choose One of Two Complete BRAW Workflows
I would decide between these two systems before touching clip-level controls.
Workflow 1: Resolve Color Management owns the transform
Use this route when the project already relies on RCM for mixed cameras, a wide-gamut timeline or controlled SDR/HDR outputs.
- Open Project Settings → Color Management.
- Set the project to a Resolve Color Management workflow.
- Choose the timeline working color space required by the project.
- Choose the real output color space for the display or deliverable.
- Import the BRAW media and let Resolve identify it as camera RAW.
- Grade the shot in the managed timeline space.
- Keep camera-normalizing CSTs and technical camera LUTs out of the clip node tree.
Resolve 21 uses manufacturer-supplied colorimetry to debayer camera RAW and identify its input. In this mode, the manual says the Camera RAW project settings and Color page Camera RAW palette are disabled because RCM controls the debayer. It also states that the Media Pool Input Color Space cannot be manually overridden for camera RAW.
Greyed Camera RAW controls are therefore not automatically a broken file. In an RCM project, they can be the expected result of handing raw decode to the color-managed pipeline.
Use normal grading controls to balance the shot inside the timeline space. The wider project logic, including input, timeline and output stages, is covered in the Resolve Color Management and CST guide.
Workflow 2: manual DaVinci YRGB owns the transform
Use this route when you want direct control over BRAW decode and a node-based technical transform.
- Set the project to manual DaVinci YRGB rather than RCM.
- Open Project Settings → Camera RAW → Blackmagic RAW.
- Choose the project-wide decode policy and a deliberate color science, color space and gamma.
- On the Color page, switch an individual clip to Decode Using: Clip only when it needs a source-level override.
- Normalize the decoded image once with a CST, a technical LUT whose expected input exactly matches the decode, or a custom normalization grade.
- Build creative corrections around that single technical transform.
A practical wide-gamut/log decode preserves room for grading. The exact labels available depend on the BRAW metadata, color-science selection and Resolve version, so the rule is more dependable than a copied dropdown recipe: the input named in your CST or LUT must match the color space and gamma produced by Camera RAW.
For a CST, copy those decode choices into Input Color Space and Input Gamma, then transform to the working or display space the node tree actually uses. For a LUT, confirm its documented input. A LUT designed for one Blackmagic Film generation should not be treated as a generic “make BRAW normal” button.
The DaVinci Resolve LUT guide explains the difference between a technical transform and a creative look. Keeping those jobs separate makes BRAW troubleshooting much easier.
Avoid the Double-Transform Trap
A double transform means the same camera-to-working-space or camera-to-display conversion happens twice.
Common versions include:
- RCM already maps BRAW into the timeline space, then a node applies a camera-to-Rec.709 CST;
- Camera RAW decodes to a display-oriented gamma, then a technical LUT expects a log input;
- Camera RAW decodes to one Blackmagic color space and gamma while a CST is configured for another;
- a sidecar or embedded BRAW LUT is applied during decode, then a similar LUT is added again in the node tree;
- a timeline/output transform is added to a project that already has an RCM output transform.
The symptoms are visual, but the repair should be structural. Temporarily disable technical LUTs and CSTs, confirm the project color-management mode, then identify the actual BRAW decode owner. Rebuild one transform chain from source to timeline to output.
Do not compensate for a wrong transform by pulling saturation, gain and contrast in opposite directions. That may make one shot tolerable while leaving gamut mapping, highlight behavior and every other BRAW clip inconsistent.
Set Project-Level BRAW Defaults First
Project settings are the right place for choices shared by most BRAW clips. The Camera RAW panel can apply a decode policy across the project, while Decode Using: Clip exposes individual controls for a selected clip in a manual YRGB workflow.
The main decode policies have different purposes:
- Camera Metadata starts from choices recorded with the clip.
- Project applies the project’s BRAW settings consistently.
- Clip allows a selected shot to depart from the project default.
- a Blackmagic RAW default option returns to the format’s standard decode behavior rather than a custom project look.
Start broad and override narrowly. If twenty clips from the same setup need the same color-science and decode starting point, a project default is easier to audit than twenty unrelated clip settings. Move to clip-level control when a shot needs a different white balance, exposure adjustment or recovery decision.
This keeps source preparation separate from the creative grade. The core Resolve color grading workflow covers balancing, contrast, saturation and shot matching after the image enters the Color page pipeline.
Choose Color Science, Color Space and Gamma Deliberately
These three menus are connected, but they answer different questions.
Color Science
The Color Science setting chooses the Blackmagic camera color-science generation used for the decode. Camera Metadata follows the version selected during recording. Gen 4 and Gen 5 are explicit alternatives where available.
Blackmagic describes Gen 5 as a newer film-like curve designed for improved skin tones and stronger behavior with high-contrast or highly saturated color. That makes it a sensible current starting point for many manual workflows, but it is not a command to switch every project blindly. Existing grades, LUT assumptions, matching shots and delivery continuity can all justify preserving the recorded or established generation.
Change color science as a pipeline decision, then recheck the technical transform and the grade. It is not a small cosmetic adjustment.
Color Space
The selected color space defines the primaries used for the decoded image. A wide-gamut Blackmagic option leaves more room for later correction. Rec.709, Rec.2020, P3 and specialty options serve different display or exchange needs; choosing Rec.709 is not required simply because the final video will be SDR.
In a manual node-based workflow, keep the decode wide enough for the grade and let one planned transform handle the destination. In RCM, let the managed pipeline own this stage.
Gamma
Gamma describes how tonal values are encoded after the raw decode. A film/log choice is built for grading and will look flat without normalization. A video or extended-video choice provides a more display-ready starting point but changes what the next transform should expect.
Flat does not mean broken, and contrasty does not mean correct. Judge the gamma together with the downstream CST, LUT or color-management path.
Use Clip-Level RAW Controls for Source Corrections
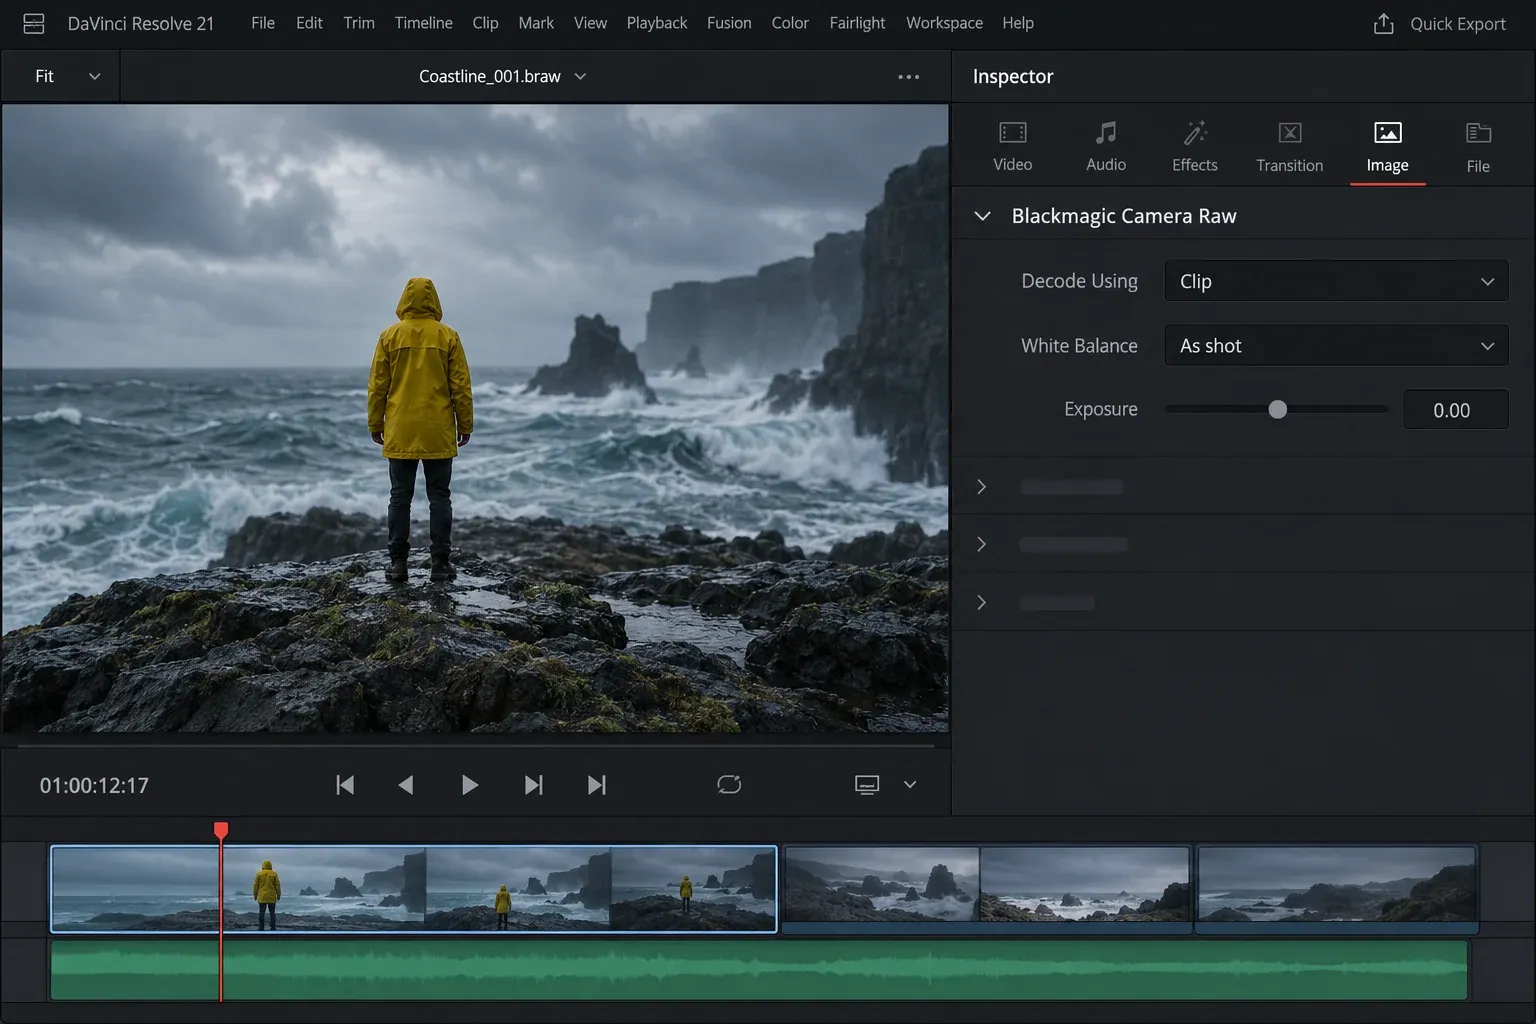
In manual YRGB, set Decode Using: Clip when one BRAW shot needs source-level treatment. The Camera RAW palette can then expose controls such as white balance, color temperature, tint, exposure, saturation, contrast, rolloff and recovery options, depending on the selected decode mode and metadata.
You can also find a BRAW clip’s RAW controls under Inspector → Image. The view below shows the Clip override, recorded white balance and unchanged exposure.
Use these controls for corrections tied to the source decode:
- correct a clearly wrong recorded white balance before building secondary color work;
- make a restrained exposure adjustment when the raw starting point needs to move;
- enable Highlight Recovery only when clipped sensor highlights contain useful recoverable detail;
- enable gamut compression when highly saturated LEDs, neon or similar narrow-band sources break at the gamut boundary;
- check whether a decode LUT is being applied from sidecar or embedded metadata.
Highlight Recovery is not a universal quality switch. Blackmagic warns that recovered sensor detail can contain unusual color artifacts. Inspect bright practicals, specular highlights, colored LEDs and skin near clipping before keeping it enabled.
Likewise, a Camera RAW exposure change is not a substitute for shaping the entire grade. Use it to establish the source starting point, then handle scene balance and creative intent in the node tree.
Check Sidecar and Embedded Metadata
BRAW can carry metadata inside the clip and in a .sidecar file stored beside it. When a sidecar exists, Resolve gives it priority over the embedded metadata during decode. The same manual documents Update Sidecar as the command that writes Camera RAW changes to that file.
This can explain why a clip opens with a look or decode choice you did not expect. Before rebuilding the grade, check the media folder for sidecars and inspect Apply LUT and LUT source in the BRAW controls.
Treat sidecar updates as shared source decisions. A changed sidecar can affect another Resolve project that reads the same media. For a team handoff, move the BRAW clip and its intended sidecar together, and document whether the look should come from metadata or the project’s own transform chain.
Improve Playback Without Losing the Final Decode
BRAW decode quality can be reduced to Half, Quarter or Eighth resolution when the system cannot debayer full quality in real time. This changes decode resolution for performance; it does not define the project’s creative color pipeline.
For final output, enable Force debayer res to highest quality in the Deliver page Render Settings. Resolve can then render raw formats at their highest available decode quality even if the working project used a lower setting. Blackmagic also provides Use GPU for Blackmagic RAW decode in the decode preferences when compatible hardware is available.
If the timeline remains slow after reducing raw decode quality, the bottleneck may sit later in the pipeline: temporal noise reduction, optical-flow effects, Fusion work or demanding grades. Use the site’s playback and cache guides for those stages rather than changing the BRAW color transform to gain speed.
Proxies can hide Camera RAW changes
Proxy media is normal rendered video, not RAW sensor-derived media. If Resolve is displaying a proxy, changes in the BRAW Camera RAW palette may appear to do nothing because the proxy image has already been created.
When RAW controls move but the Viewer does not respond:
- check whether proxy or optimized-media playback is enabled;
- switch back to the native BRAW clip;
- confirm the controls affect the native image;
- grade and render from native media when the final result depends on RAW adjustments.
This is different from greyed controls under RCM. A proxy problem hides the effect of an available control. RCM can legitimately make the raw controls unavailable because the managed system owns the decode.
Put Noise Reduction After the Decode Decision
BRAW’s partial in-camera processing includes noise management, but visible image noise may still need work in Resolve. Make the decode and transform chain coherent first. Then judge noise in the working image at the intended viewing transform.
Applying heavy noise reduction before confirming the color pipeline wastes processing time and can hide transform mistakes. Applying it after aggressive sharpening, texture and contrast can make the noise harder to separate from detail.
A practical manual node order is:
BRAW decode → source balance → noise reduction when needed → working-space grade → creative look → output transform
In an RCM project, the input and output stages are managed outside the ordinary camera-normalizing node chain:
RCM input/debayer → source balance → noise reduction when needed → timeline-space grade → creative look → RCM output
Use the DaVinci Resolve noise reduction guide for temporal and spatial settings, artifact control and Free-versus-Studio limits.
Troubleshoot BRAW Settings by Symptom
Camera RAW controls are greyed out
Check Project Settings → Color Management. If the project uses RCM, Resolve 21 can disable the Camera RAW project controls and Color page palette because RCM owns camera RAW debayering. This is expected behavior, not proof that the file is damaged.
Camera RAW controls move but the image does not change
Disable proxy or optimized-media playback and view the native BRAW. Confirm that the selected timeline clip is the BRAW source rather than a rendered replacement.
The image becomes too contrasty or saturated after a LUT
Disable the LUT and inspect the image before it. Confirm the LUT’s required input color space and gamma, then compare those requirements with the Camera RAW decode. Also check for a sidecar or embedded LUT and for an active RCM output transform.
A CST produces clipped or strange color
Match CST Input Color Space and Input Gamma to the actual manual BRAW decode. If the project uses RCM, remove a camera-normalizing CST unless the node has a different, clearly defined job.
One clip needs different exposure or white balance
In manual YRGB, set that shot to Decode Using: Clip and adjust it in Camera RAW. Do not change the project-wide default for a single outlier.
Highlight Recovery creates colored edges or patches
Turn it off and compare the native highlight. Recovery can expose extra detail with color artifacts. Keep it only where the recovered information is cleaner than the clipped result.
Resolve does not recognize the file as expected
Confirm that the media is the original .braw rather than a proxy or transcode. Then compare the file and system against the Resolve supported codecs and formats guide and Blackmagic’s current support information.
Final BRAW Settings Check
Before grading or rendering, confirm the complete path rather than one dropdown:
- the project is intentionally RCM or manual DaVinci YRGB;
- only one stage owns the camera-to-working-space transform;
- only one stage owns the output transform;
- manual Camera RAW color space and gamma match the CST or technical LUT input;
- RCM clips do not carry an unnecessary camera-normalizing CST or technical LUT;
- clip overrides are limited to shots that actually need them;
- sidecar and embedded LUT metadata are understood;
- Highlight Recovery is checked for color artifacts;
- proxies are disabled when judging RAW changes;
- final delivery forces the intended debayer quality and uses native media;
- noise reduction is judged after the decode and viewing transform are correct.
The best BRAW setup is a coherent chain, not a magic preset. Let RCM manage the raw input and output, or take manual control of the decode and add one matching normalization. Once that ownership is clear, exposure, white balance, highlight recovery and creative grading behave like deliberate choices instead of repairs for an invisible transform conflict.
