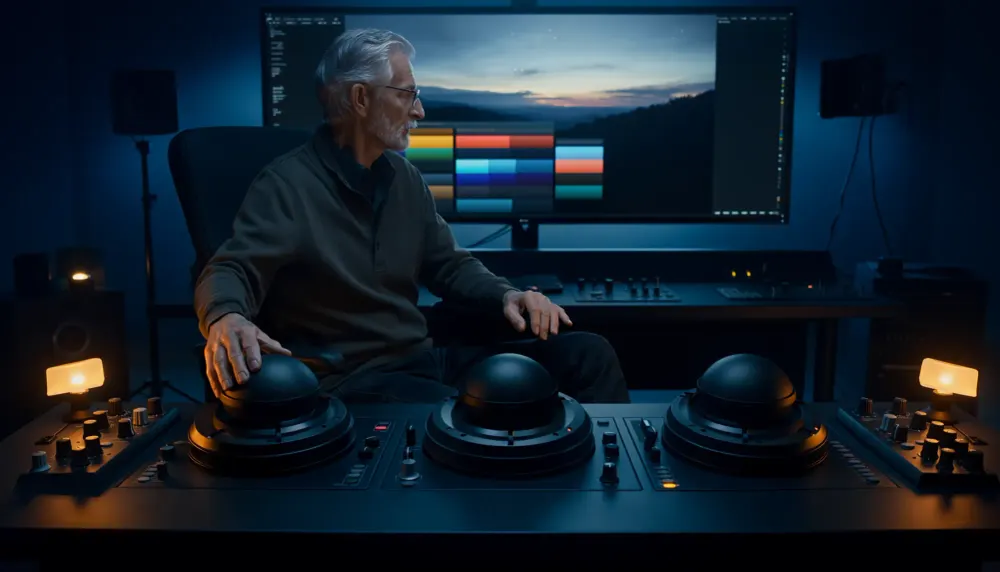
Quick answer: use the zone controls inside Resolve’s HDR Palette when you want to move a defined tonal range without pushing the whole image. They are useful on ordinary SDR footage as well as HDR projects. A Shadow or Dark adjustment can protect the midtones, while a Highlight or Specular adjustment can roll bright areas without dragging the rest of the shot along with it.
That does not make HDR wheels a replacement for every other control. Primary wheels are usually the faster choice for a broad lift, contrast move or overall color balance. Log wheels are useful when you need wider, overlapping tonal ranges. HDR wheels are strongest when you can name the part of the image that needs to move: deep shadows, a face in the lower mids, a bright sky or a narrow specular range.
The important decision is the tonal range first and the color move second. If the range is wrong, even a gentle hue correction can make the grade feel disconnected.
What HDR Color Wheels change
The HDR Palette divides the image into tonal zones. The exact labels and boundaries depend on the current Resolve version and palette, but the controls typically cover zones such as Black, Shadow, Dark, Light, Highlight and Specular, with a global control available for the whole image. The zone controls combine tonal and color adjustments, but their exact control set and behavior depend on the palette view and the current Resolve version, so do not assume that every wheel is an identical lift, gain, saturation and hue bundle.
These zones are not six hard masks. They overlap and roll into one another. That overlap is what lets a shadow adjustment feel smooth instead of producing a visible contour across the frame. It is also why a strong move on one wheel can still influence neighboring tones.
Blackmagic Design’s Color page overview presents the HDR Palette as a tool for shaping a wide dynamic range with more control than a simple three-way move. Think of it as a tonal shaping system, not a promise that every pixel will obey a single brightness threshold.
Set the color pipeline before touching the wheels
HDR wheels operate inside the project’s current processing path. Decide whether the project uses Resolve Color Management, DaVinci YRGB with a manual transform, or another deliberate setup before judging the result. An image can look “too dark” simply because you are adjusting a scene-referred signal before its output transform.
- Open Project Settings → Color Management and identify who owns the input, timeline and output transforms.
- Choose the correct clip or timeline node for the adjustment.
- Open the HDR palette on the Color page.
- Watch the waveform and parade while making a small move.
- Check the image again through the intended viewing transform before deciding that the move worked.
If the project already uses Resolve Color Management, keep the node’s job clear. Use HDR wheels for grading inside the managed timeline space; do not add an unrelated camera-to-Rec.709 conversion just because the image looks flat. The site’s guide to Resolve Color Management and CST order explains how to find the transform owner.
HDR vs Primary vs Log wheels
Primary wheels
Best starting use: broad balance, exposure feel, contrast and global color.
Typical risk: changing the whole shot when only one tonal range needs work.
Log wheels
Best starting use: larger overlapping bands such as shadows, mids or highlights.
Typical risk: the overlap can affect more of the image than expected.
HDR zone controls
Best starting use: named tonal zones such as darks, skin-range lights or speculars.
Typical risk: stacking several strong zone moves can create unnatural separation.
Use the simplest control that matches the problem. If the whole shot is one stop too low, fix the overall exposure with an appropriate global control. If the sky is bright but the face is already close, an HDR Highlight or Specular move is easier to contain than a large gain pull.
The Resolve scopes guide is useful here because the waveform shows which tonal region is actually moving. The viewer alone can make a gentle lift look dramatic while hiding a clipped channel.
A practical HDR wheel workflow
1. Balance with a broad control
Start with white balance, exposure and an overall contrast decision. Do not use six HDR zones to solve a source problem that affects the complete frame. A balanced image gives the zone controls a stable starting point.
2. Pick one zone and one purpose
Describe the intended change in plain language: “open the dark jacket,” “pull the bright sky down,” or “give the warm practicals less saturation.” Then choose the zone that best matches that description. Avoid moving several wheels before you know which one solved the problem.
3. Change luminance before color
Make a small luminance move and watch the waveform. If the tonal relationship improves, add the smallest hue or saturation correction needed. Separating the two decisions makes it easier to undo a bad color move without losing the exposure work.
4. Check the transition zones
Look at the boundary between the adjusted area and its neighbors. A face may sit partly in Light and partly in Highlight. A sky can cross from Light into Highlight near the sun. If the transition looks brittle, reduce the adjustment or use a different tool with a softer selection.
5. Match adjacent shots
HDR wheels can make one clip look clean while leaving the sequence inconsistent. Compare the adjusted shot with the clips before and after it at the same viewing transform. For shot matching, the site’s shot matching workflow is a better reference than copying numeric wheel positions.
Useful examples
Open a dark subject without lifting the room
If the subject sits in a low-key interior, a modest Shadow or Dark lift can reveal clothing and facial structure while leaving the brighter wall mostly alone. If the entire subject needs a separate exposure decision, a tracked window or key may be more honest than asking one tonal zone to find the person.
Control a bright sky
Use Highlight or Specular only when the sky is the part that needs attention. Pulling it down can recover a more comfortable relationship with the foreground, but it cannot recreate detail that is absent from every channel. If the sky is clipped, combine a restrained HDR move with a good source exposure or a sky-specific correction.
Protect skin while changing the scene
A broad saturation increase can make skin and colored production design rise together. Use a zone move for the scene’s tonal structure, then isolate skin with a qualifier or window when the face needs a separate decision. HDR wheels describe luminance ranges; they do not know that a face is a face.
Shape specular highlights
Specular control is useful for practical lights, reflections and small bright accents. Keep the move restrained. Strong chroma or gain changes in this range can create colored rims and make a polished highlight look digitally painted.
HDR Palette, Zone panel and HDR wheels are related
HDR Palette is the official name for the Color-page palette. Inside it, the Zone panel or zone graph helps you see the overlapping tonal ranges, while the zone controls let you shape those ranges. “HDR Zone Palette” is a convenient shorthand you may see in tutorials, but it is not the name of a separate official palette.
Use the zone graph to understand where a correction is landing, then use the control that matches the job. The palette’s zones and controls describe brightness ranges; they do not automatically isolate a person, sky or object by identity.
Choose the palette that makes the correction legible. If you cannot explain why a point or zone is moving, back up and look at the waveform, the node order and the project transform. A more precise control cannot compensate for an unclear grade.
Common HDR wheel mistakes
- Using HDR wheels for a global exposure error. Start with a global or primary correction when the whole image is affected.
- Assuming HDR means HDR footage only. The controls describe tonal zones; they can shape SDR material too.
- Making every zone move in the same direction. That often recreates a global correction with more opportunities for seams.
- Judging the grade before the output transform. Scene-referred and display-referred images do not respond visually in the same way.
- Ignoring channel clipping. Watch parade and waveform, especially after saturation or highlight changes.
- Trying to isolate an object by brightness alone. Use a window, qualifier or Magic Mask when the object does not occupy a reliable tonal range.
Final HDR wheel checklist
- The project’s input, timeline and output transforms are known.
- The adjustment has one clear tonal purpose.
- The simplest suitable wheel was chosen.
- Luminance and color decisions were checked separately.
- Zone transitions look smooth on the viewer and scopes.
- Skin, practicals and saturated highlights were inspected for artifacts.
- The shot was compared with neighboring clips.
HDR Color Wheels are most useful when you treat them as a way to describe the image more precisely. Pick the zone that contains the problem, make the smallest move that solves it, and switch to a spatial selection when the problem belongs to an object rather than a brightness range.
