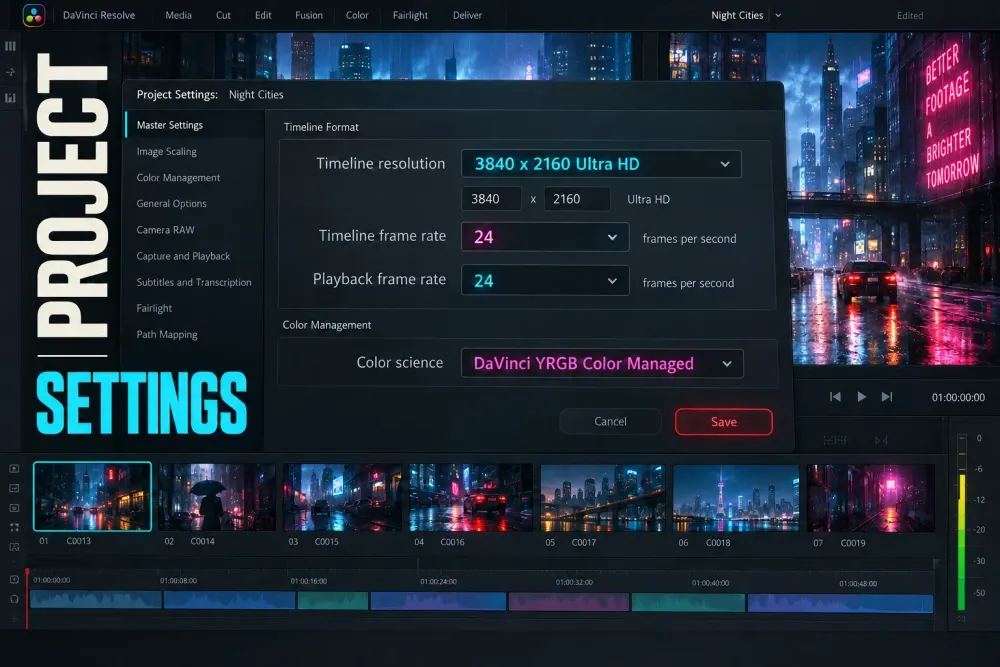
Short answer: before you edit, decide the project settings that control timebase and image interpretation: timeline frame rate, delivery shape, and color-management pipeline. Then choose storage locations and performance formats that fit the way you will work. Proxy Media, Optimized Media and Render Cache can be changed or regenerated later. Timeline frame rate is safest to settle before serious editing because late changes can require a new project or timeline workflow, depending on the build and project state.
DaVinci Resolve keeps these controls in the Project Settings window, opened from the gear button. The window is broad enough to make a new project feel more complicated than it is. You do not need to change every field. You need to make the few decisions that affect the rest of the edit, then leave the reversible settings easy to find.
Start with the settings that can change the shape of the edit
Use this order for a new project:
- Decide the delivery shape: widescreen, vertical, square or another defined canvas.
- Choose the timeline frame rate from the footage and delivery requirement.
- Choose a color-management approach that matches the cameras, working space and final output.
- Choose where generated project media, proxies, cache and gallery stills will live, while keeping a separate record of the original source-media locations.
- Only then tune proxy, optimized-media and render-cache formats for the machine and storage you have.
That order is a planning rule, not a demand to fill in every advanced option. If you are unsure about one item, leave a note in the project name or a small project memo and resolve it before the first serious grade or export. The cost of a late decision is usually confusion across several timelines, clips and deliverables.
1. Set the timeline frame rate before importing media
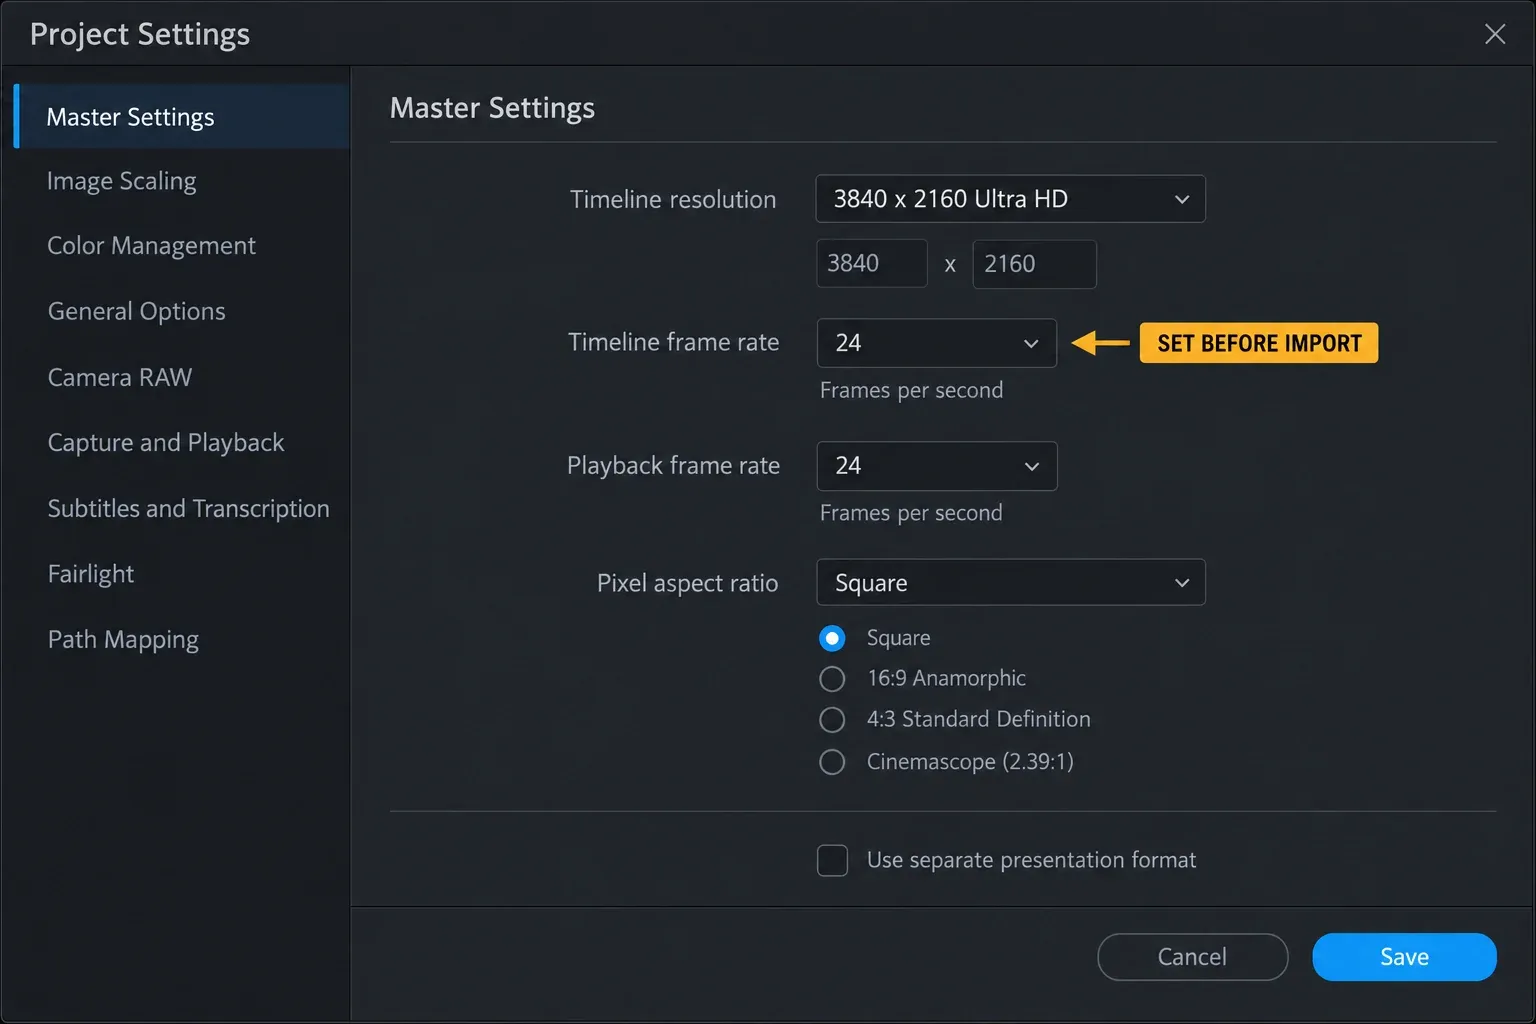
Timeline frame rate is the first setting I would check. Choose it before importing media or building timelines, while the project is still empty. Resolve can lock or constrain timebase controls once media and timelines are in play, and available workarounds depend on the project and build. Treat the intended delivery frame rate as an early project decision rather than assuming it will be painless to change later.
This does not mean every clip must share the same frame rate. It means the project needs a deliberate timebase. A 24 fps narrative timeline, a 25 fps regional delivery and a 30 fps web project can all be sensible choices in the right context. The correct choice comes from the intended delivery and the source footage, not from a universal “best” number.
For a fuller decision, use the DaVinci Resolve frame-rate guide. In Project Settings, open Master Settings and check the timeline frame-rate field before you import clips. If you are opening an existing project, do not change it casually just because a few clips have a different rate. Resolve can conform or interpret mixed-rate material in several ways; the important part is knowing which behavior you want for the finished timeline.
2. Choose timeline resolution and delivery shape early
Timeline resolution controls the working canvas: for example, a widescreen 3840 × 2160 project, a 1920 × 1080 project or a vertical 1080 × 1920 project. You can change the resolution later, but the edit may need new scaling, positioning and graphics decisions. That flexibility does not remove the need to choose a delivery shape before you start reframing shots.
Vertical and square work changes more than the numbers in a dropdown. You may need to reposition faces, titles, screen recordings and graphics. If you cut a widescreen master first and decide at the end that it should become vertical, the technical change is easy to make; the editorial reframing is the real job.
Set the timeline resolution in Master Settings, then check the image-scaling behavior for clips that do not match the canvas. Decide whether you want to preserve the whole frame, fill the canvas and crop, or reframe important shots one by one. Do not rely on a scaling preset to make every shot look intentional.
If the project has more than one output, define the primary master first and record the secondary shapes you will make later. That keeps the first timeline stable while you plan the alternate deliverables.
3. Pick a color-management pipeline before serious grading
The Color Management panel affects how Resolve interprets and transforms image data. It is a project-level decision, so choose it before you build a large set of grades that depend on one interpretation of the footage.
Resolve offers several documented paths, including DaVinci YRGB, DaVinci YRGB Color Managed and ACES workflows. Blackmagic’s official color page describes Resolve color management and ACES as supported ways to work with color spaces and output transforms. The manual explains the controls and their consequences; it does not make one pipeline correct for every camera, editor or delivery.
Use the pipeline that matches the source material and the work you actually need to deliver. If you are following a studio or client specification, match its input, working and output expectations. If you are working on a small web project, keep the setup understandable and document what you selected. A simple, known pipeline is safer than a sophisticated one you cannot explain when a clip looks different after a change.
For the detailed choice between Resolve Color Management and a manual CST approach, continue to the color-management guide. Treat that page as the deep explanation; this article only tells you when the decision belongs in the setup sequence.
4. Give Project Settings a storage plan
Open Working Folders and check the locations Resolve uses for generated media, proxy media, render-cache files and gallery stills in your build. These are working and generated files; do not assume this panel moves or protects the original camera media. Record the source-media locations separately and keep them on storage you can identify and back up.
Choose locations that you can identify later. A project is easier to move when generated media, proxy and cache folders have predictable names and live on storage with enough free space. Keep cache and generated media away from a drive that is already close to full. If you are preparing a handoff, record the original source-media locations separately from the proxy, cache and other generated-file locations.
Project storage is a separate question from project safety. The guide to where Resolve projects are saved covers the project-library side. Use Working Folders to verify where temporary and generated media goes in your installed build, and manage original source files separately.
5. Keep Proxy Media, Optimized Media and Render Cache separate in your head
These three features all help playback, but they do different jobs.
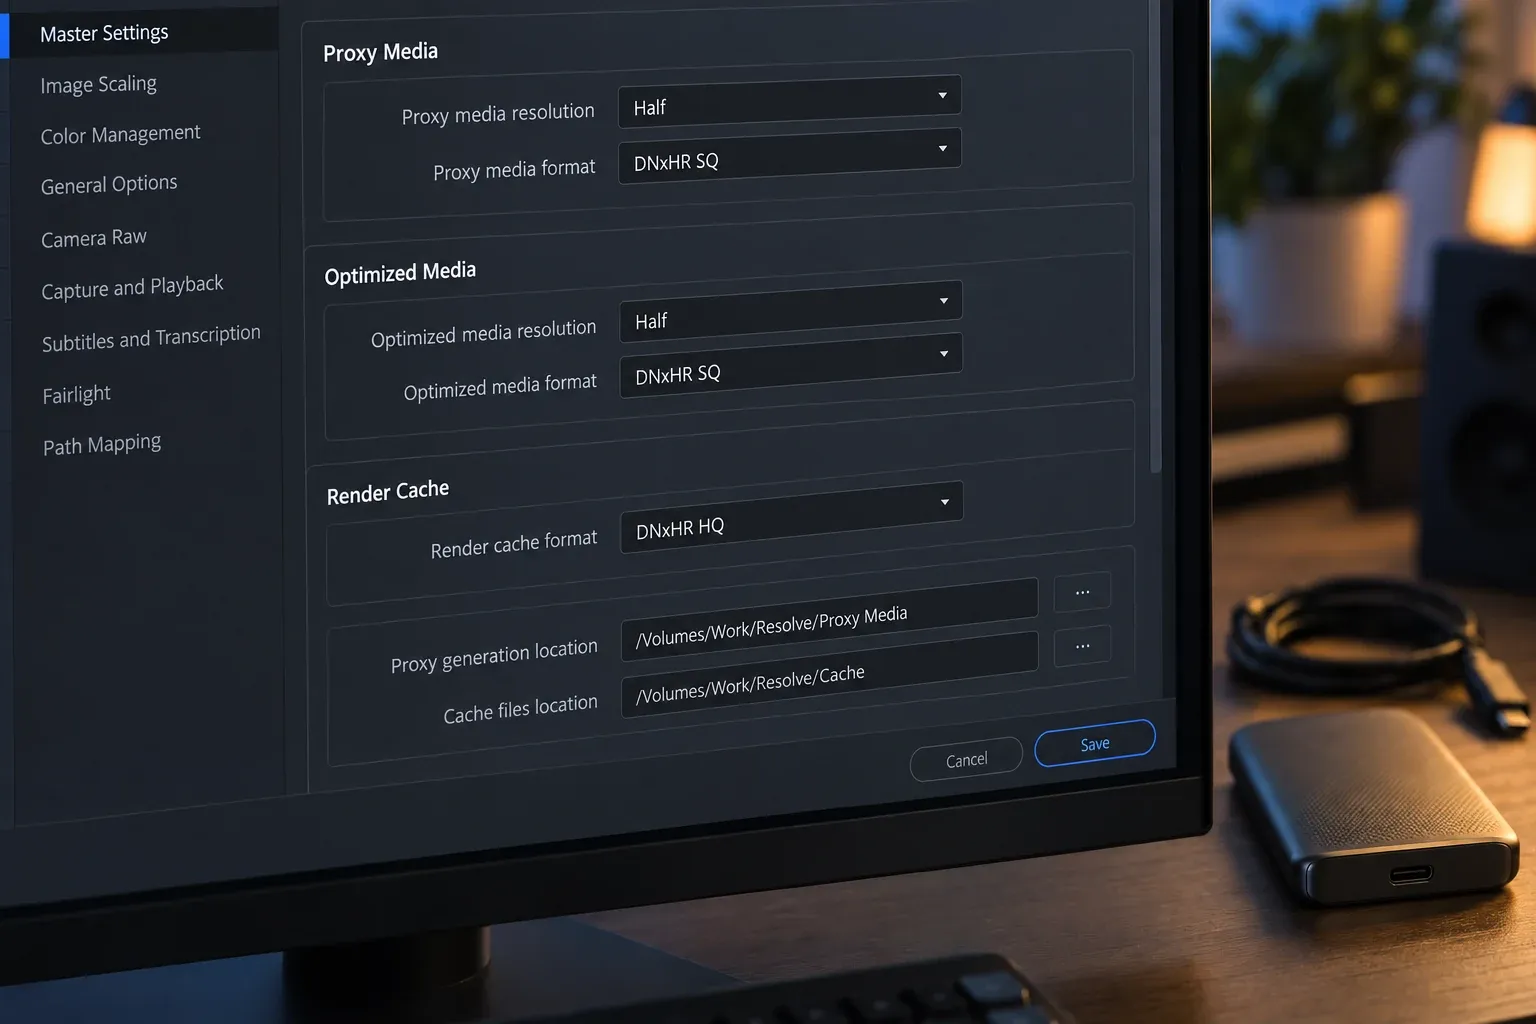
- Proxy Media is a lower-resolution or easier-to-decode representation of source media. Project Settings let you choose its resolution, format and generation location. It can be useful for editing, collaboration and a controlled handoff.
- Optimized Media is generated media Resolve can use to make difficult source files easier to work with. It is a performance aid that can be regenerated when needed.
- Render Cache stores rendered results for parts of the timeline so Resolve does not have to calculate them repeatedly during playback. It is also regenerable working data.
Do not treat optimized media or render cache as your only archive of the project. They are local working aids. If another editor needs to continue the project, the project file, source media and a clearly planned proxy or archive package matter more than a folder full of cache files.
In Project Settings, choose formats that balance decode speed, image quality and available storage. Then use the deeper Resolve proxy workflow when you need to plan a portable edit or troubleshoot offline media.
6. Check the safety net: Live Save and Project Backups
Live Save and Project Backups solve different problems. Check whether Live Save is enabled in your preferences and turn it on when it fits the project. Then configure scheduled Project Backups separately; do not assume one feature replaces the other.
Use both when the project matters. Live Save reduces the gap between your current work and the last saved state. Scheduled Project Backups give you restore points, but they are not a media backup. Keep source media, graphics, LUTs, stills and other irreplaceable assets in a separate backup plan appropriate to the job.
Check the backup location and retention behavior in Preferences > User > Project Save and Load. A backup that is saved to the same failing drive is not a complete safety plan. For a project with meaningful footage or client deadlines, keep a copy of the project and irreplaceable source material on storage that is separate from the primary working disk.
7. Use presets as starting points, not blind defaults
Project Settings presets can save nearly every parameter across the Project Settings panels. That makes them useful when you repeatedly create the same kind of project, such as a known delivery format with a known color pipeline.
Build a preset only after you understand its assumptions. Give it a name that records the delivery and color context, such as “UHD web SDR 24” rather than “Best Settings.” A preset can change several panels at once, so review Master Settings, Image Scaling, Color Management and Working Folders after loading or updating it. If a setting is critical, record the previous value before applying the preset so you can restore it deliberately.
Project Settings also has a search bar. Use it when you remember the control but not the panel where it lives. Searching is quicker and safer than changing a nearby setting because its label looks familiar.
8. Run a delivery preflight before the final render
Project setup is not the final export check. Before you render, compare the actual delivery specification with the active timeline and Deliver settings:
- resolution and aspect ratio;
- frame rate and frame-rate conversion choices;
- color-space, gamma and data-level tags where the destination requires them;
- audio bus, channel layout and sample-rate expectations;
- codec, container, bitrate or quality setting;
- file naming, destination and whether the export is a master, review file or platform upload.
A timeline can be correct for editing and still be wrong for a particular delivery. The DaVinci Resolve export guide covers the Deliver page in more detail. Use this preflight as the final comparison between the project you built and the file you were asked to deliver.
Project Settings checklist
- Timeline frame rate chosen before serious editing begins.
- Primary delivery shape and timeline resolution recorded.
- Color-management pipeline selected for the source and output.
- Generated project media, proxy media, render cache and gallery-stills locations checked; original source-media locations recorded separately.
- Proxy, optimized-media and render-cache formats chosen for the available storage.
- Live Save state checked; Project Backups configured and pointed at a usable location.
- Any loaded preset reviewed panel by panel.
- Final Deliver settings compared with the actual delivery specification.
FAQ
Can I change the timeline frame rate after importing media?
Do not plan on a late switch. Depending on the project state and Resolve build, the timeline frame-rate control may be constrained after media or timelines exist. If you need another timebase, create a new project or timeline with the intended rate and move the edit through a controlled workflow instead of forcing a late change.
Can I change the timeline resolution later?
Yes. Timeline resolution is adjustable, but changing from widescreen to vertical or square usually requires editorial reframing of shots, titles and graphics.
Are Optimized Media and Render Cache the same as Proxy Media?
No. All three can improve playback, but Proxy Media is the explicit proxy representation, while Optimized Media and Render Cache are separate generated performance aids with different uses and regeneration behavior.
Should I use Resolve Color Management or ACES?
Choose the pipeline that matches your source footage, grading workflow and delivery requirements. There is no single choice that fits every Resolve project.
What should I check before exporting?
Check resolution, frame rate, color and gamma tags, audio bus and channel layout, codec or container, quality settings, destination and the delivery specification you are trying to meet.
