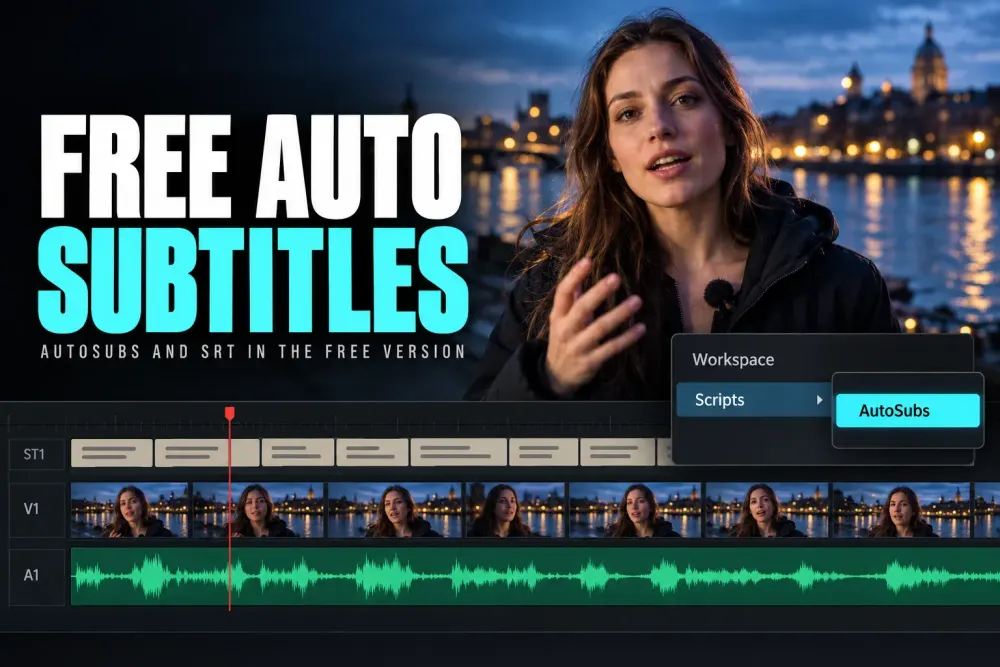
Yes, you can generate automatic subtitles for DaVinci Resolve Free with an external app such as AutoSubs. Generate and review the text there, export an SRT, then import that file into a Resolve subtitle track. Resolve’s own Create Subtitles from Audio is a Studio feature; importing an externally prepared subtitle file is a different workflow.
I’d start with the SRT route if you need ordinary captions or a subtitle file to hand over. Connect AutoSubs directly when you want styled title clips, including word highlighting. That choice matters more than finding a button labeled “auto captions.”
Choose the caption output first
- A native subtitle track: generate an SRT externally and import it. This keeps subtitle text and timing separate from your video. You can review the cues in Resolve and choose the appropriate subtitle delivery method.
- Animated text in the picture: use AutoSubs’ connected styling route. Its bundled AutoSubs Caption macro supports word highlighting and in/out animation. Those Fusion/title clips occupy a video track; they do not become a native subtitle track just because they display spoken words.
- Both deliverables: keep the reviewed SRT as well as the styled clips. A client asking for a caption file needs the file, even if the video already has visible text.
A project Text+ or Fusion title can be another styling source, but it isn’t interchangeable with the bundled macro: the developer documents different animation and highlighting support for those two paths. For track styling and delivery choices beyond this Free workflow, use the subtitles and captions hub.
Check the version before following an old tutorial
These instructions follow AutoSubs v3.11.0 release and Resolve 21.1 documentation. Blackmagic’s 21.1 release notes move Python scripting to Studio. That’s why I wouldn’t use a Python-console tutorial written for an older Free version as a starting point for 21.1.
AutoSubs has its own documented solution: a Lua file-mailbox bridge for Resolve 21.1 Free. It replaces the old socket-based connection. That’s specific to AutoSubs’ current integration, and it doesn’t promise that every older caption plugin still works.
Get the packaged installer for your system from the AutoSubs developer’s download page. Windows, Apple Silicon Mac, Intel Mac and Linux builds are listed. For direct Resolve integration on a Mac, the developer’s Mac App Store restriction matters: that Resolve distribution is unsupported. Standalone file transcription avoids the Resolve connection entirely.
You don’t need the repository’s development setup or a Python script for the packaged workflow below. If a tutorial starts by copying old files or downgrading Resolve, check its version before changing your working system.
Generate a reviewed SRT without connecting to Resolve
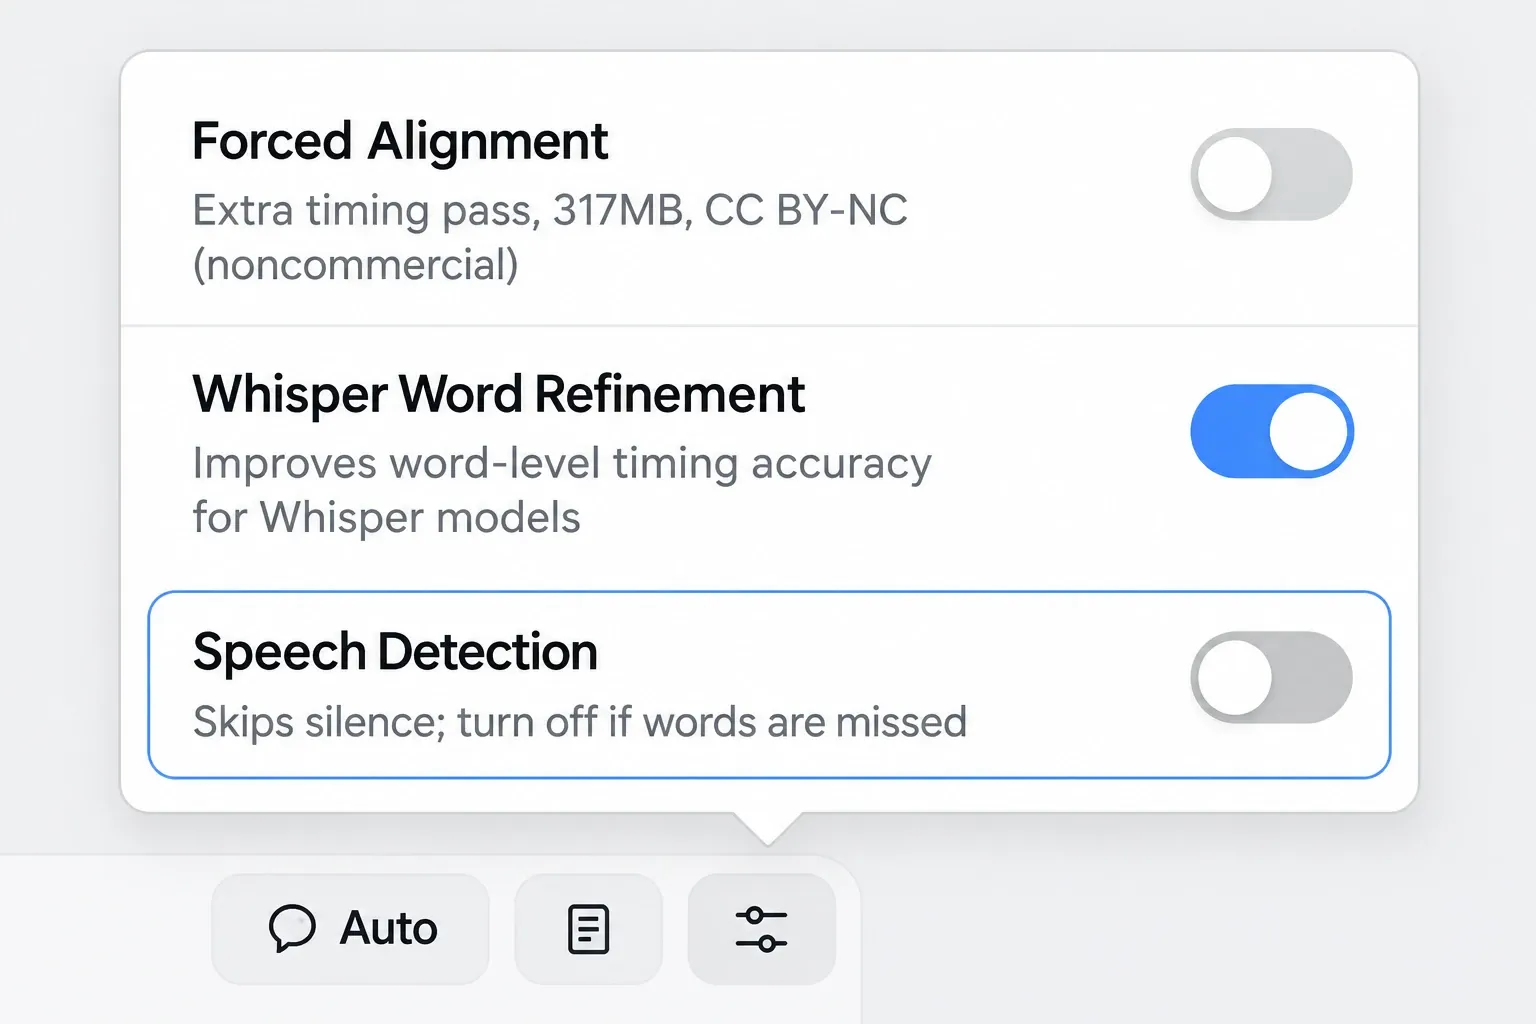
For commercial work, check the optional alignment model before transcription. AutoSubs’ code is MIT-licensed, but the additional MMS forced-alignment weights use CC BY-NC 4.0. Leave that optional Forced Alignment feature off for a commercial job unless you have permission covering that use. Check the license of your chosen transcription model as well; the app’s code license does not relicense its model weights.
- Use the same finished edit you intend to caption. An existing final video file works as the source. If your dialogue has been cut on a Resolve timeline, export that edited version first. Transcribing an uncut camera recording will preserve words and pauses that the final edit may have removed.
- Open AutoSubs and choose File as the source. Select your audio or video file. The developer’s standalone sequence is file selection, model and language, Transcribe, editing, then export. Resolve does not have to be connected for this route.
- Choose a model that supports the spoken language. For English-only material, an English Whisper model is an available starting point; use a multilingual model for other languages. AutoSubs’ model list distinguishes language support and approximate memory needs. Model weights download on demand, so allow that download before expecting offline transcription.
- Set the source language and keep translation off when you want a transcript of the original speech. Language identification, translation and subtitle timing solve different problems. Do not add translation while diagnosing a missing-word or timing issue.
- Click Transcribe, then review the result against the audio. Correct names, numbers, punctuation and missing phrases. Check that the line breaks remain readable at your delivery size. If accessible captions are required, review meaningful sounds and speaker identification too; a speech transcript alone does not settle those editorial decisions.
- Export Subtitles (.srt). The current export choices distinguish timed SRT subtitles from a plain TXT transcript. Choose the timed file for this import, and retain a copy before making later edits.
Import the SRT and preserve its time origin
On Resolve’s Edit page, open the Media Pool. Right-click a bin or the empty Media Pool background, choose Import Subtitle, and select the SRT. It appears as a subtitle clip in the Media Pool. Blackmagic’s subtitle import instructions then give two placement methods:
- Matching timecode: right-click the imported subtitle clip and choose Insert Selected Subtitles to Timeline Using Timecode. Use this when the subtitle timestamps match the timeline’s timecode.
- A different time origin: drag the imported clip into a subtitle track, or into the unused gray area above the video tracks to create one. Resolve breaks it into individual cues. Position the first subtitle where that first spoken cue belongs.
For example, a file transcribed from the start of an exported video might place its first cue at 00:00:02,000. If that video begins at 01:00:00:00 on your timeline, the equivalent cue belongs two seconds later, at 01:00:02:00. Dropping the first subtitle at the start of the program would remove that two-second pause. It’s a timing example, and Resolve shouldn’t be assumed to apply that offset automatically.
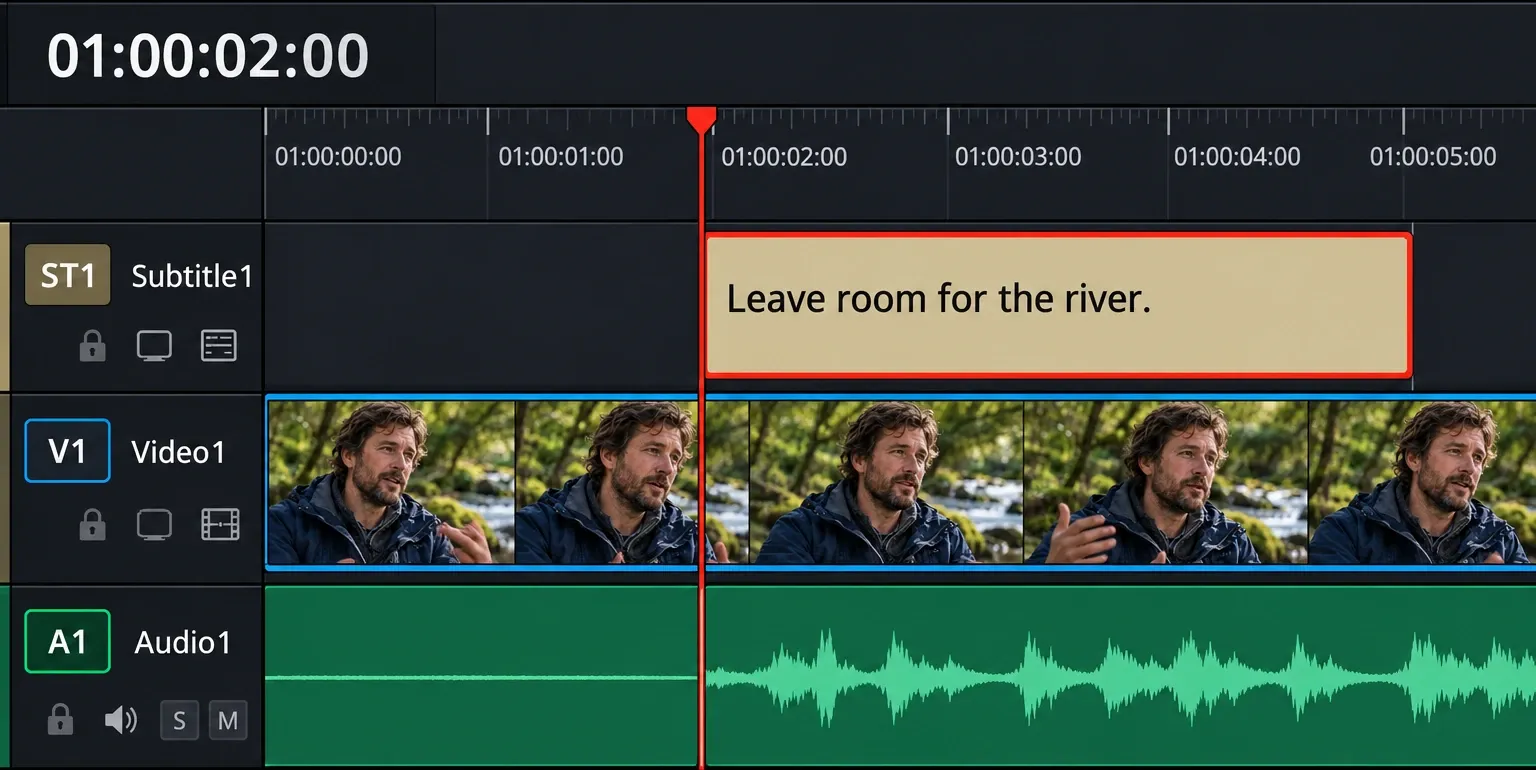

Listen near the beginning, middle and end. Select the subtitle-track header and use the Inspector’s Track panel for shared formatting; the Captions list lets you step through the individual cues.
If you edited the cues in Resolve, right-click the subtitle-track header and choose Export Subtitle to save the revised SRT. For visible captions in the rendered picture, enable Export Subtitle in the Deliver page’s Subtitle Settings and choose Burn into video. Blackmagic’s subtitle delivery controls distinguish a separate file from burn-in; choose the deliverable your destination needs.
Use the connected route for styled title clips
Save your project first and use a duplicate timeline if you want an easy way back. Then open the intended timeline in Resolve. The current bridge instructions require a manual launch once per Resolve session:
- In Resolve, run Workspace → Scripts → AutoSubs; look under Utility, where the packaged launcher is installed.
- Open the AutoSubs desktop app separately. The bridge and the app window are different parts of the connection. Closing and reopening AutoSubs does not require another launch while that Resolve session remains open; restarting Resolve does.
- Choose the timeline source and the intended dialogue tracks. Check whether you are using Entire Timeline or In/Out Points; an old selection range can omit speech you expected to caption.
- Set the language and model, transcribe, and review the subtitles before sending them back.
- Choose the bundled caption style or your supported project template, then send the styled subtitles to an unoccupied video track. Check the first and last clips, text boundaries and any word highlighting in Resolve.


The video-track choice is deliberate: styled Fusion/title clips are picture elements. If you also need selectable captions or a subtitle-file delivery, export and retain the reviewed SRT. Don’t expect the animated title track to supply that file.
Fix the symptom without rebuilding the whole workflow
AutoSubs cannot connect, or the script opens no app window
Confirm that the intended Resolve timeline is open, that the installed AutoSubs release matches the current integration, and that you ran the bridge in this Resolve session. Open the desktop app separately. On a Mac, check the Resolve distribution before troubleshooting ports or script folders.
The developer documents rerunning the installed Workspace script as the bridge restart path, so I wouldn’t substitute the old auto-start script or Python-console instructions. If the connection remains unavailable, use File mode, export SRT and import it manually; subtitle text generation doesn’t depend on the bridge.
Quiet words are missing, or the wrong audio was transcribed
First check the source file, selected audio tracks and range. If the correct source is selected but soft speech is missing, review Advanced Options → Speech Detection. The current control description says it skips silence and suggests turning it off when words are missed. Regenerate the affected material and compare it with the audio. That setting is a diagnostic option, and it doesn’t guarantee every omission will disappear.

Every cue is shifted, or the error grows through the video
A similar offset throughout the edit points you toward placement and time origin. Check the first cue, then move the caption group together if that’s the problem. An error that grows through the program needs a different check: confirm you transcribed the same edit and duration, with no removed introduction, inserted section or retimed passage. Regenerate from the final source when it changed. Repeatedly nudging the whole track can’t repair changing alignment.
Styled captions cannot be sent back
Check the target video track for existing clips before sending again. The v3.11.0 release notes include a fix for sending to an occupied target track, so I’d move to the current release before assuming an old failure describes the current behavior. Keep a reviewed SRT available while resolving the styling issue.
Keep local transcription and translation separate
The developer describes AutoSubs’ speech models as running on your machine. That doesn’t mean every action in the app is offline: model downloads need network access, and the language controls also offer Google Translate. Check the chosen translation route and your project’s data requirements before enabling it. A local transcription claim isn’t a network audit of every feature.
If you are deciding whether the built-in Studio route would suit the job better, the Resolve transcription guide explains that separate choice.