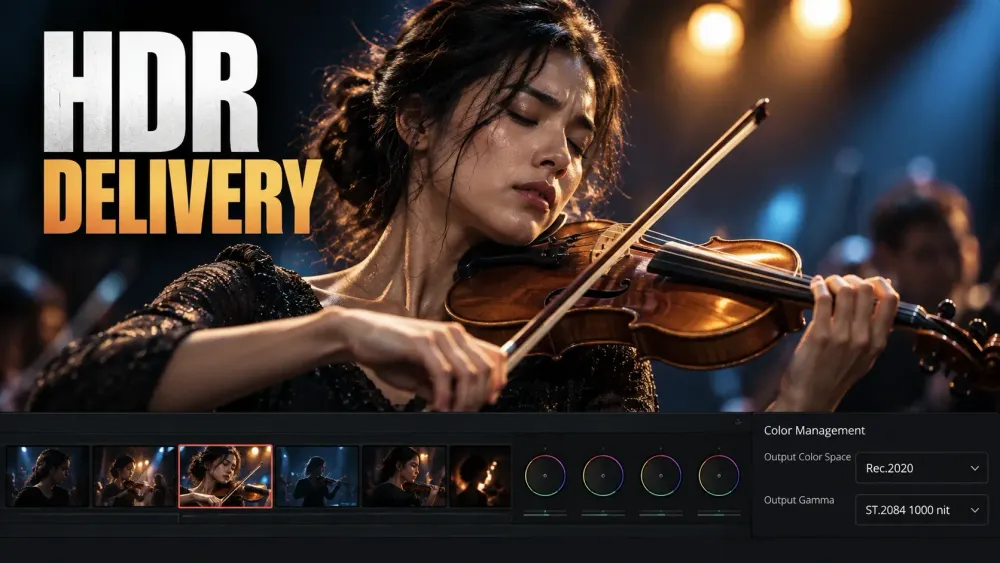
For an HDR export from DaVinci Resolve, choose the delivery target first: PQ, HLG, or a separate SDR master. In a color-managed project, identify each clip’s input, grade in a stable wide-gamut timeline space, and set the output gamut and gamma for that target. Then render a suitable 10-bit file, check its color tags and metadata, and inspect the result on a display that can actually show the intended format. An “HDR” label in a filename or an export tag can't turn an SDR grade into an HDR master.
I'd use PQ when the delivery specification calls for a PQ/HDR10-style master, HLG when it calls for HLG, and Rec.709 for an SDR version. For YouTube, YouTube’s HDR upload requirements accept PQ or HLG with Rec.2020 color signaling. A broadcaster, client or archive may require a different container, codec, metadata package or QC procedure, and its written specification beats any generic preset.
Decide what you are delivering
- PQ (ST 2084): choose this for a PQ deliverable and grade against the actual HDR monitoring target. Resolve offers ST.2084 output options from 300 to 4000 nits, named for display peak luminance. “1000 nit” is only an example for a matching grading display, so don't copy it into every project.
- HLG: choose a Rec.2100 HLG output when the destination asks for HLG. HLG and PQ are different transfer functions; the output tag must match the pixels you rendered.
- SDR: use a Rec.709 output for a separately reviewed SDR master. Relabeling the PQ file as Rec.709 won't give you one. If your only destination is SDR, there may be no reason to build an HDR master first.
Blackmagic lists the available HDR output choices in the Resolve 21 manual on its Resolve support page. I rechecked those option names against the 21.1 manual on October 5, 2026; 21.1.1 build 10, posted October 2, was the current update. The example below uses a color-managed desktop project. Read it as a signal-path checklist; it can't promise that a particular machine, Resolve edition or codec menu supports every delivery format.
Set the input, timeline and HDR output in Resolve Color Management
- Open Project Settings → Color Management. Select DaVinci YRGB Color Managed. If you need the individual controls, switch from automatic management to custom settings and enable Use Separate Color Space and Gamma.
- Identify and assign the input for footage that Resolve hasn't interpreted correctly. A camera log recording, an HLG phone clip and an already converted Rec.709 file each need their own input setting. Check recording notes and reliable metadata before overriding a clip’s input. Skip any second technical LUT or CST that would repeat the managed input conversion.
- Choose a stable wide-gamut timeline working space, such as DaVinci Wide Gamut / DaVinci Intermediate, before building the grade. Blackmagic’s HDR color-management guidance recommends a wide-gamut space for HDR output and warns that changing the Timeline Color Space after grading changes the mathematics of existing corrections. Keep it fixed when making delivery versions.
- Set the Output Color Space and Output Gamma to the requested HDR target. For a Rec.2020 PQ example, use Rec.2020 for gamut and an ST.2084 gamma option whose nit setting corresponds to your actual grading display and specification. For an HLG delivery, choose Rec.2100 HLG as the output, or the corresponding Rec.2020 gamut and Rec.2100 HLG gamma when the separate controls are exposed.
- Review the output tone mapping and the grade on the intended HDR display. Blackmagic’s Output DRT guidance treats the transform as a starting point for the target; the result still needs a reviewed grade. Inspect bright details, shadows and saturated colors shot by shot, because the transform won't handle every shot on its own.
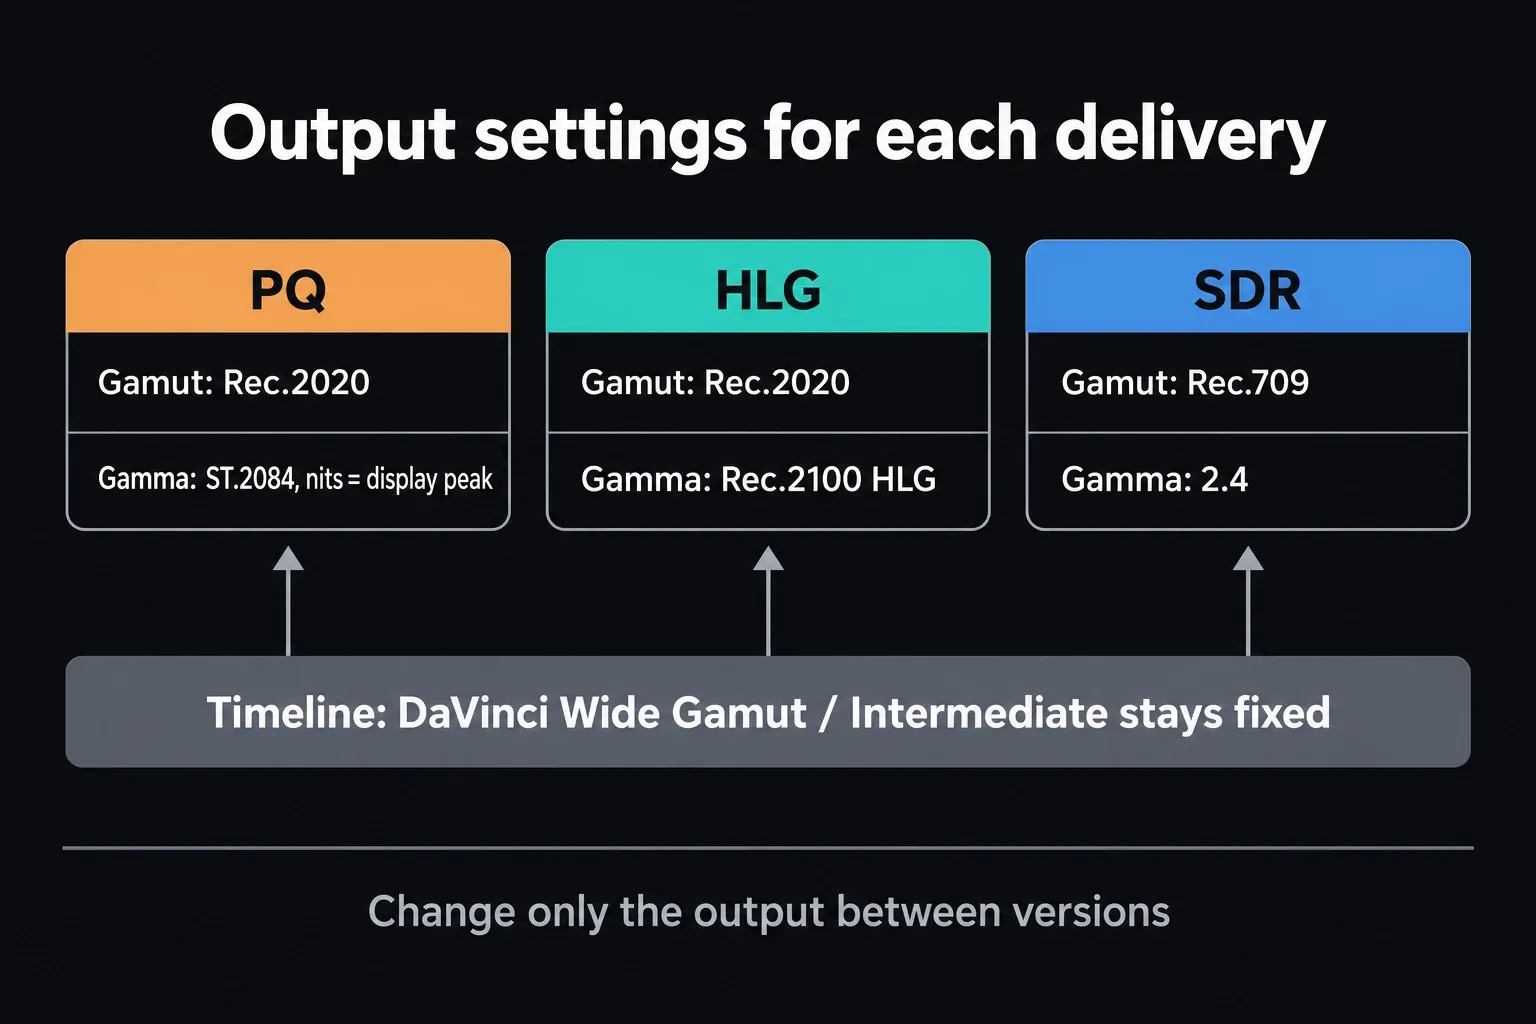
In the figure above, the PQ example leaves the ST.2084 nit value matched to the display peak. Picking 1000 nit neither measures your monitor nor sets a safe universal peak. In the Resolve 21 HDR guidance, Blackmagic ties the ST.2084 nit option to the grading display’s peak and notes that the selected option imposes a hard limit at that value. If you can't monitor the intended HDR output reliably, call the export unverified; an SDR desktop preview tells you very little about highlight detail.
Render a file whose pixels and signaling agree
On the Deliver page, choose the destination’s accepted format, codec and a 10-bit or higher path for the HDR master. Available encoders, profiles and hardware options vary, so confirm the actual bit depth and codec in the rendered file. For YouTube, its HDR encoding guidance recommends HEVC/H.265, AV1 or VP9 Profile 2 among its practical choices and also lists high-quality intermediates. Treat that as a menu, and pick the codec each job's destination asks for.
Check Advanced Settings → Color Space Tag and Gamma Tag where the chosen format exposes them. The Resolve manual’s QuickTime tag guidance says these default to Same as Project and, with RCM enabled, follow the selected output. If you override them, they must describe the rendered output; the camera input and the timeline working space are the wrong things to name here. Tags tell a player how to interpret the file, and they don't convert any color.
For a YouTube HDR upload, the resulting file needs Rec.2020 primaries, the Rec.2020 non-constant-luminance matrix and the correct PQ or HLG transfer function in its HDR signaling. YouTube also calls for 10- or 12-bit video and says a PQ file should carry mastering-display and brightness metadata where available. Those metadata values describe a real mastering setup and content characteristics, so never invent MaxCLL, MaxFALL or a display peak just to make an upload appear complete. YouTube explains these metadata fields and its handling of absent values.
Render a short representative section before the entire program if the pipeline is new to you. Inspect the encoded file’s reported bit depth, primaries, transfer and matrix with a reliable media inspector, then play the file in a color-managed HDR viewing chain. Compare it with Resolve’s intended output for bright and dark shots. The metadata check and the visual check answer different questions: a correctly tagged file can still contain a poor grade, while an attractive local preview can conceal wrong tags.
Make an SDR version without breaking the HDR grade
Save a distinct SDR deliverable. In RCM, change the Output Color Space to the SDR target, for example Rec.709 / Gamma 2.4 for a specified SDR master. Keep the Timeline Color Space unchanged. Blackmagic’s color-management workflow guidance explicitly allows changing output for a new deliverable while warning against changing the grading space after corrections are built.
Expect to finish the SDR version yourself after the HDR-to-SDR output transform. Inspect highlight roll-off, contrast, saturation and shot consistency on an SDR display; adjust the SDR result as the project allows, and keep version-specific corrections separated from the shared grade. Return the output setting to PQ or HLG before any subsequent HDR render, and verify each final file’s tags again. For phone material that needs only SDR, our iPhone HDR-to-SDR guide starts by identifying the recording, since phone clips don't all arrive as the same input.
YouTube automatically makes an SDR conversion for viewers without HDR playback, according to its HDR upload documentation. A separately mastered SDR file is useful when you deliver an independent SDR asset or need direct editorial control over that version. YouTube will still create its own automatic SDR rendition of an HDR upload.
Why the HDR export looks flat, clipped or fails to appear as HDR
- It looks washed out in a player: first compare the render’s actual output settings and tags with the player’s color management and display mode. A PQ signal shown as SDR, a mismatched gamma tag, or a wrong source input can each produce a bad result. Use the washed-out export diagnostic to separate those causes before changing the grade.
- The highlights clip: check the grading display target, selected ST.2084 nit option, output tone mapping and the source’s recorded detail. The output setting imposes a limit, and simply raising its number without a matching monitoring and delivery plan won't recover anything.
- The platform shows SDR only: inspect the uploaded file’s bit depth and HDR primaries, matrix, transfer and metadata. Then allow the service to finish HDR processing and check playback on a compatible device. An HDR word in the title or a tag added to an SDR grade won't get you HDR playback. YouTube specifically warns that forcing HDR metadata onto video that wasn't graded with an HDR transfer function can distort it.
- Colors shift or become oversaturated: check whether the actual master and its Rec.2020 tag agree. YouTube warns that tagging a P3 master as Rec.2020 changes hues and saturation. Also rule out a double input or output transform in Resolve.
If the color pipeline itself is uncertain, work through our RCM versus CST signal-path guide before adding export overrides. The export settings hub covers the ordinary render choices around format, quality and delivery. HDR Color Wheels are grading controls and have nothing to do with the file format; the HDR Color Wheels guide explains their zones and keeps them apart from PQ or HLG output.
