Home Tutorials
DaVinci Resolve topic library
Tutorials
Step-by-step DaVinci Resolve tutorials covering editing, color, Fusion, and audio.
What this library covers
Choose the task, then open one focused guide
Choose by the result you need, not by the name of a Resolve page or tool. Each card takes one job from the first setting to a result you can check.
Start with the resultPick the card that matches what you need to finish, fix or understand.
Use one guide at a timeEach article owns one task, so you do not have to decode a giant index.
Move to the next real stepRelated tasks stay visible without repeating every link on the page.
Choose the task
Guides in this library
One card opens one focused guide. Covers stay visible, and the same article is not repeated in a second link list.
 DaVinci Resolve Subtitles: Create, Style, Import & Export
Build captions as a delivery workflow, not a last-minute text layer. Learn when to use a subtitle track, Studio transcription or Text+, then import, time, style, check and export captions without losing sync or readability.
DaVinci Resolve Subtitles: Create, Style, Import & Export
Build captions as a delivery workflow, not a last-minute text layer. Learn when to use a subtitle track, Studio transcription or Text+, then import, time, style, check and export captions without losing sync or readability.
 DaVinci Resolve Multicam Editing: Sync to SmartSwitch
Build the multicam clip correctly before you start cutting. This guide shows how to choose a sync method, keep one clean audio source, switch or replace angles without breaking sync, and use Studio's SmartSwitch as a first pass rather than a finished edit.
DaVinci Resolve Multicam Editing: Sync to SmartSwitch
Build the multicam clip correctly before you start cutting. This guide shows how to choose a sync method, keep one clean audio source, switch or replace angles without breaking sync, and use Studio's SmartSwitch as a first pass rather than a finished edit.
 Fusion vs After Effects in 2026
Fusion is a strong fit for shot-based compositing inside Resolve. After Effects is often the faster choice for layer-driven motion design and Premiere templates. Compare the job, handoff and revision loop before choosing nodes or layers.
Fusion vs After Effects in 2026
Fusion is a strong fit for shot-based compositing inside Resolve. After Effects is often the faster choice for layer-driven motion design and Premiere templates. Compare the job, handoff and revision loop before choosing nodes or layers.
 DaVinci Resolve vs CapCut in 2026
CapCut is faster for same-day social clips, captions and templates across phone, web and desktop. Resolve is stronger when longer projects need controlled media, color, VFX, audio and delivery. Compare the complete publishing loop, not the number of AI buttons.
DaVinci Resolve vs CapCut in 2026
CapCut is faster for same-day social clips, captions and templates across phone, web and desktop. Resolve is stronger when longer projects need controlled media, color, VFX, audio and delivery. Compare the complete publishing loop, not the number of AI buttons.
 DaVinci Resolve vs Final Cut Pro in 2026
Final Cut Pro suits Mac-only editors who value the Magnetic Timeline and fast organization. Resolve is stronger when color, Fusion, Fairlight, cross-platform access or simultaneous collaboration belong in the same project. Test the same short edit in both before moving a live library.
DaVinci Resolve vs Final Cut Pro in 2026
Final Cut Pro suits Mac-only editors who value the Magnetic Timeline and fast organization. Resolve is stronger when color, Fusion, Fairlight, cross-platform access or simultaneous collaboration belong in the same project. Test the same short edit in both before moving a live library.
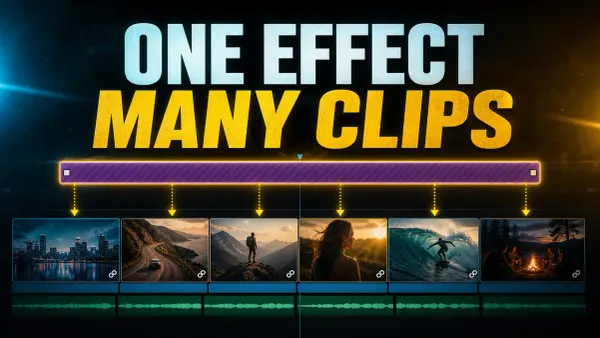 Adjustment Clips in DaVinci Resolve
On the Edit page, open Effects Library, then Toolbox, then Effects, drag an Adjustment Clip to a video track above the shots, and trim it to the exact range.
Adjustment Clips in DaVinci Resolve
On the Edit page, open Effects Library, then Toolbox, then Effects, drag an Adjustment Clip to a video track above the shots, and trim it to the exact range.
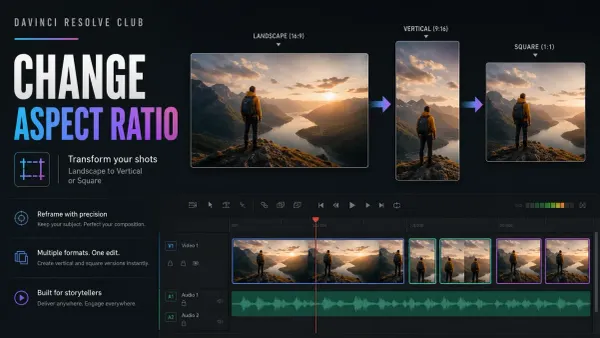 Change Resolution and Aspect Ratio in DaVinci Resolve
Duplicate the timeline, set its resolution and aspect ratio, then reframe each clip before export. Covers 16:9, 9:16, square and widescreen workflows, black bars, plus the controls available in Resolve Free and Studio.
Change Resolution and Aspect Ratio in DaVinci Resolve
Duplicate the timeline, set its resolution and aspect ratio, then reframe each clip before export. Covers 16:9, 9:16, square and widescreen workflows, black bars, plus the controls available in Resolve Free and Studio.
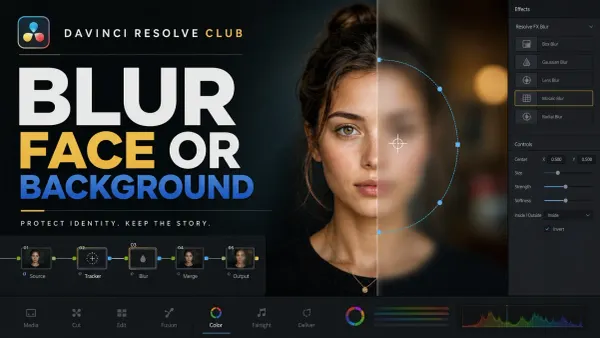 How to Blur a Face or Background in Resolve
Blur a moving face with a tracked Power Window, repair drift, or keep a person sharp with a background mask. Includes exact Free vs Studio routes for Resolve 21.
How to Blur a Face or Background in Resolve
Blur a moving face with a tracked Power Window, repair drift, or keep a person sharp with a background mask. Includes exact Free vs Studio routes for Resolve 21.
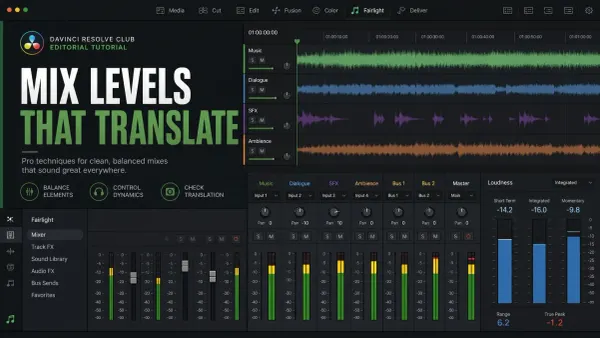 Audio Levels and LUFS in DaVinci Resolve
DaVinci Resolve audio levels need two checks: dBFS peak meters protect headroom, while LUFS/LKFS meters describe perceived loudness over time. Balance dialogue, music, and effects first; watch every bus for overload; then reset the Fairlight loudness meter and play the complete delivery range.
Audio Levels and LUFS in DaVinci Resolve
DaVinci Resolve audio levels need two checks: dBFS peak meters protect headroom, while LUFS/LKFS meters describe perceived loudness over time. Balance dialogue, music, and effects first; watch every bus for overload; then reset the Fairlight loudness meter and play the complete delivery range.
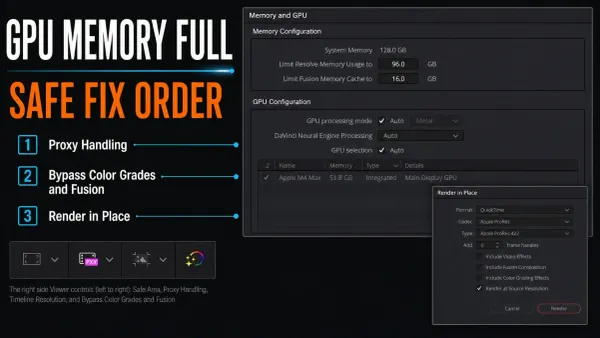 Fix GPU Memory Full in DaVinci Resolve
Save and duplicate the project, note the exact failing frame, then bypass the heaviest Color, Fusion, retime, and AI processing near that frame. Lower the timeline’s working resolution, restart Resolve, and test again.
Fix GPU Memory Full in DaVinci Resolve
Save and duplicate the project, note the exact failing frame, then bypass the heaviest Color, Fusion, retime, and AI processing near that frame. Lower the timeline’s working resolution, restart Resolve, and test again.
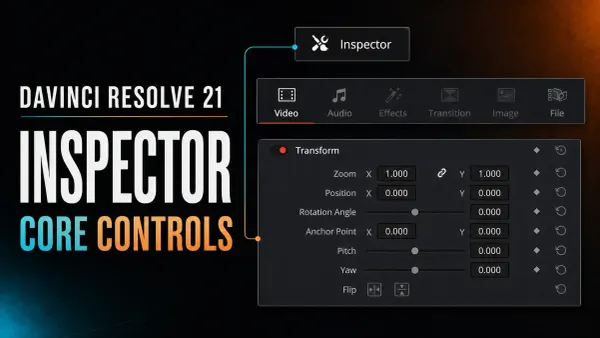 DaVinci Resolve Inspector: Core Controls Explained
Select a timeline item and open Inspector at the upper right. This Resolve 21 guide explains Transform, Crop, Audio, Effects, keyframes, resets, and blank-panel fixes.
DaVinci Resolve Inspector: Core Controls Explained
Select a timeline item and open Inspector at the upper right. This Resolve 21 guide explains Transform, Crop, Audio, Effects, keyframes, resets, and blank-panel fixes.
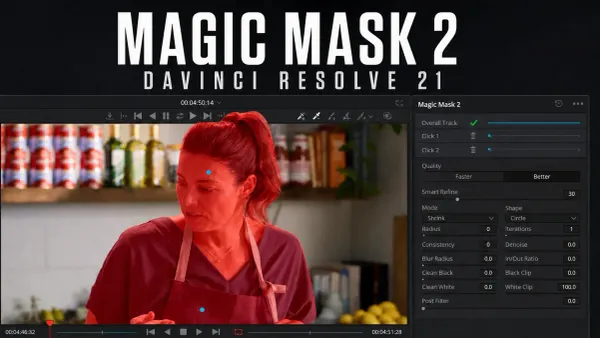 DaVinci Resolve Magic Mask: Resolve 21 Guide
Magic Mask isolates a person or object from a shot without hand-drawing a matte on every frame. In DaVinci Resolve 21 Studio, start on a clear frame, add a dedicated Color node, place one positive click inside the subject, track forward and backward, then inspect the black-and-white matte.
DaVinci Resolve Magic Mask: Resolve 21 Guide
Magic Mask isolates a person or object from a shot without hand-drawing a matte on every frame. In DaVinci Resolve 21 Studio, start on a clear frame, add a dedicated Color node, place one positive click inside the subject, track forward and backward, then inspect the black-and-white matte.