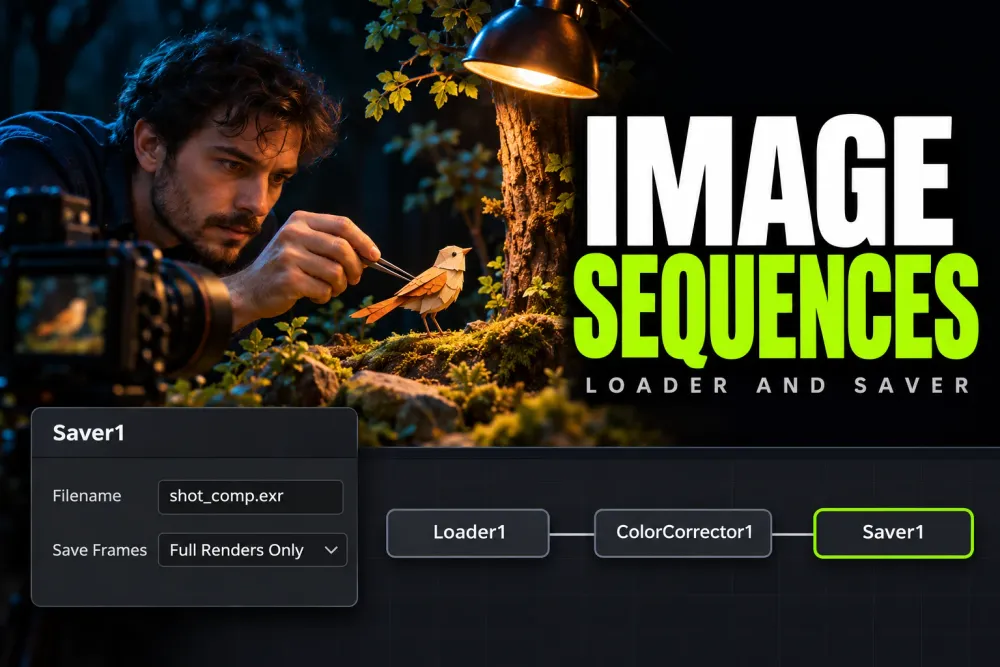
In standalone Fusion Studio, load an image sequence with a Loader, connect the finished composition to a Saver, then choose File > Render All Savers. Set the output path, format and frame range before starting. I'd render a short range into a new version folder first because a correct-looking viewer doesn't prove that the files, numbering and alpha are right.
On Resolve's Fusion page, the normal timeline route is MediaIn → composition → MediaOut, followed by Deliver for the final video. Its Saver is a special EXR output route. Keep that distinction in mind when following a standalone Fusion tutorial.
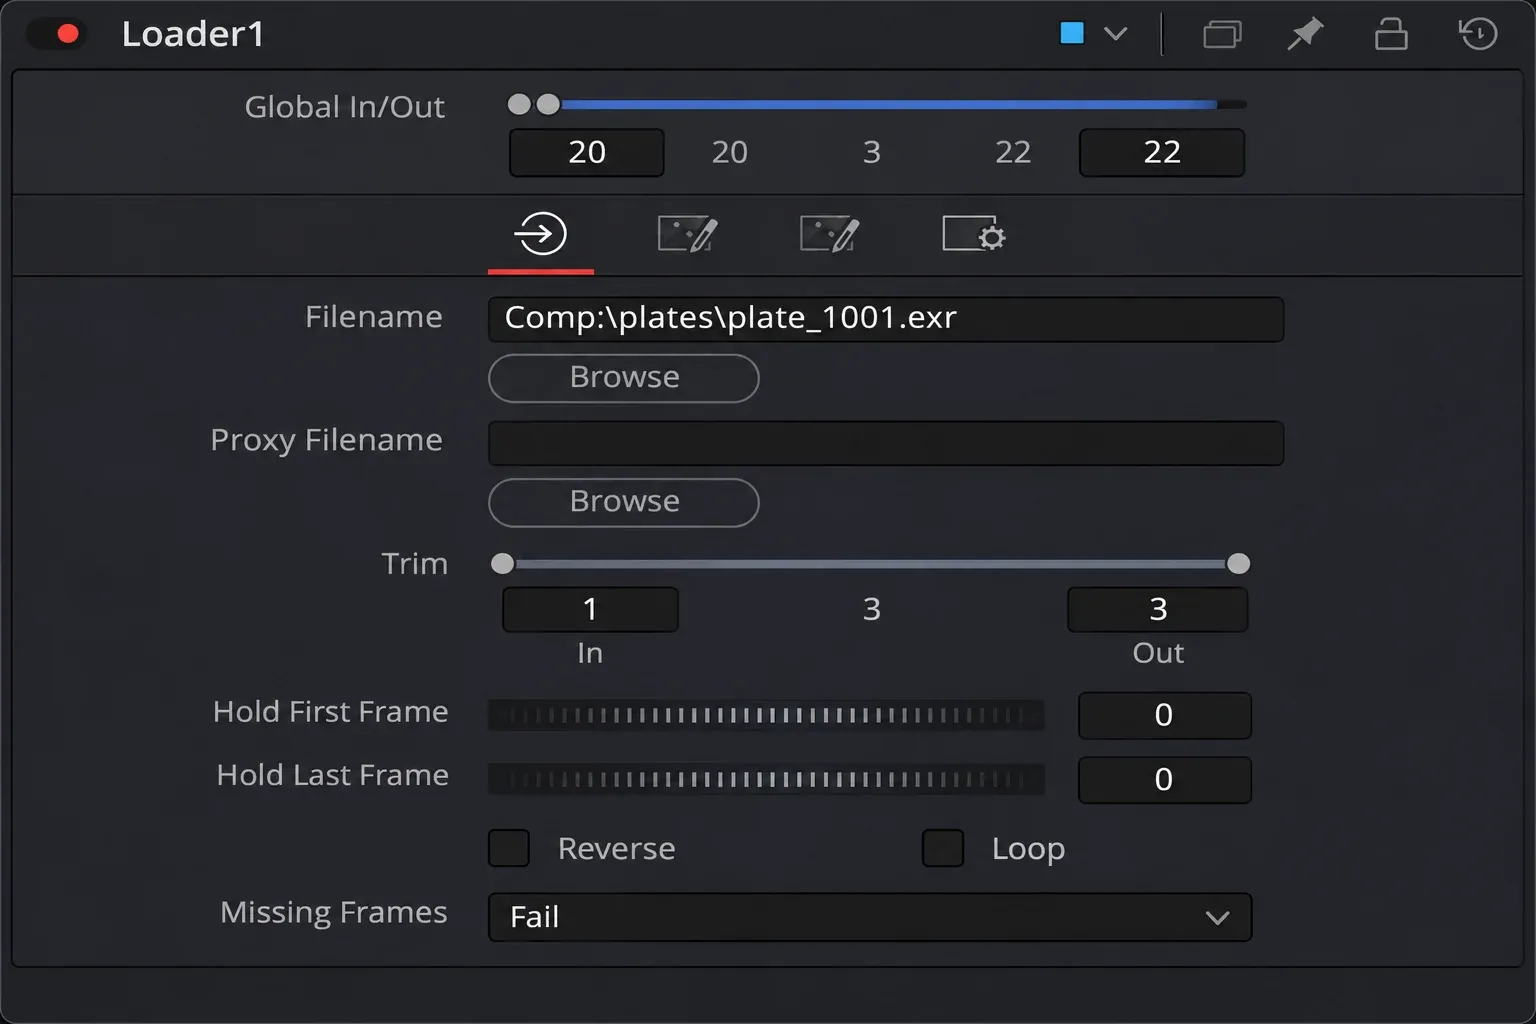
Import the sequence as one Loader
Keep one shot's frames together with a consistent basename and sequential numbers, such as plate_1001.exr, plate_1002.exr and plate_1003.exr. Check the folder for gaps before treating it as a complete plate.
In Fusion Studio, open Effects > Tools > I/O > Loader, then browse to the media. Another route is to drag one frame from the operating system's file browser into the Node Editor. Blackmagic's Getting Clips into Fusion chapter says a sequentially numbered series is read as one sequence when a single frame is dragged in.
Dragging every frame can create separate Loader nodes. Holding Shift while dragging a frame intentionally loads only that frame. If a moving plate appears to be a still, check how it was imported before rebuilding the composition. If the viewer is simply empty, select the Loader and press 1 or 2 to load it into that viewer.
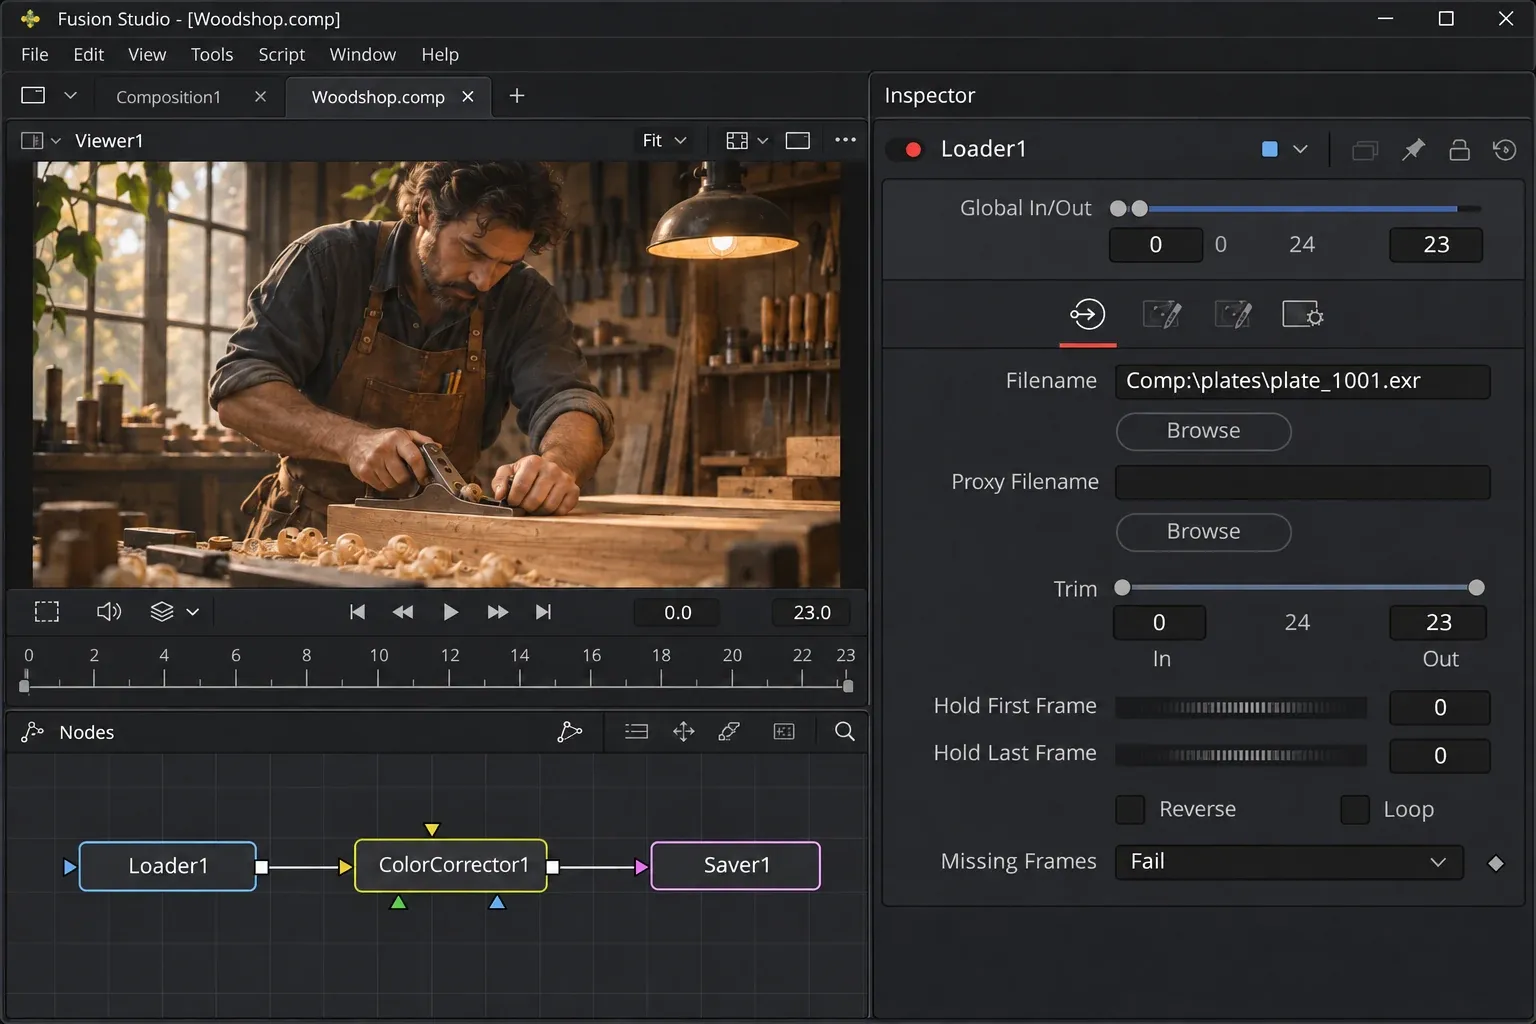
Separate source trimming from composition timing
The number printed in a source filename isn't automatically the composition frame where that image appears. A sequence beginning at 1001 can still start at composition frame 0.
Use Trim In/Out to choose the part of the source clip that is used. Use Global In/Out to place that clip in composition time. The Loader timing controls distinguish these operations: trimming the source doesn't move Global In by itself.
- Select the Loader and verify the first and last usable source frames.
- Set Trim for the source portion required by the shot.
- Set Global In/Out for its position in the composition, then check the playhead at the intended first and last composition frames.
- Check the composition's frame rate and render range. A folder of still images doesn't establish the intended playback rate by its filenames alone.
Hold First Frame, Hold Last Frame, Loop and Reverse deliberately change how the source fills time. Disable an unwanted hold or loop before diagnosing repeated output as a renderer fault.
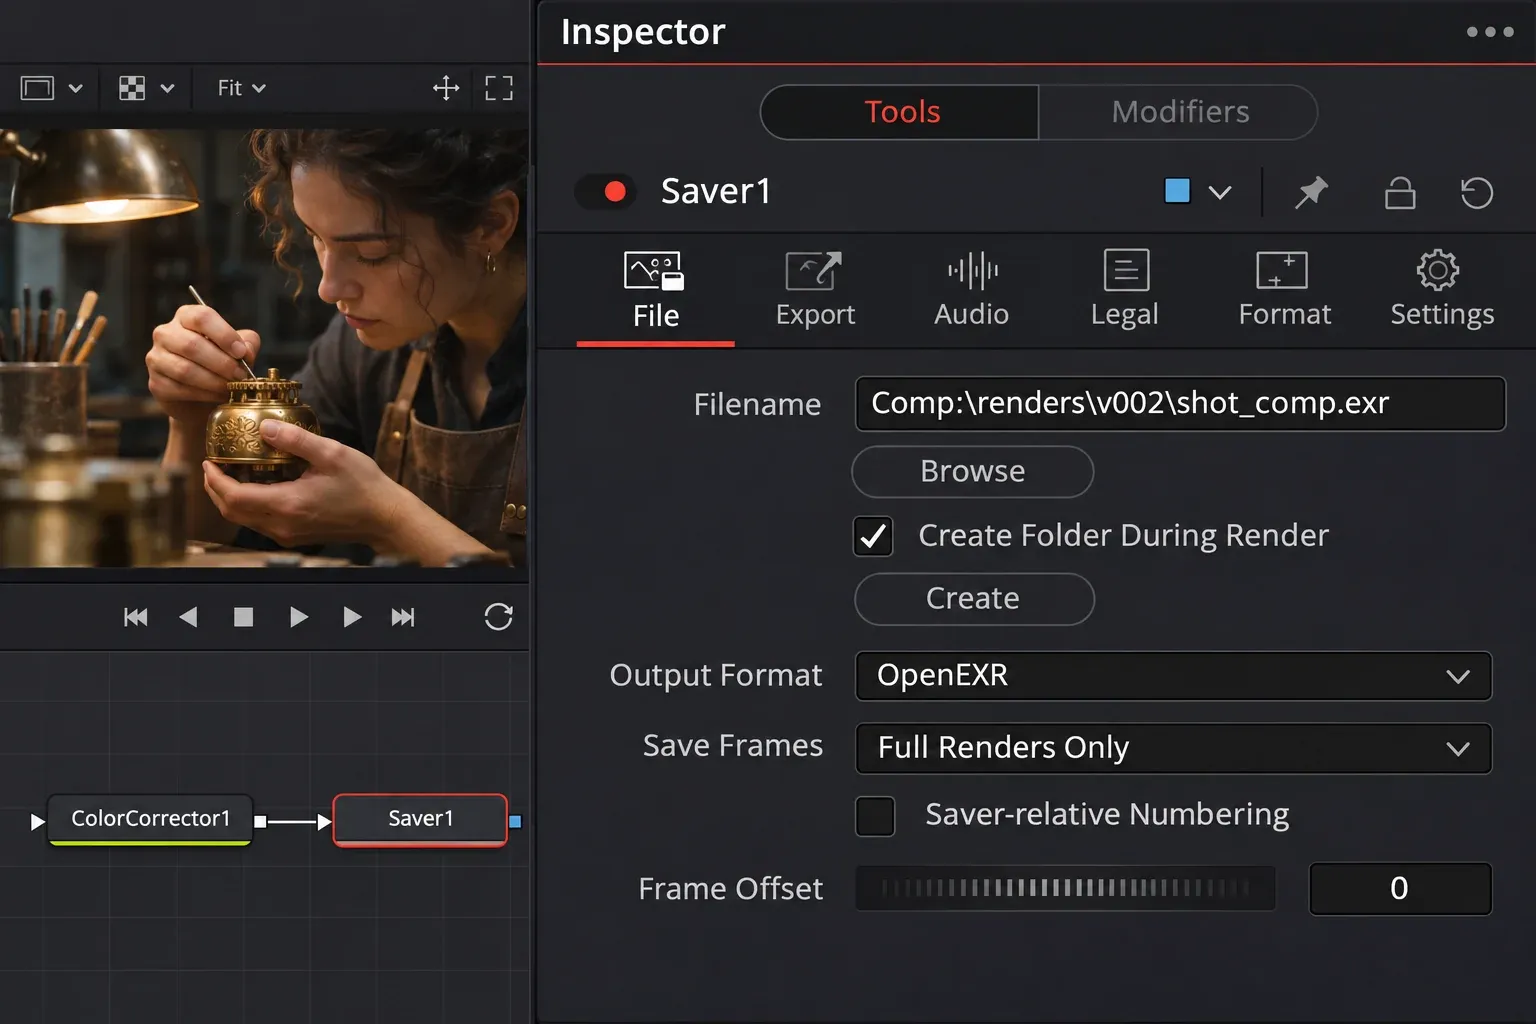
Configure the Saver before rendering
Add Tools > I/O > Saver and connect the image branch that should be written. Choose an existing, writable destination folder that is separate from the input plates and the last approved render.
Set the filename and inspect Output Format and the format-specific controls. An .exr extension can select EXR initially, but changing Output Format later doesn't necessarily rewrite the filename extension. Blackmagic warns about this in the Saver File tab documentation.
Choose the output channels, bit depth and compression for the handoff. If transparency is required, preserve alpha and check it on import into the receiving application. An EXR container alone doesn't establish the intended color space, the presence of every auxiliary channel or the correct alpha interpretation.
Leave Save Frames on Full Renders Only for an ordinary final render. High Quality Interactive can write frames while working; previously saved frames aren't automatically refreshed when an animated curve changes. I'd use a deliberate final render for delivery so the sequence represents one accepted composition state.
Set frame padding without confusing it with the start frame
For an image sequence, Fusion adds frame numbers before the extension. The manual's default uses four digits. Explicit digits in the filename set the padding for that sequence.
| Saver filename | Example output at frames 0 and 1 |
|---|---|
shot_comp.exr | shot_comp0000.exr, shot_comp0001.exr |
shot_comp_000.exr | shot_comp_000.exr, shot_comp_001.exr |
These examples assume the ordinary frame numbering for a range beginning at 0. Padding controls the digits, not the composition's time origin. Inspect any Saver numbering offset as well as the render range when the receiving application expects a particular starting number.
Render a short range, then read it back
- Save the composition and confirm that each intended Saver has its image input connected, is enabled and points to the correct version folder.
- Click Render or choose File > Render All Savers. In Render Settings, choose the short frame range and intended quality settings.
- Click Start Render. Inspect the saved first and last files, their dimensions, numbering, channels and color interpretation.
- Load that new sequence back through a separate Loader, or import it into Resolve. Compare the intended frames and inspect transparent edges over both light and dark backgrounds.
- When those checks agree, render the full required range into the intended version folder and check the sequence for gaps. For a full range rendered one frame at a time, the expected count is end minus start plus one; frames 0–23 produce 24 files.
A low-quality preview can be useful for timing, but a proxy, reduced-quality render or missing motion blur isn't a final-quality approval. Also check the files on disk; smooth playback of cached viewer frames doesn't verify the saved sequence.
Handle missing frames without hiding a delivery problem
The Loader's Missing Frames controls provide Fail, Hold Previous Output, Output Black and Wait. Fail aborts rendering when no image is available. Hold repeats the last valid frame and can't recover a missing first frame. Wait pauses while checking for a frame that may still be rendering.
For delivery, I'd stop and repair a missing source frame. A held frame can conceal the gap and a black frame can turn it into a visible flash. Use Wait only when the upstream renderer is expected to supply the missing file; it doesn't repair a bad path or missing permission.
Use the Resolve Fusion-page route when the shot belongs to a timeline
On a Resolve timeline, keep MediaIn and MediaOut connected and use Deliver for the final movie. The Fusion beginner workflow follows that structure.
To export an EXR intermediate from a Fusion-page branch, add a Saver, choose its EXR filename and destination, then use Fusion > Render All Savers. Blackmagic documents this limited Saver separately from Fusion Studio's broader output controls. VFXstudy's Loader and Saver workflow explains why branch renders remain useful even with Resolve managing the main timeline.
A rendered branch is a snapshot. If an upstream effect changes, render that branch again and make sure the downstream Loader reads the new version. Keep the editable original until the replacement has been checked.